


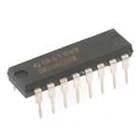
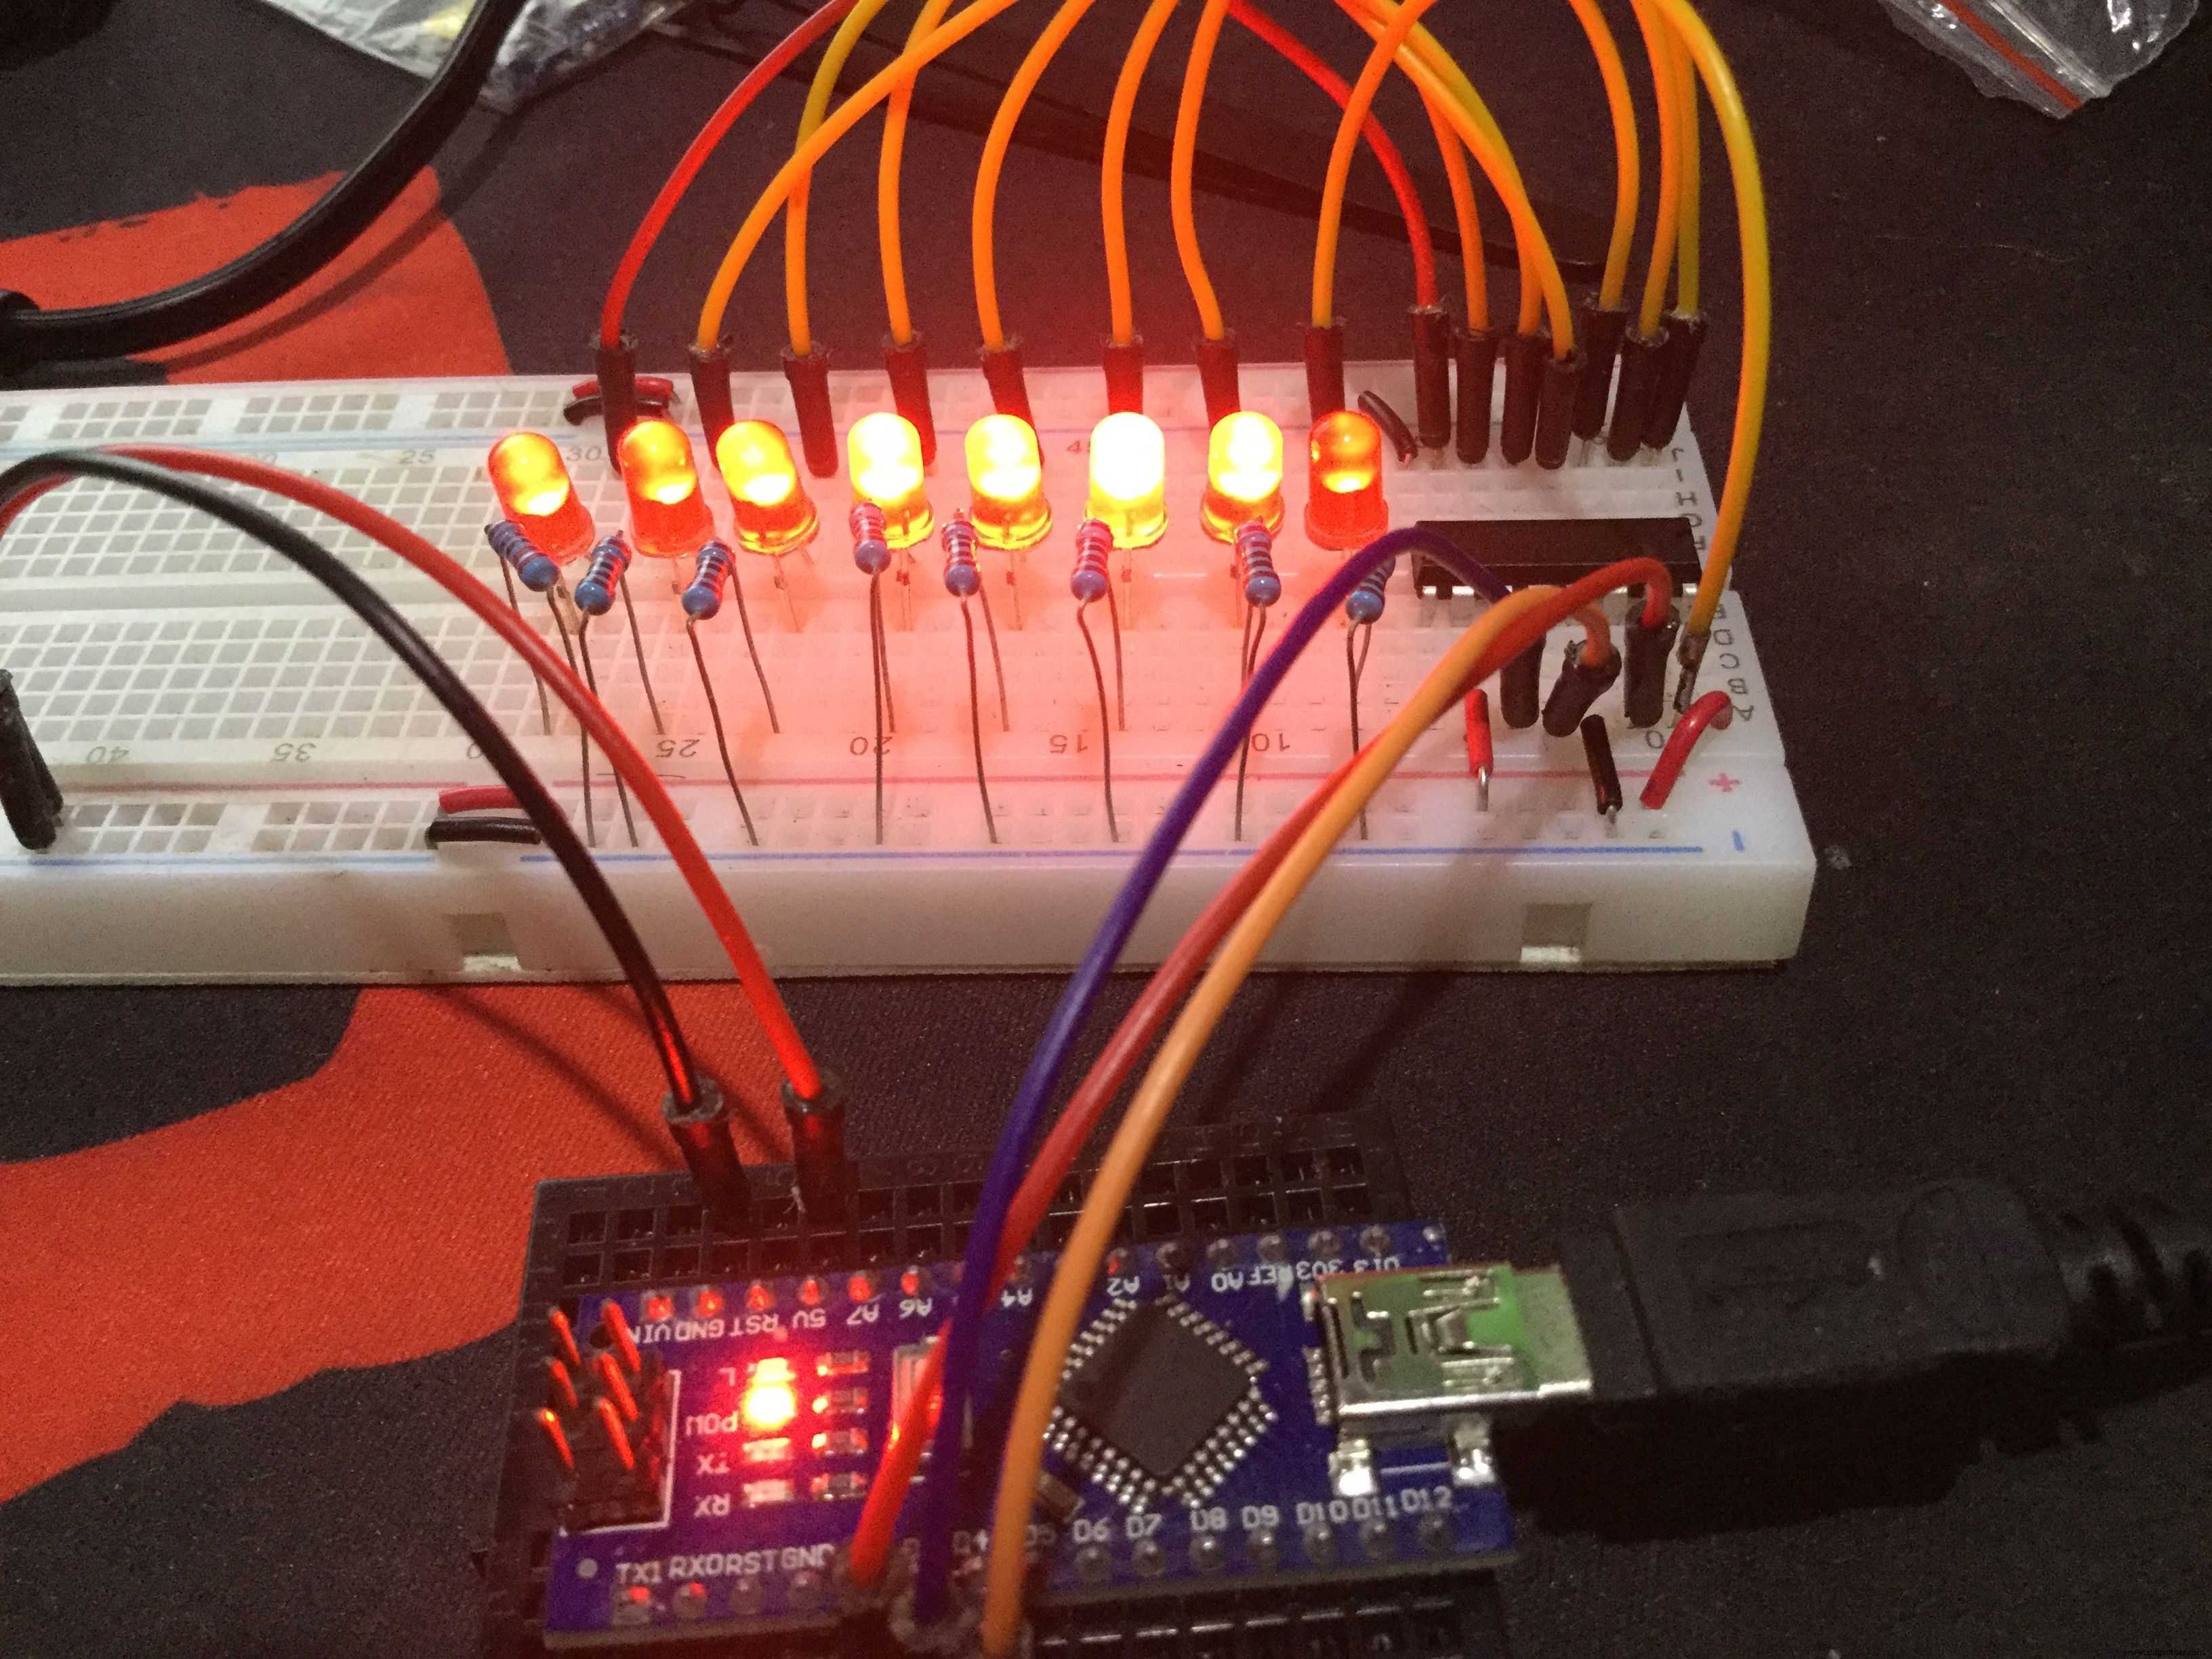
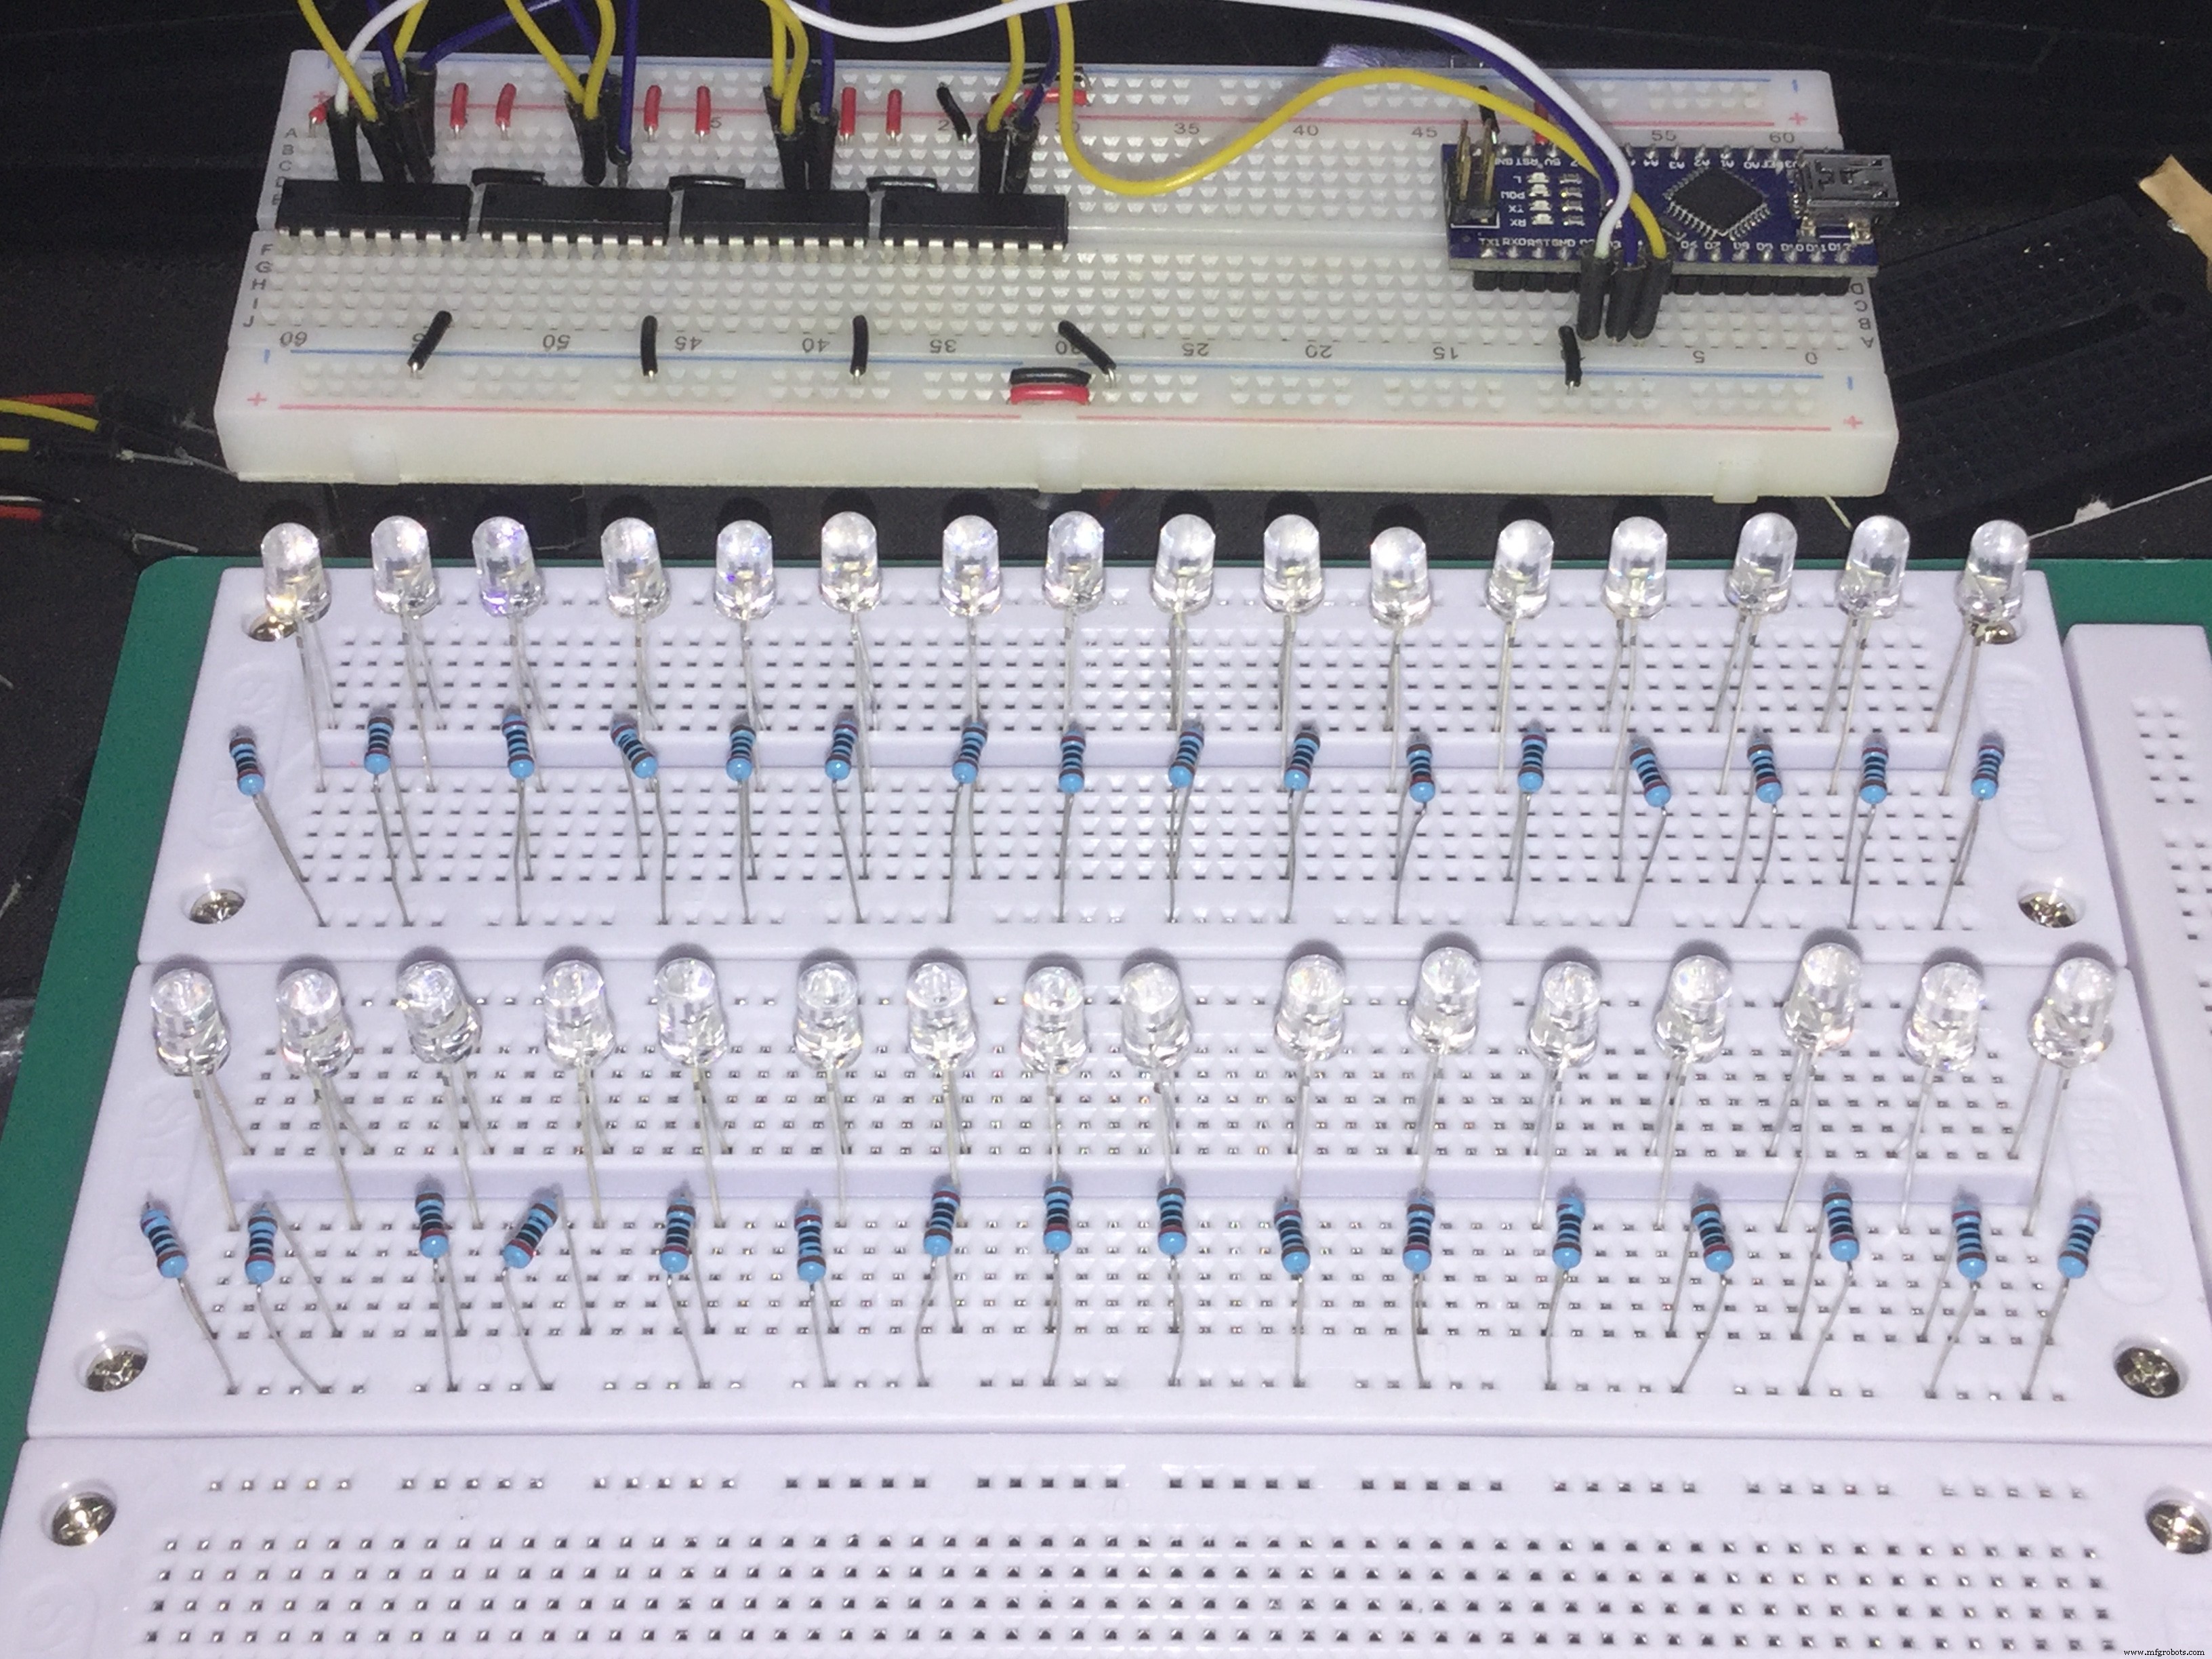
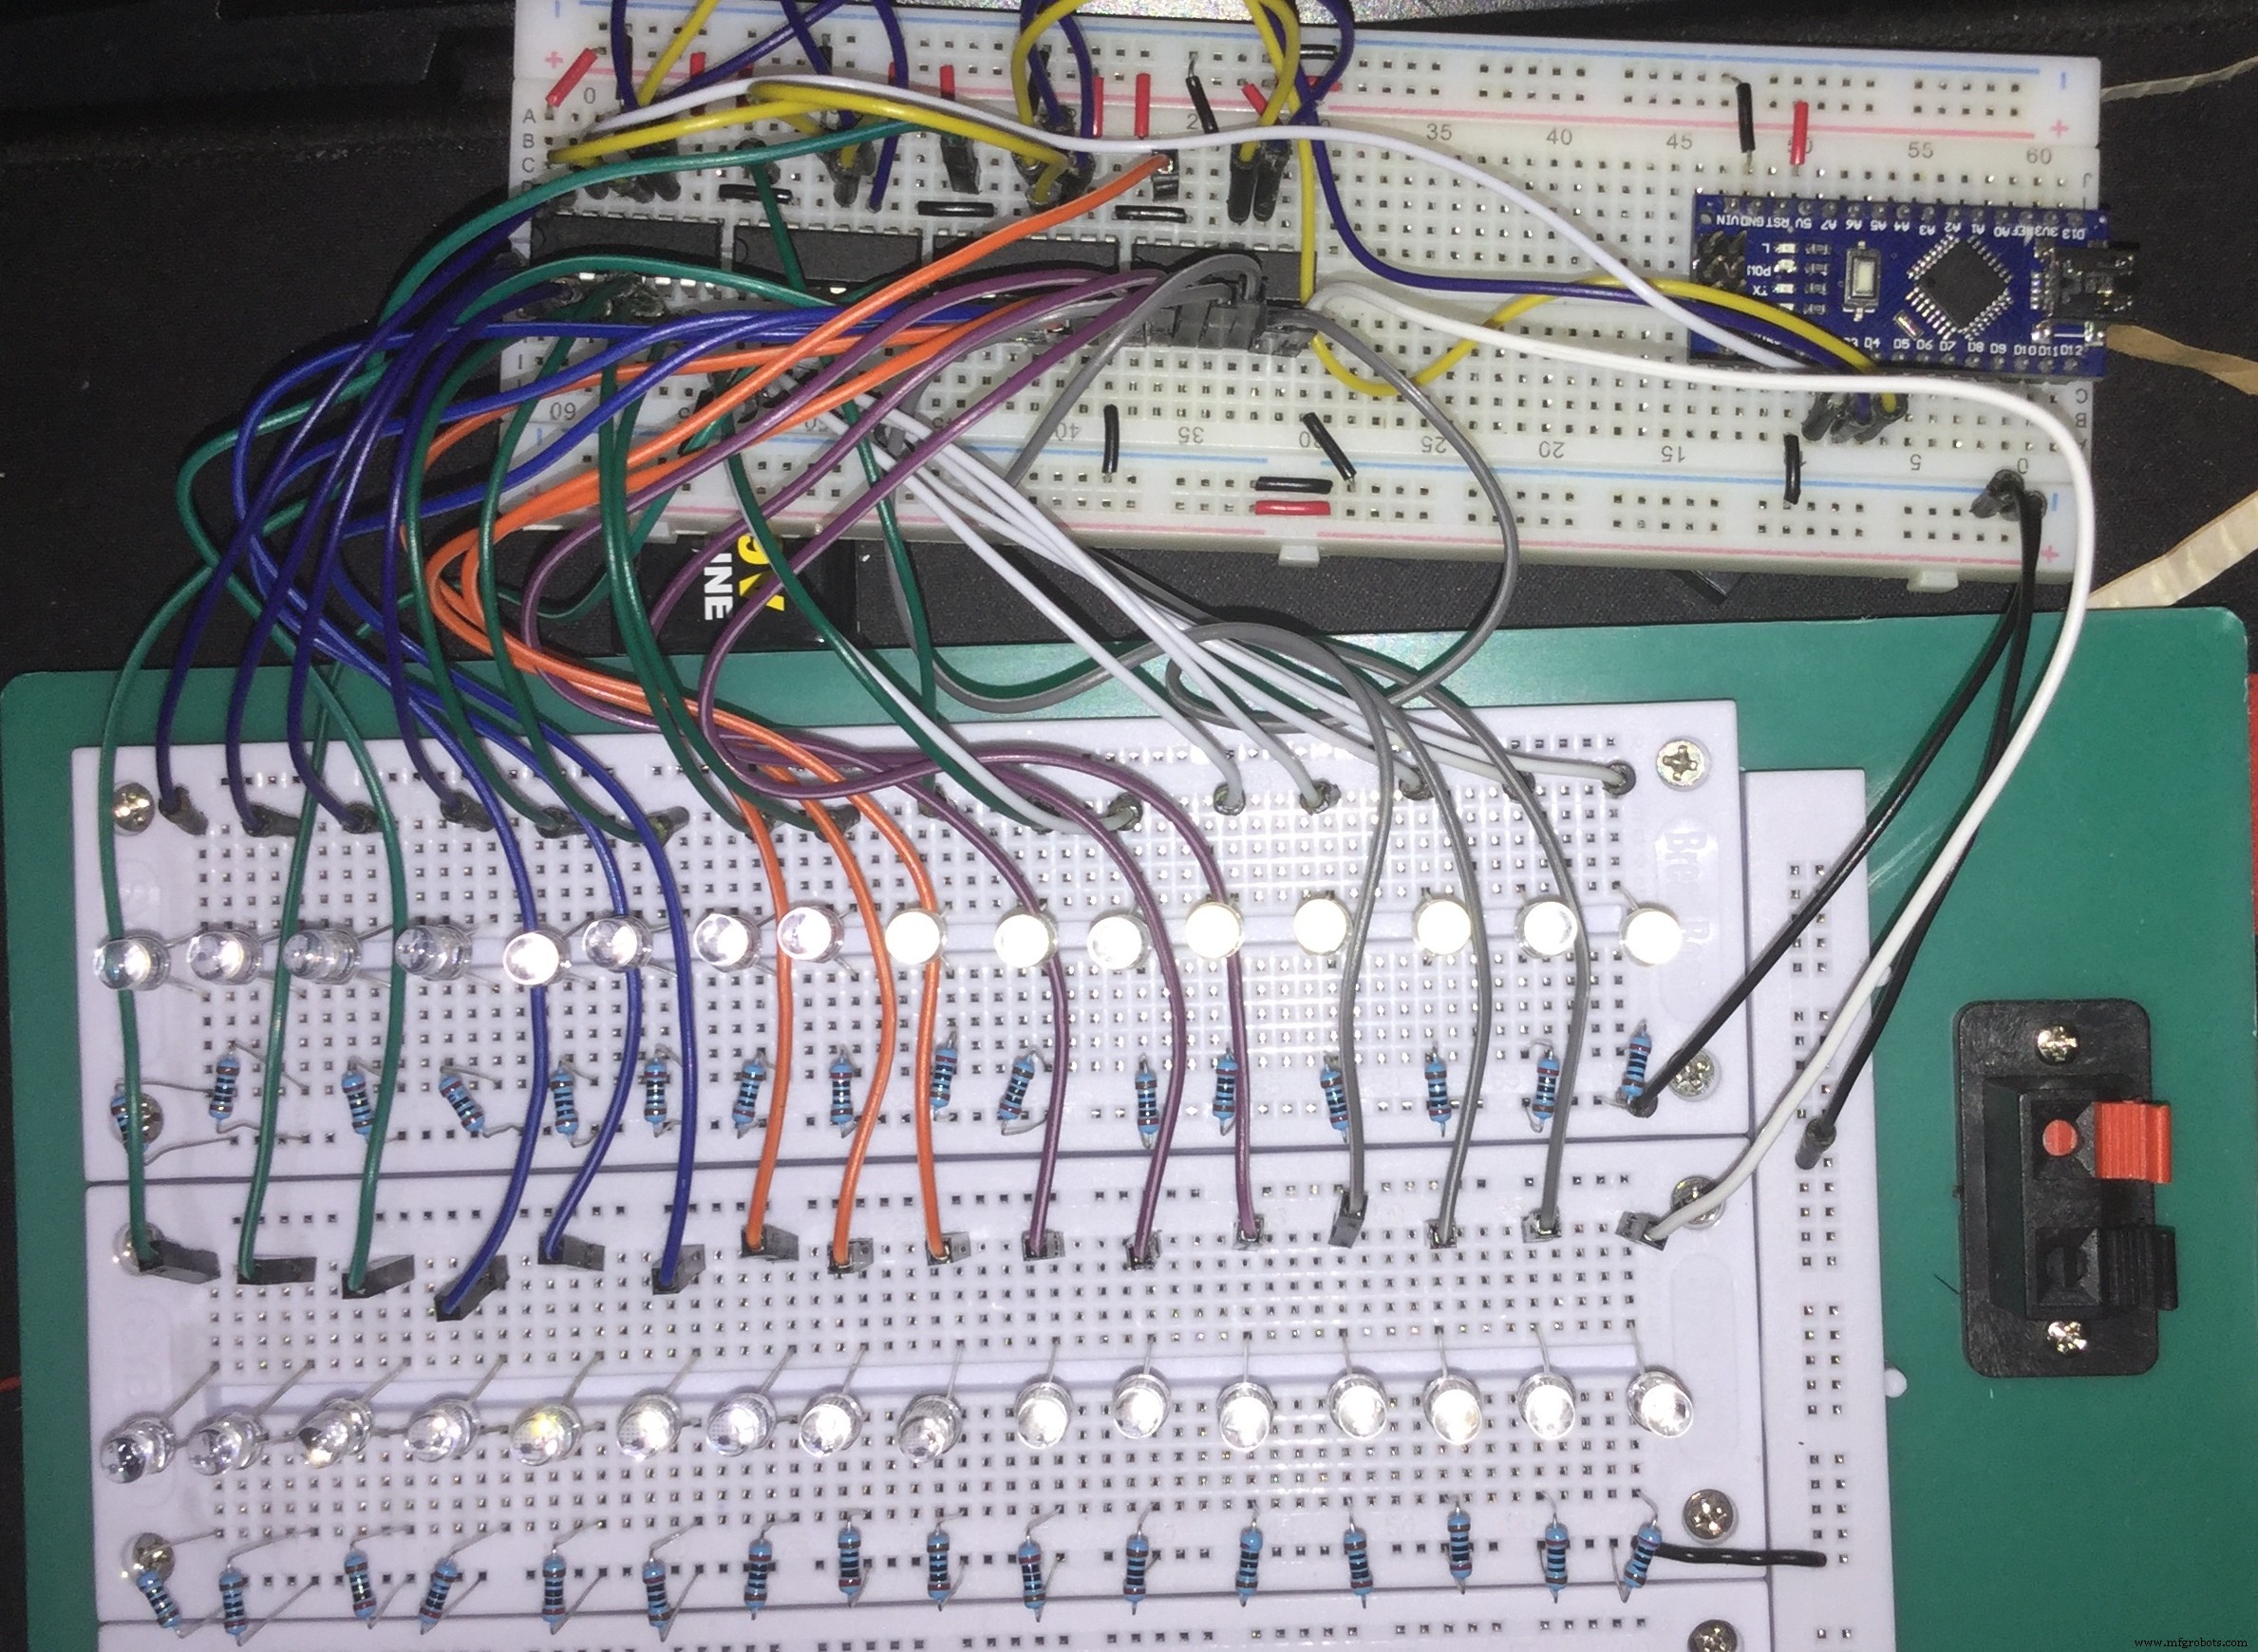
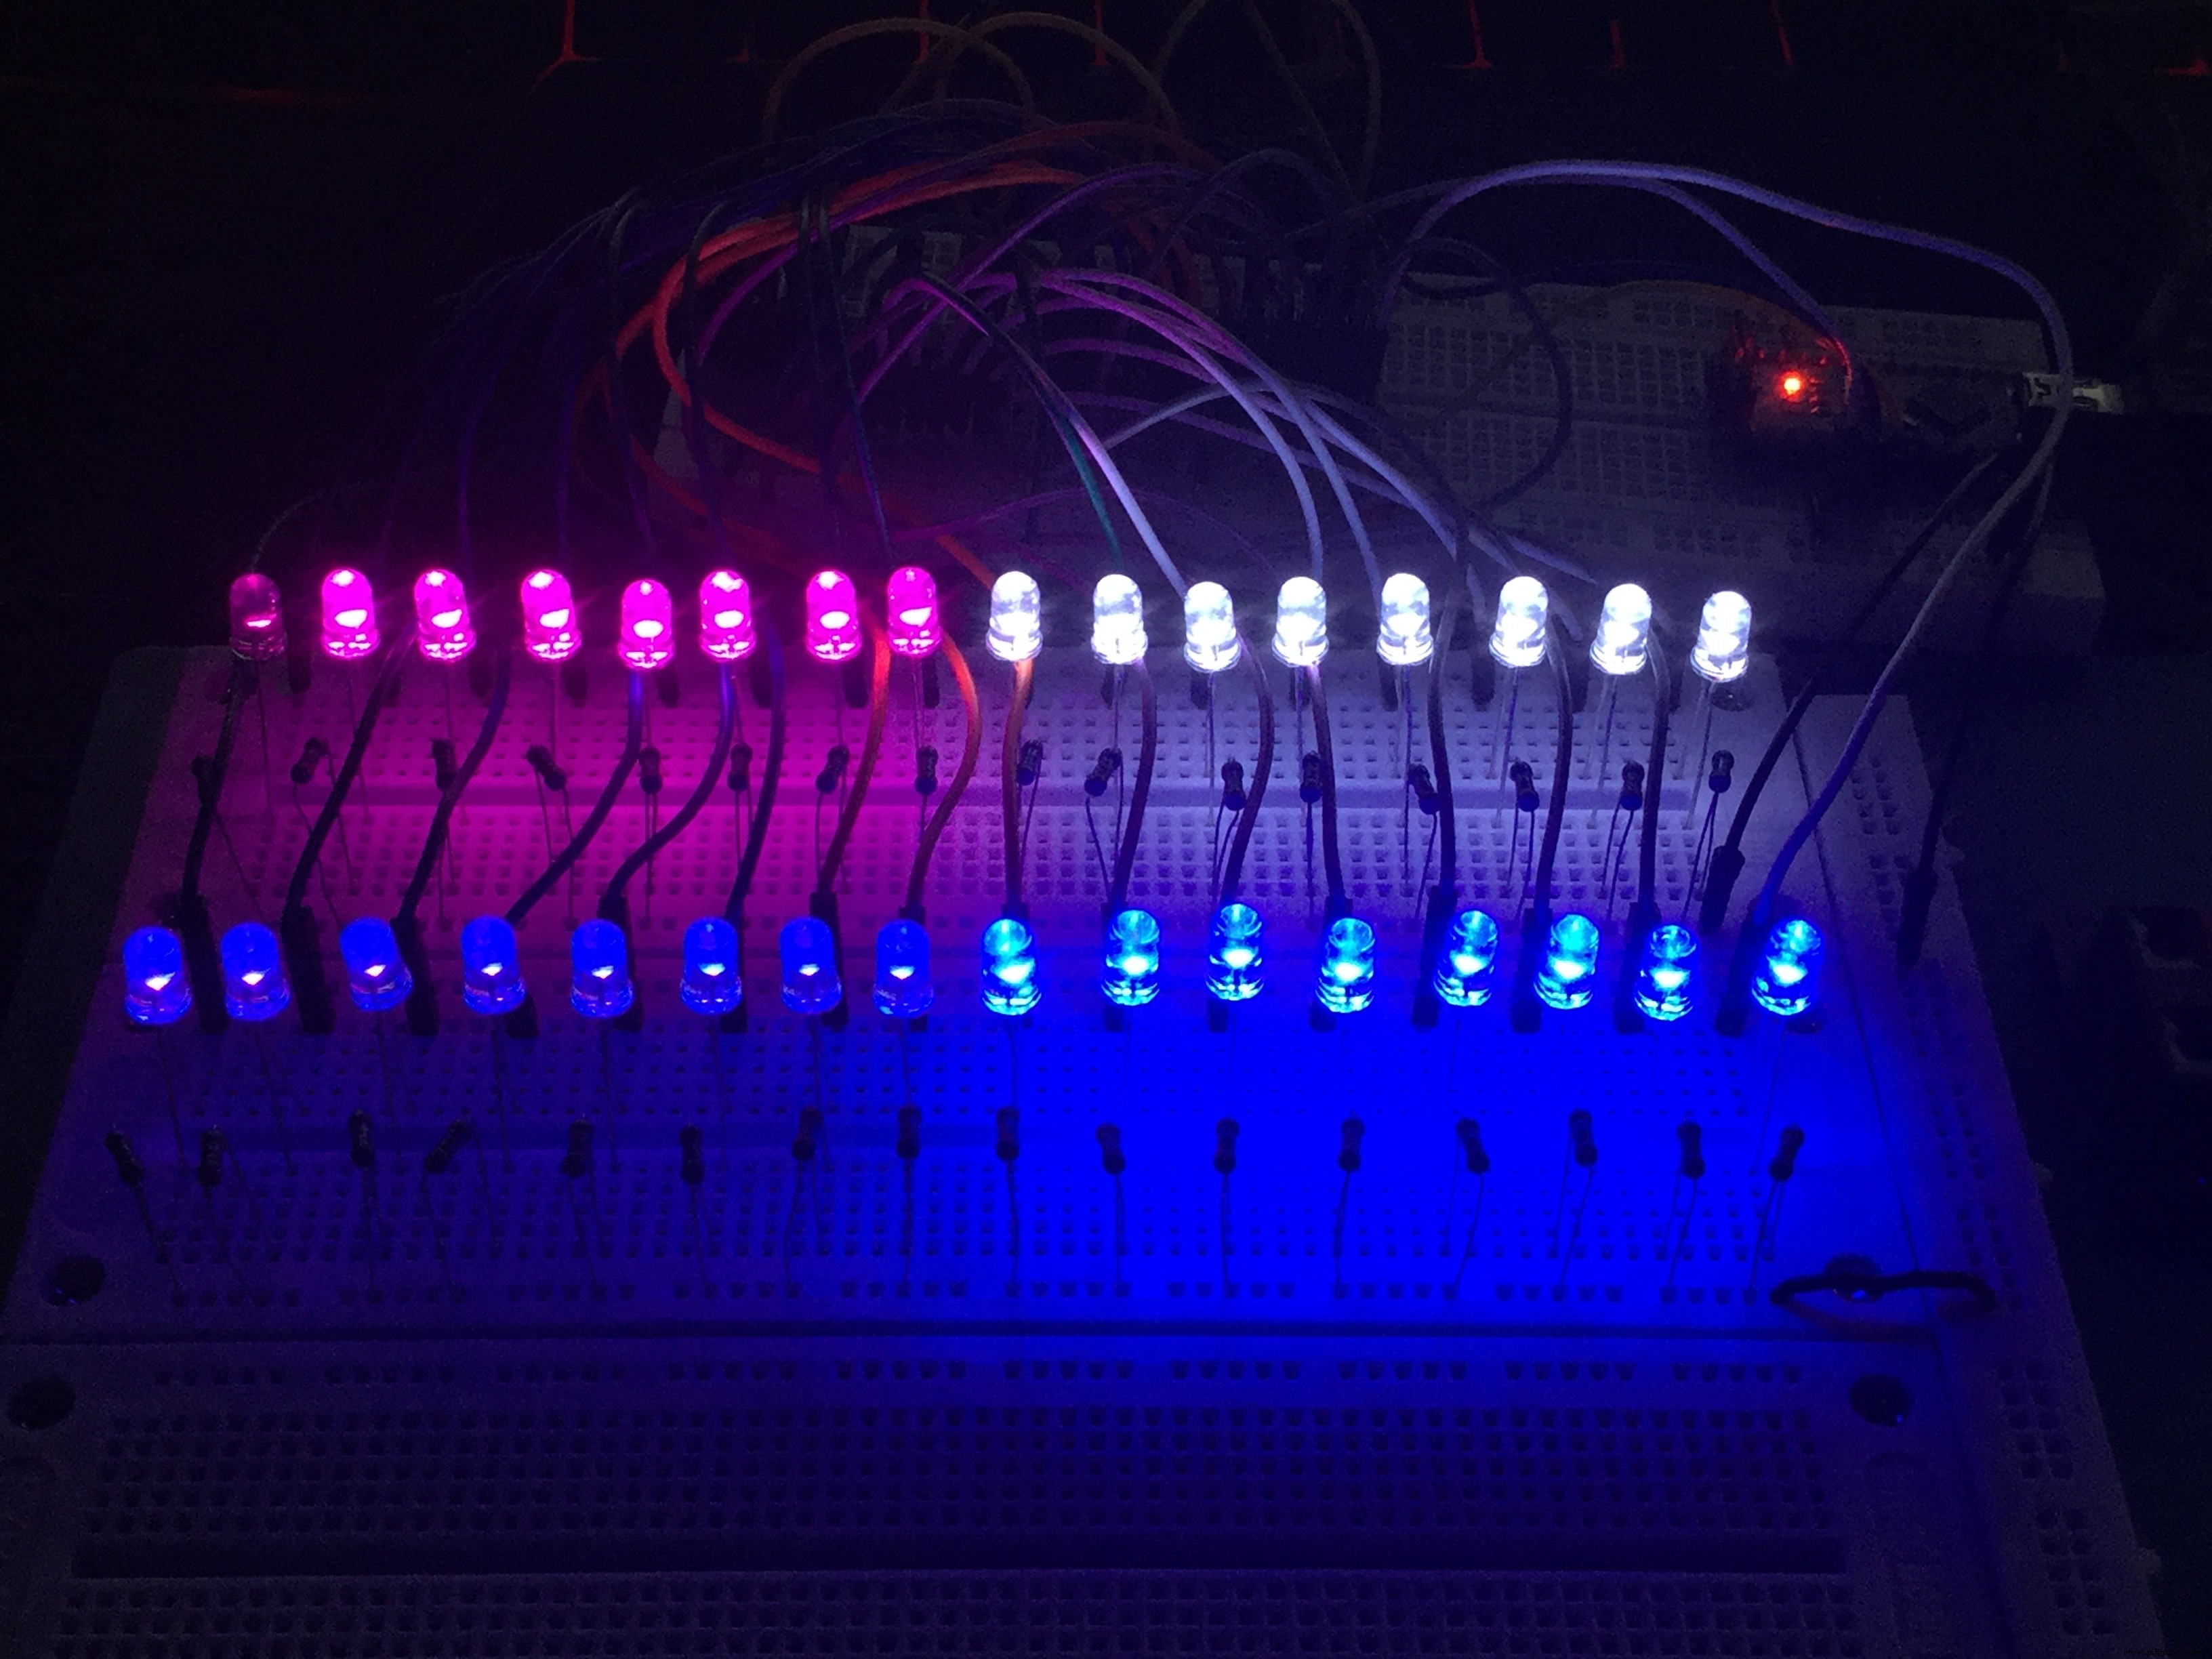
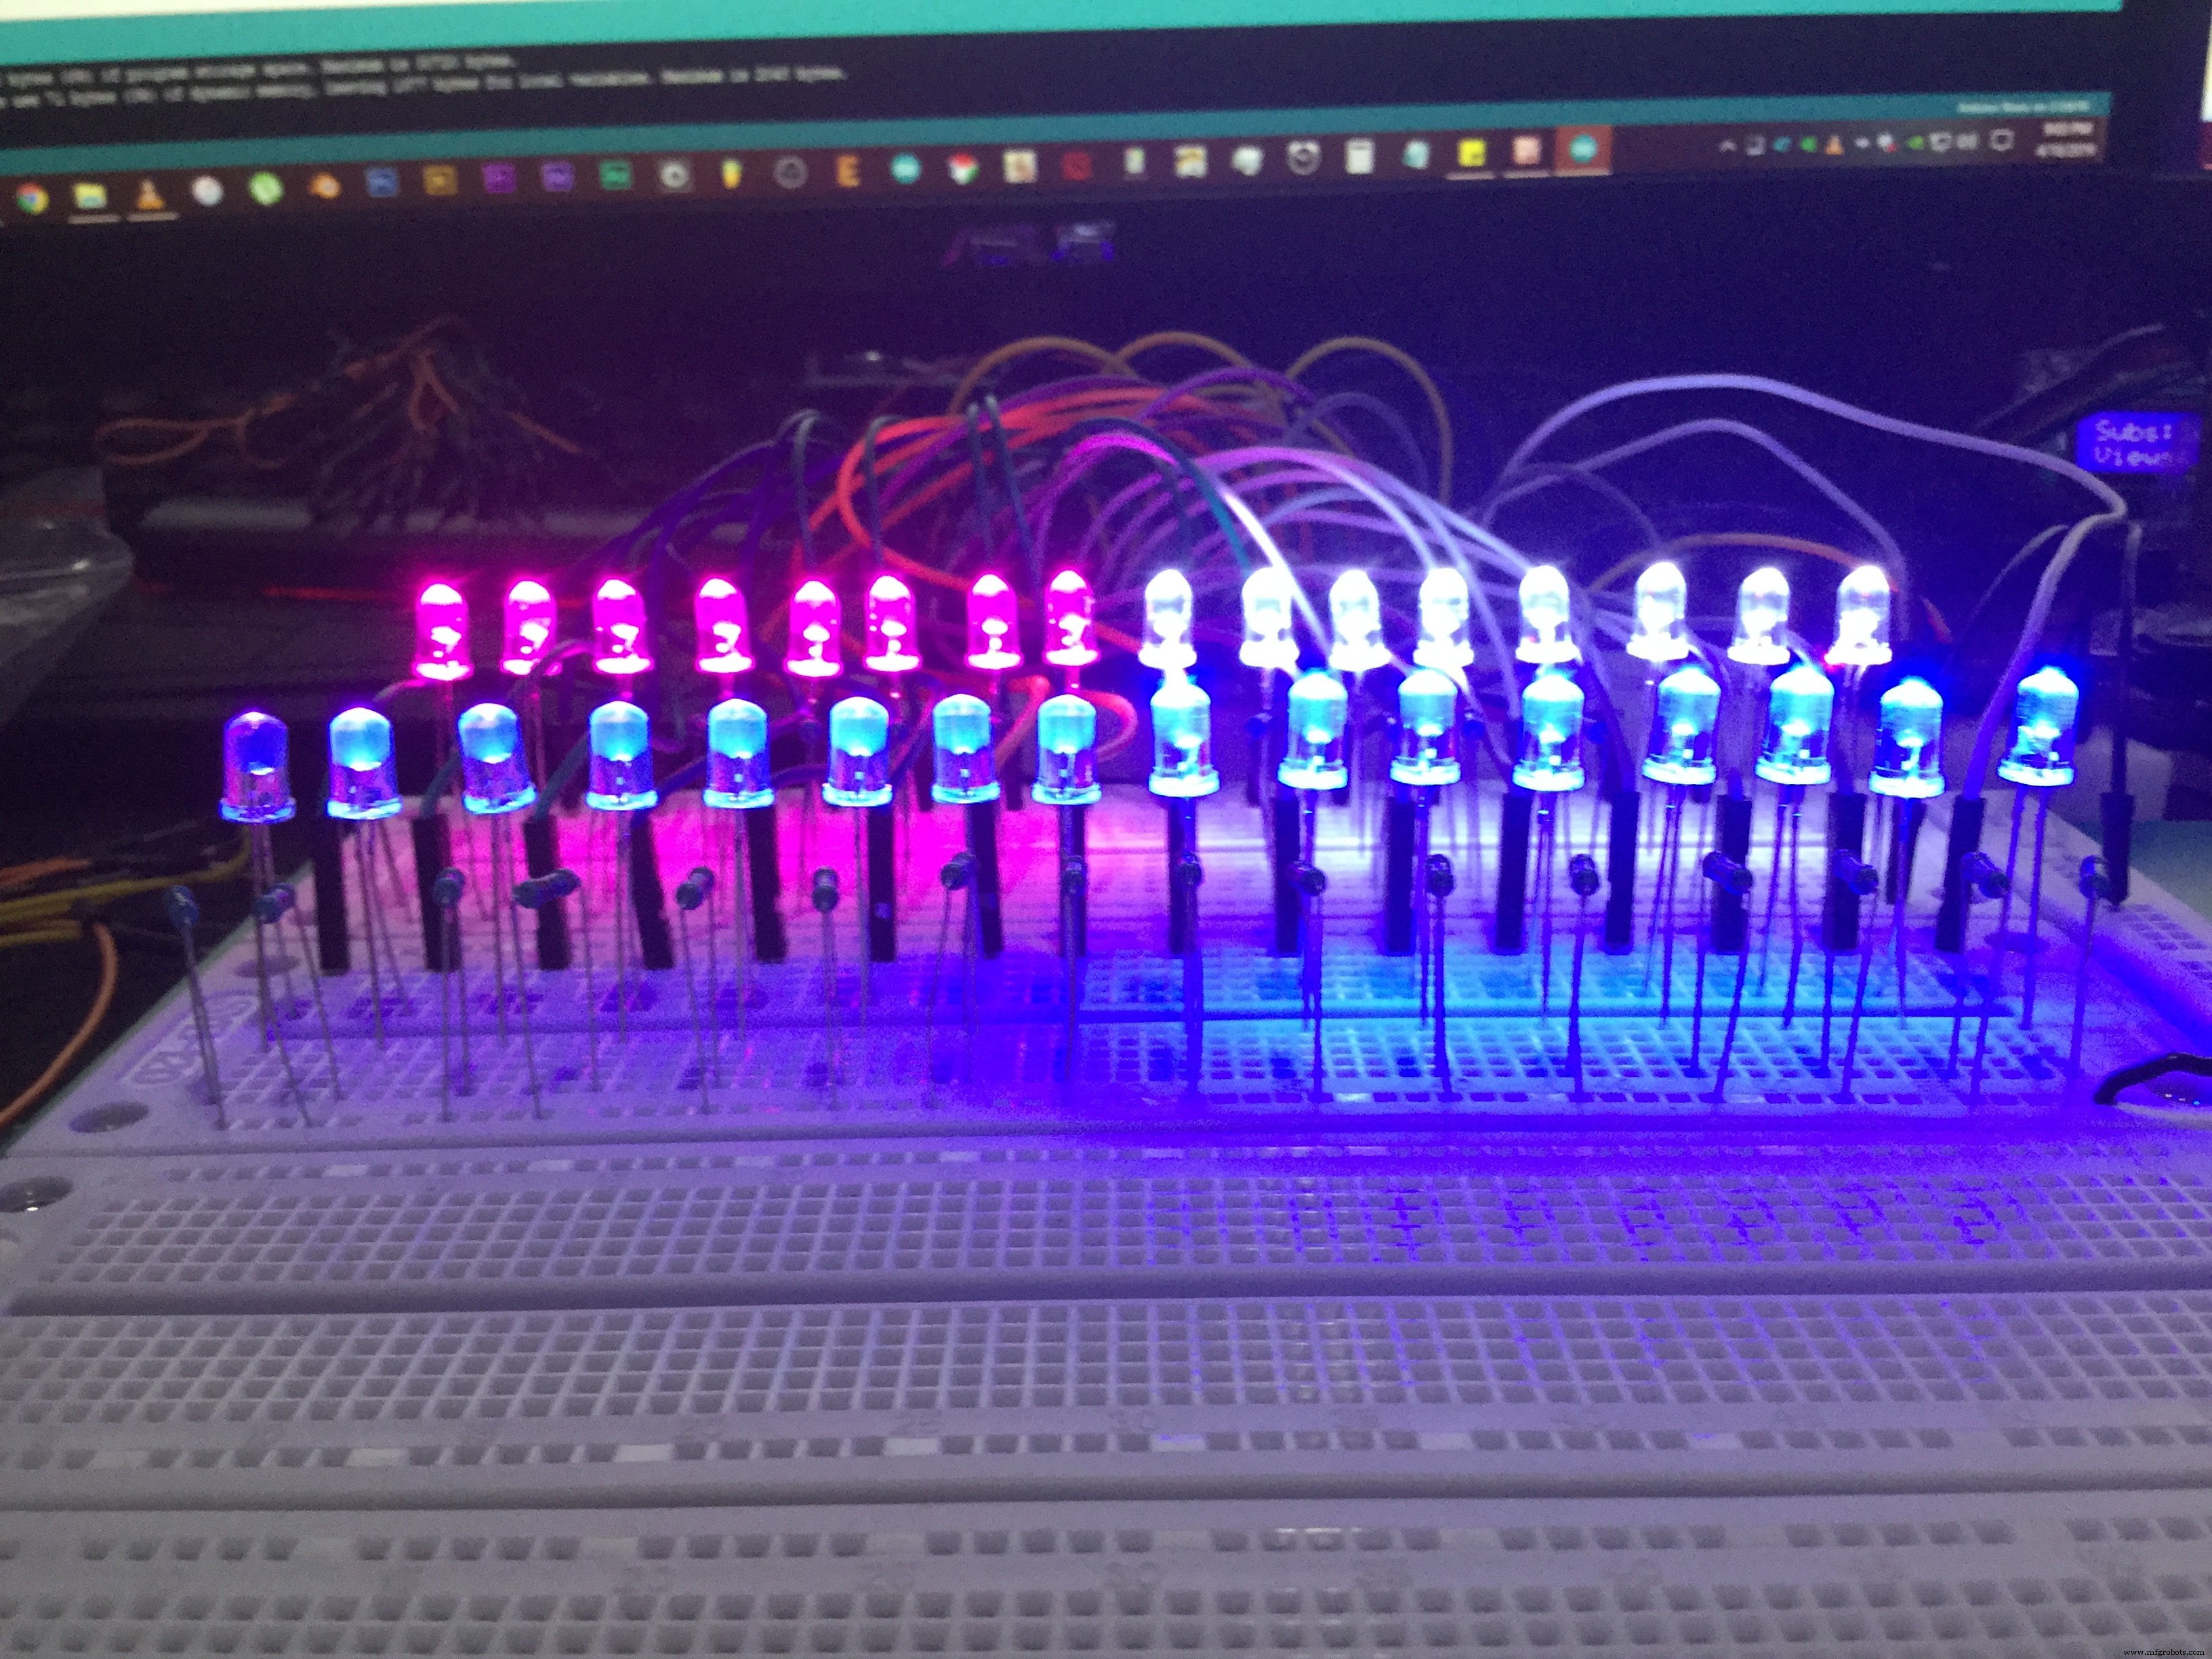
3ピン、32 LED、4シフトレジスタ[74HC595]
コンポーネントと消耗品
>  |
| × | 1 | |||
 | >
| × | 4 | |||
 |
| × | 1 | |||
 |
| × | 1 | |||
 |
| × | 1 | |||
| |
| × | 1 |
アプリとオンラインサービス
| > |
|
このプロジェクトについて
これは、私が初心者や私のようなarduiNOOBSのために作成したステップバイステップガイドです。
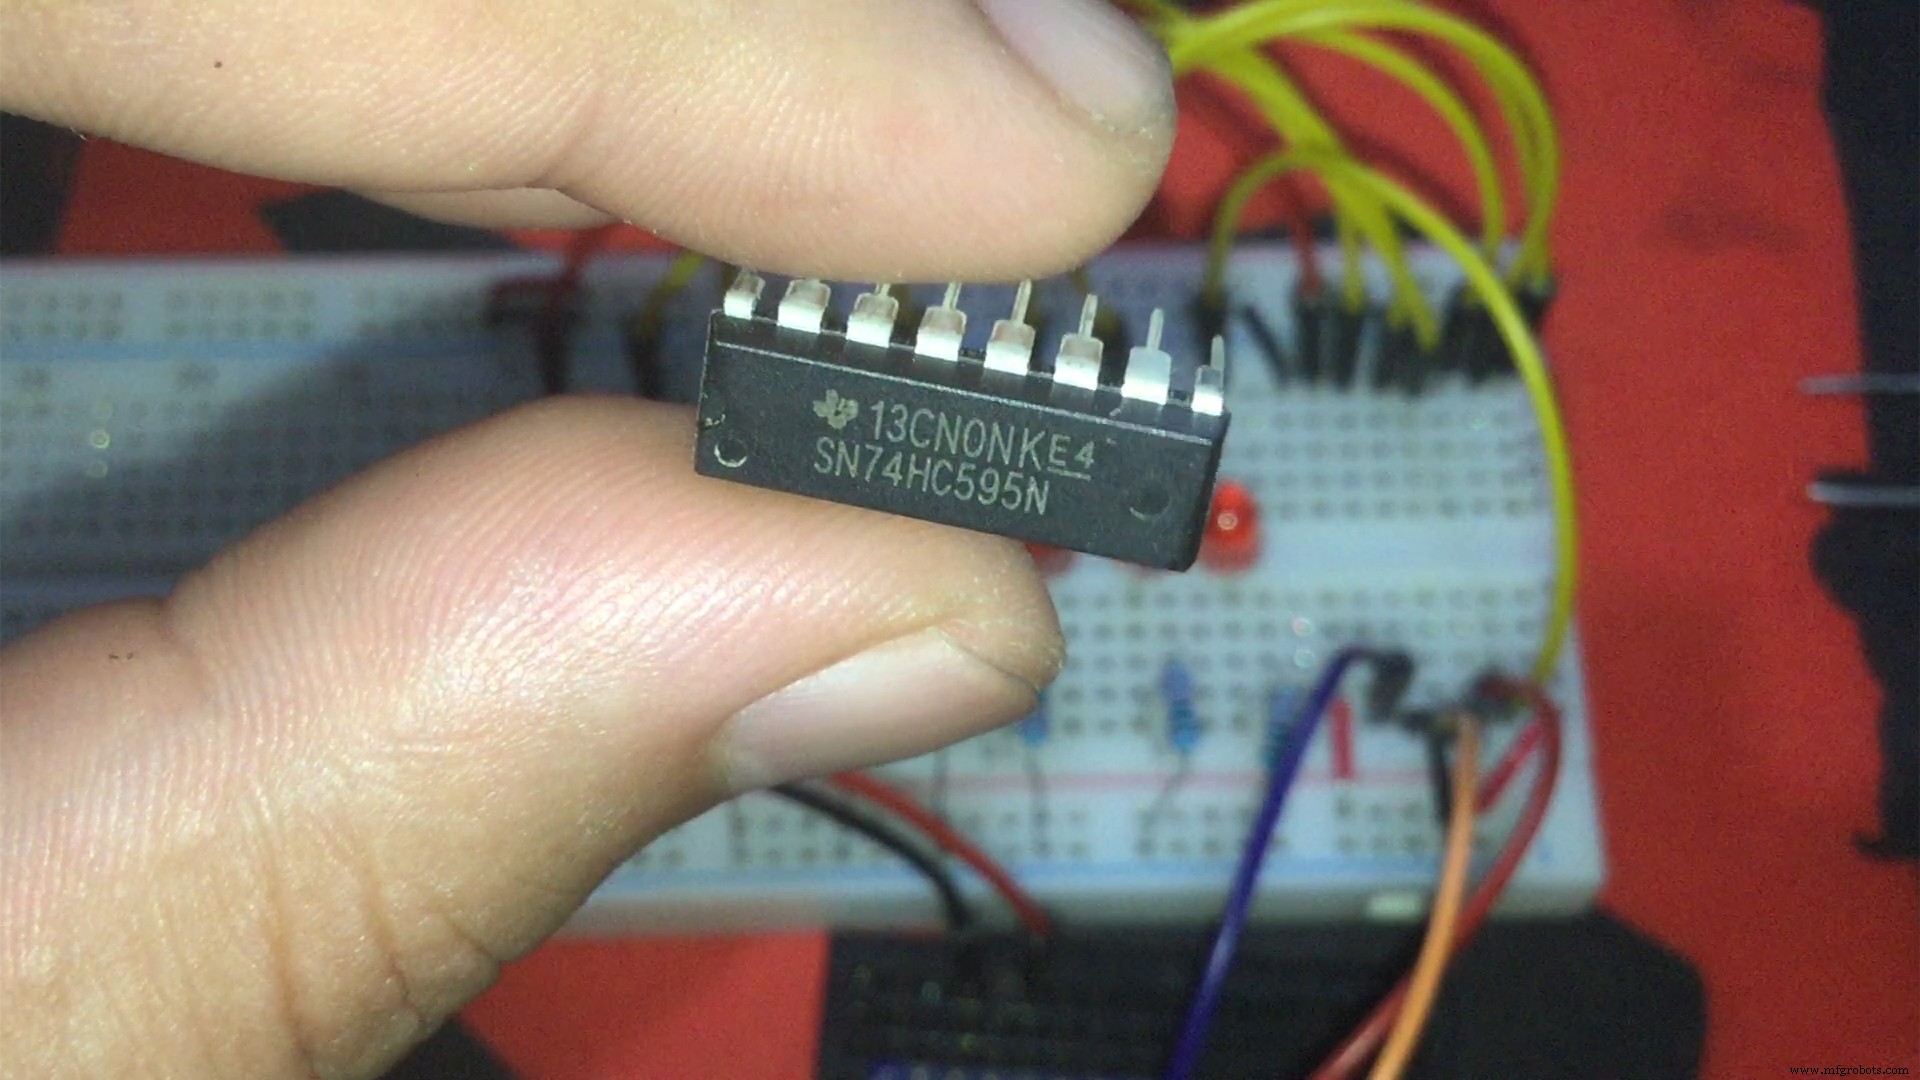
このチュートリアルでは、74HC595と呼ばれる8ビットシフトレジスタに関するかなり基本的な知識について説明します。
それらをデイジーチェーン接続し、HC595ライブラリのコードを使用する方法を学びます。
また、いくつかのシフトレジスタで問題が発生しました。理由はわかりません。力不足のせいですか?
************************************************** ****************************
必要なリンク:
HC595ライブラリ-https://github.com/j-bellavance/HC595
データセット-http://www.ti.com/document-viewer/SN74HC595/datasheet/specifications#SCLS0419845
詳細情報:https://rastating.github.io/using-a-74hc595-shift-register-with-an-arduino-uno/
Forループ反復:https://www.arduino.cc/en/Tutorial/ForLoopIteration
************************************************** ****************************
フォローするソーシャルメディアリンク(つまり、必要に応じて):
Facebook-https://fb.me/HeathenHacks
Twitter-https://twitter.com/HeathenHacks
Instagram-https://instagr.am/HeathenHacks
************************************************** ****************************


コード
- HC595ライブラリから編集されたサンプルコード。
HC595ライブラリから編集されたサンプルコード。 Arduino
#includeconst int chipCount =2; //シリアル接続された数74HC595(最大8)const intラッチピン=4; // 74HC595constのピンST_CP(12)int clockPin =3; // 74HC595constのピンSH_CP(11)int dataPin =2; // 74HC595のピンDS(14)// ConstructorHC595 ledArray(chipCount、latchPin、clockPin、dataPin); int delayMs =30; int lastPin =ledArray.lastPin(); void setup(){ledArray.reset();} void loop(){for(int i =0; i <=lastPin; i ++){ledArray.setPin(i、ON); delay(delayMs); } for(int i =lastPin; i> =0; i-){ledArray.setPin(i、OFF); delay(delayMs); } for(int i =lastPin; i> =0; i-){ledArray.setPin(i、TOGGLE); delay(delayMs); } for(int i =0; i <=lastPin; i ++){ledArray.setPin(i、TOGGLE); delay(delayMs); }}
J.Bellavance氏によるHC595ライブラリ
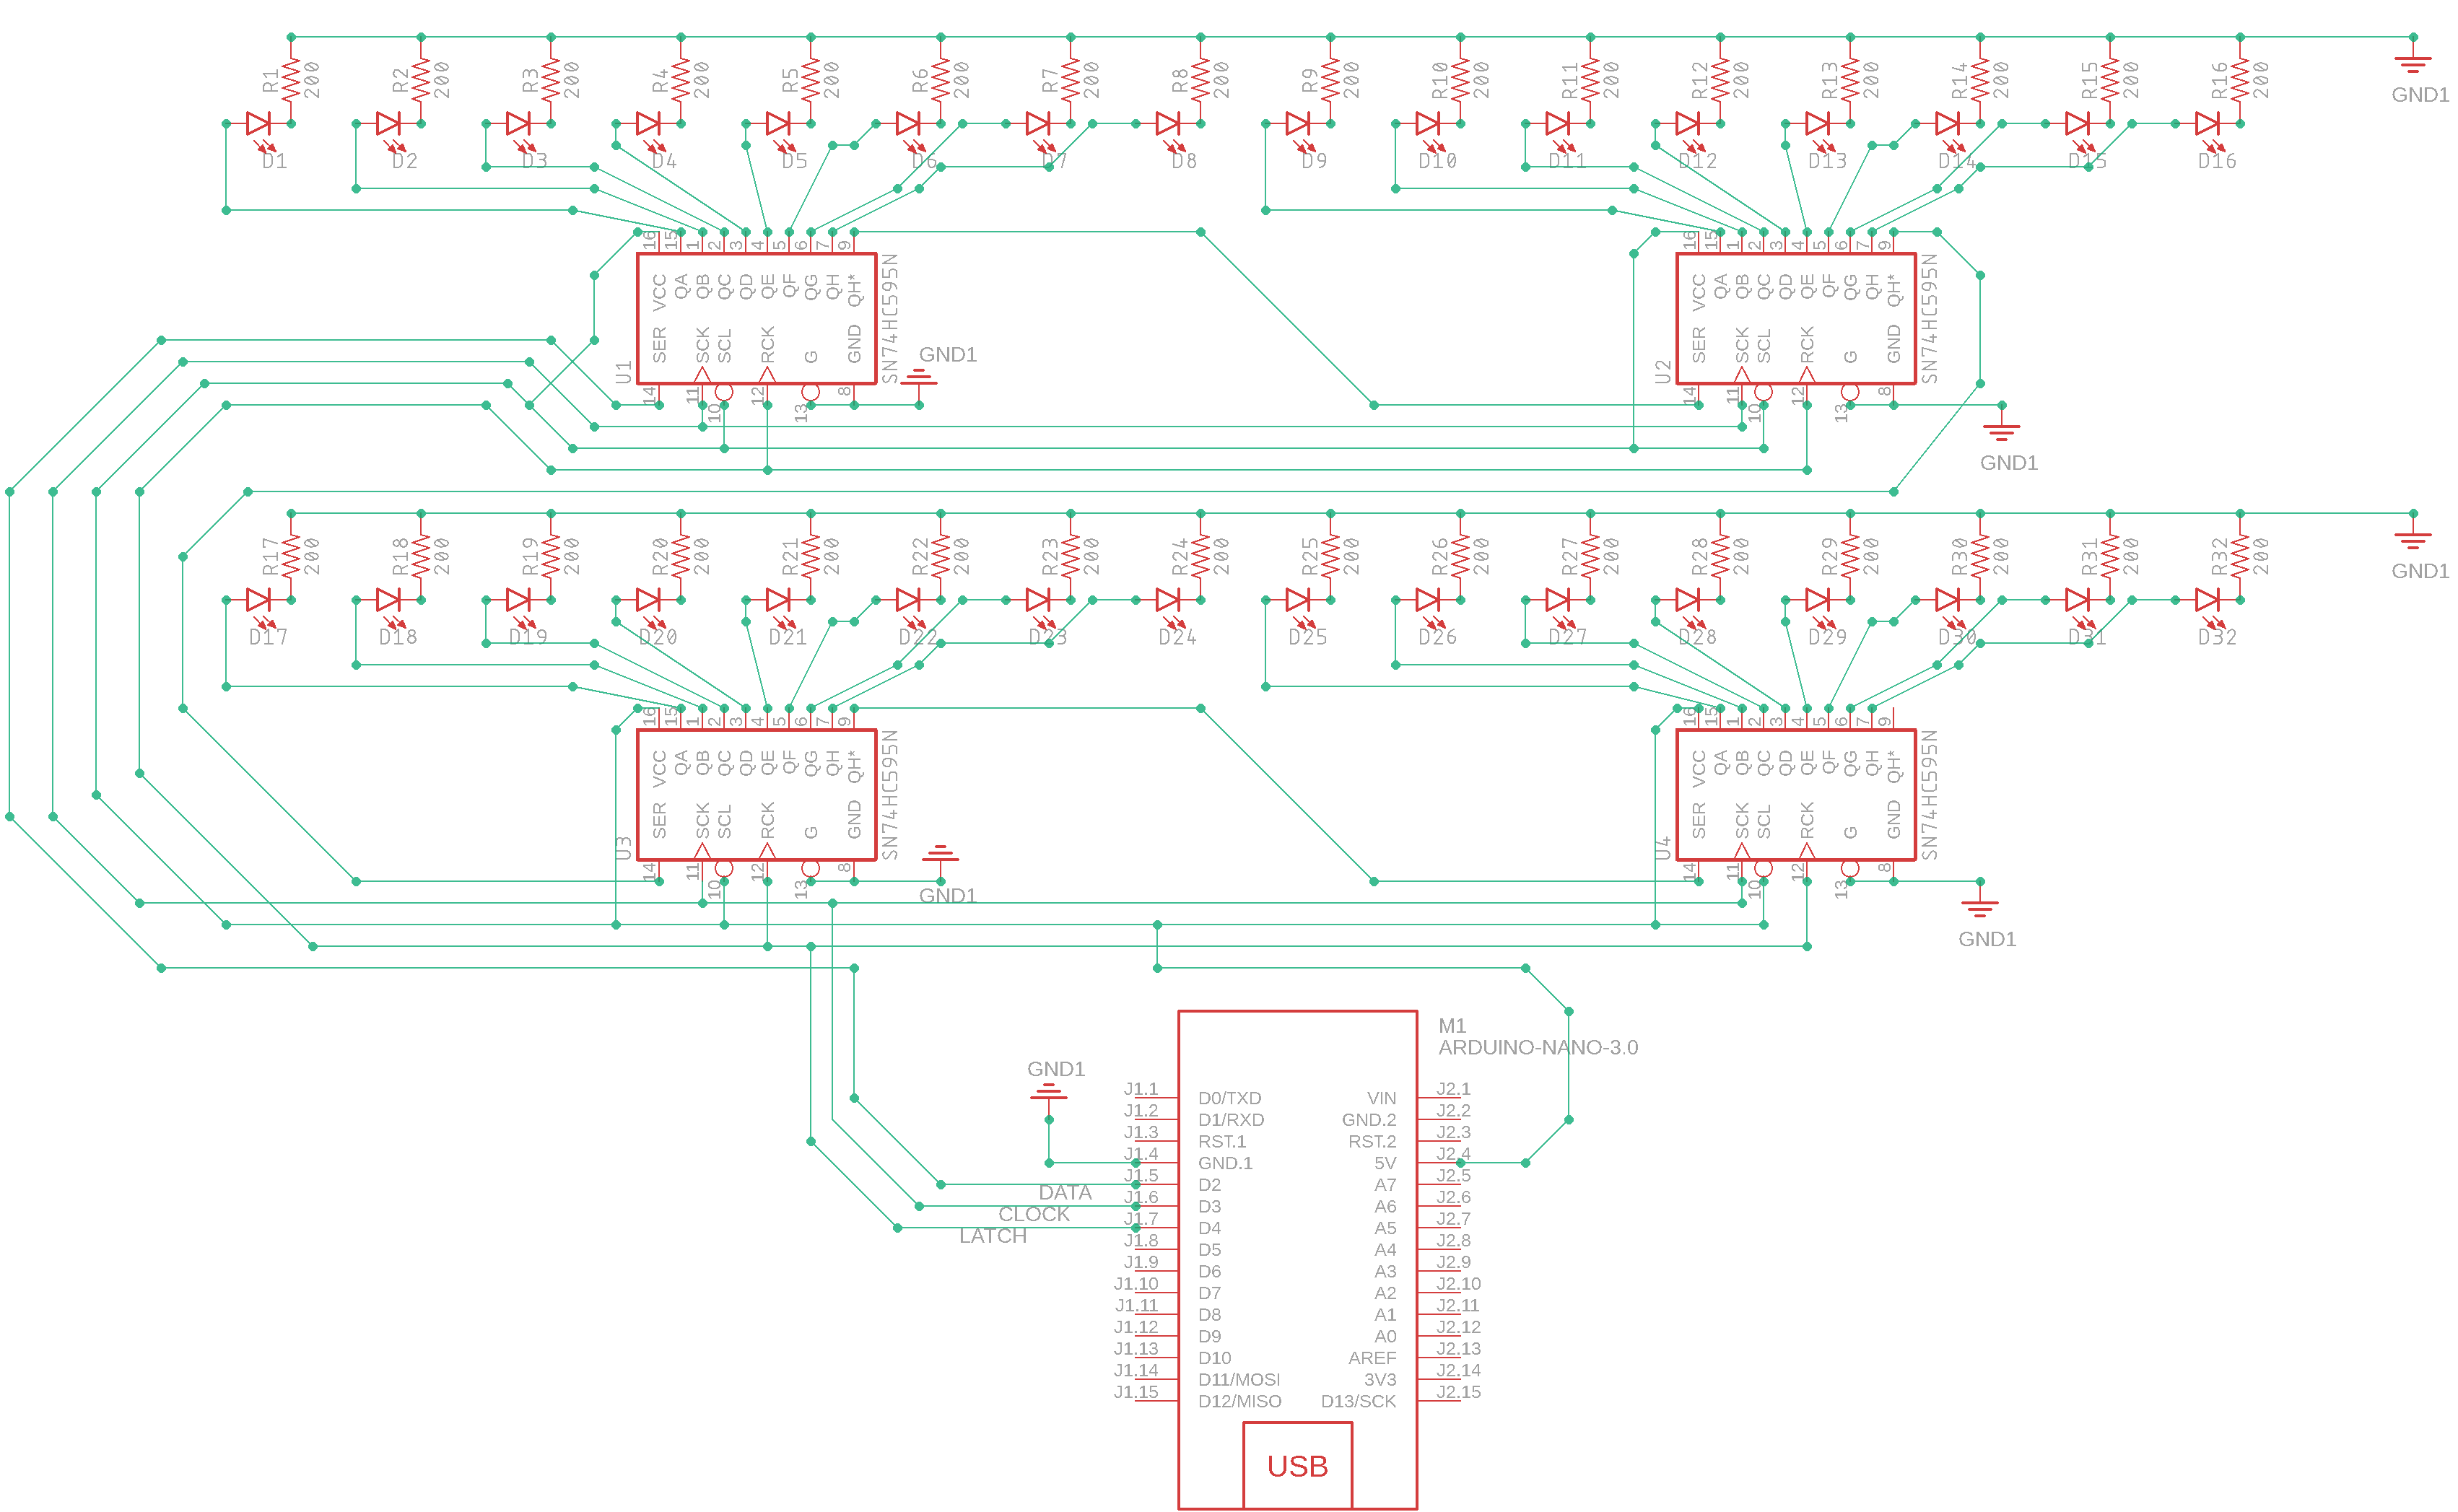
https://github.com/j-bellavance/HC595 回路図
製造プロセス