


記録可能なボール紙ロボットアーム
コンポーネントと消耗品
>  |
| × | 1 | |||
| × | 3 | ||||
 |
| × | 1 | |||
 |
| × | 1 | |||
| × | 1 |
必要なツールとマシン
>  |
|
アプリとオンラインサービス
>  |
| |||
|
このプロジェクトについて
約
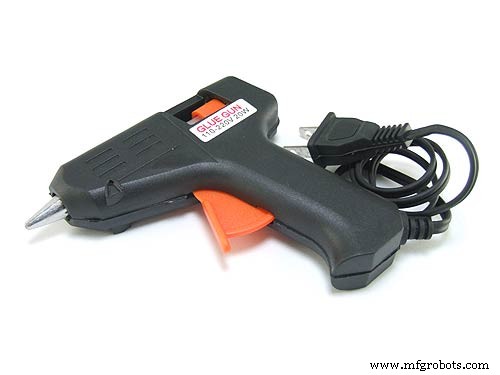
これは、位置を記録および再生できるシンプルなロボットアームです。段ボールやホットグルーなどの入手しやすい素材でできているため、簡単に組み立てることができます。
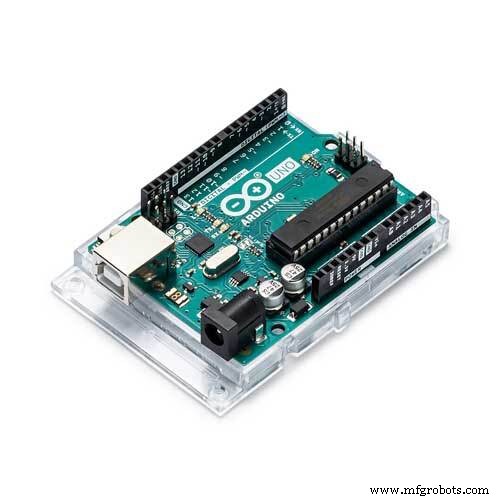
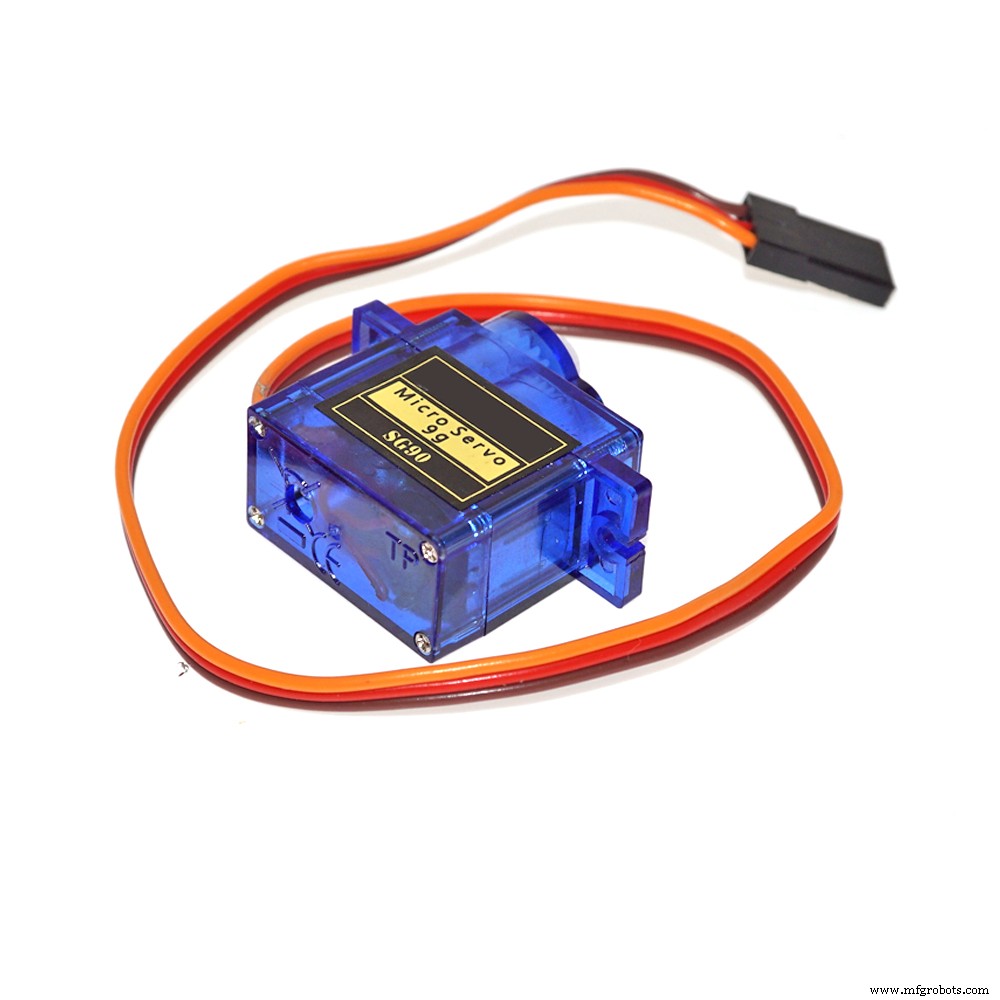
アームを制御するArduinoにデータを送信するコンピューター上のグラフィカルインターフェイスを使用して、アームを制御します。各サーボを制御するためのスライダーと、位置を記録して記録したものを再生するためのボタンがあります。過去の録音を保存して開くこともできます。
これが実際のデモです:
手順
1.)ページ下部の[カスタムパーツとエンクロージャ]セクションにあるCardboard CutoutTemplateをダウンロードして印刷します。そのテンプレートを使用して、段ボールのパーツを切り取ります。
2.)上のビデオをガイドとして使用してアームパーツを組み立てます。ビルドはビデオの0:22に始まります。
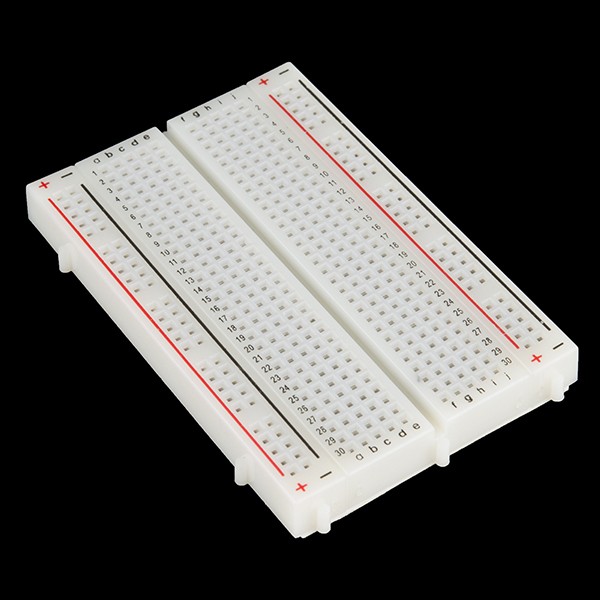
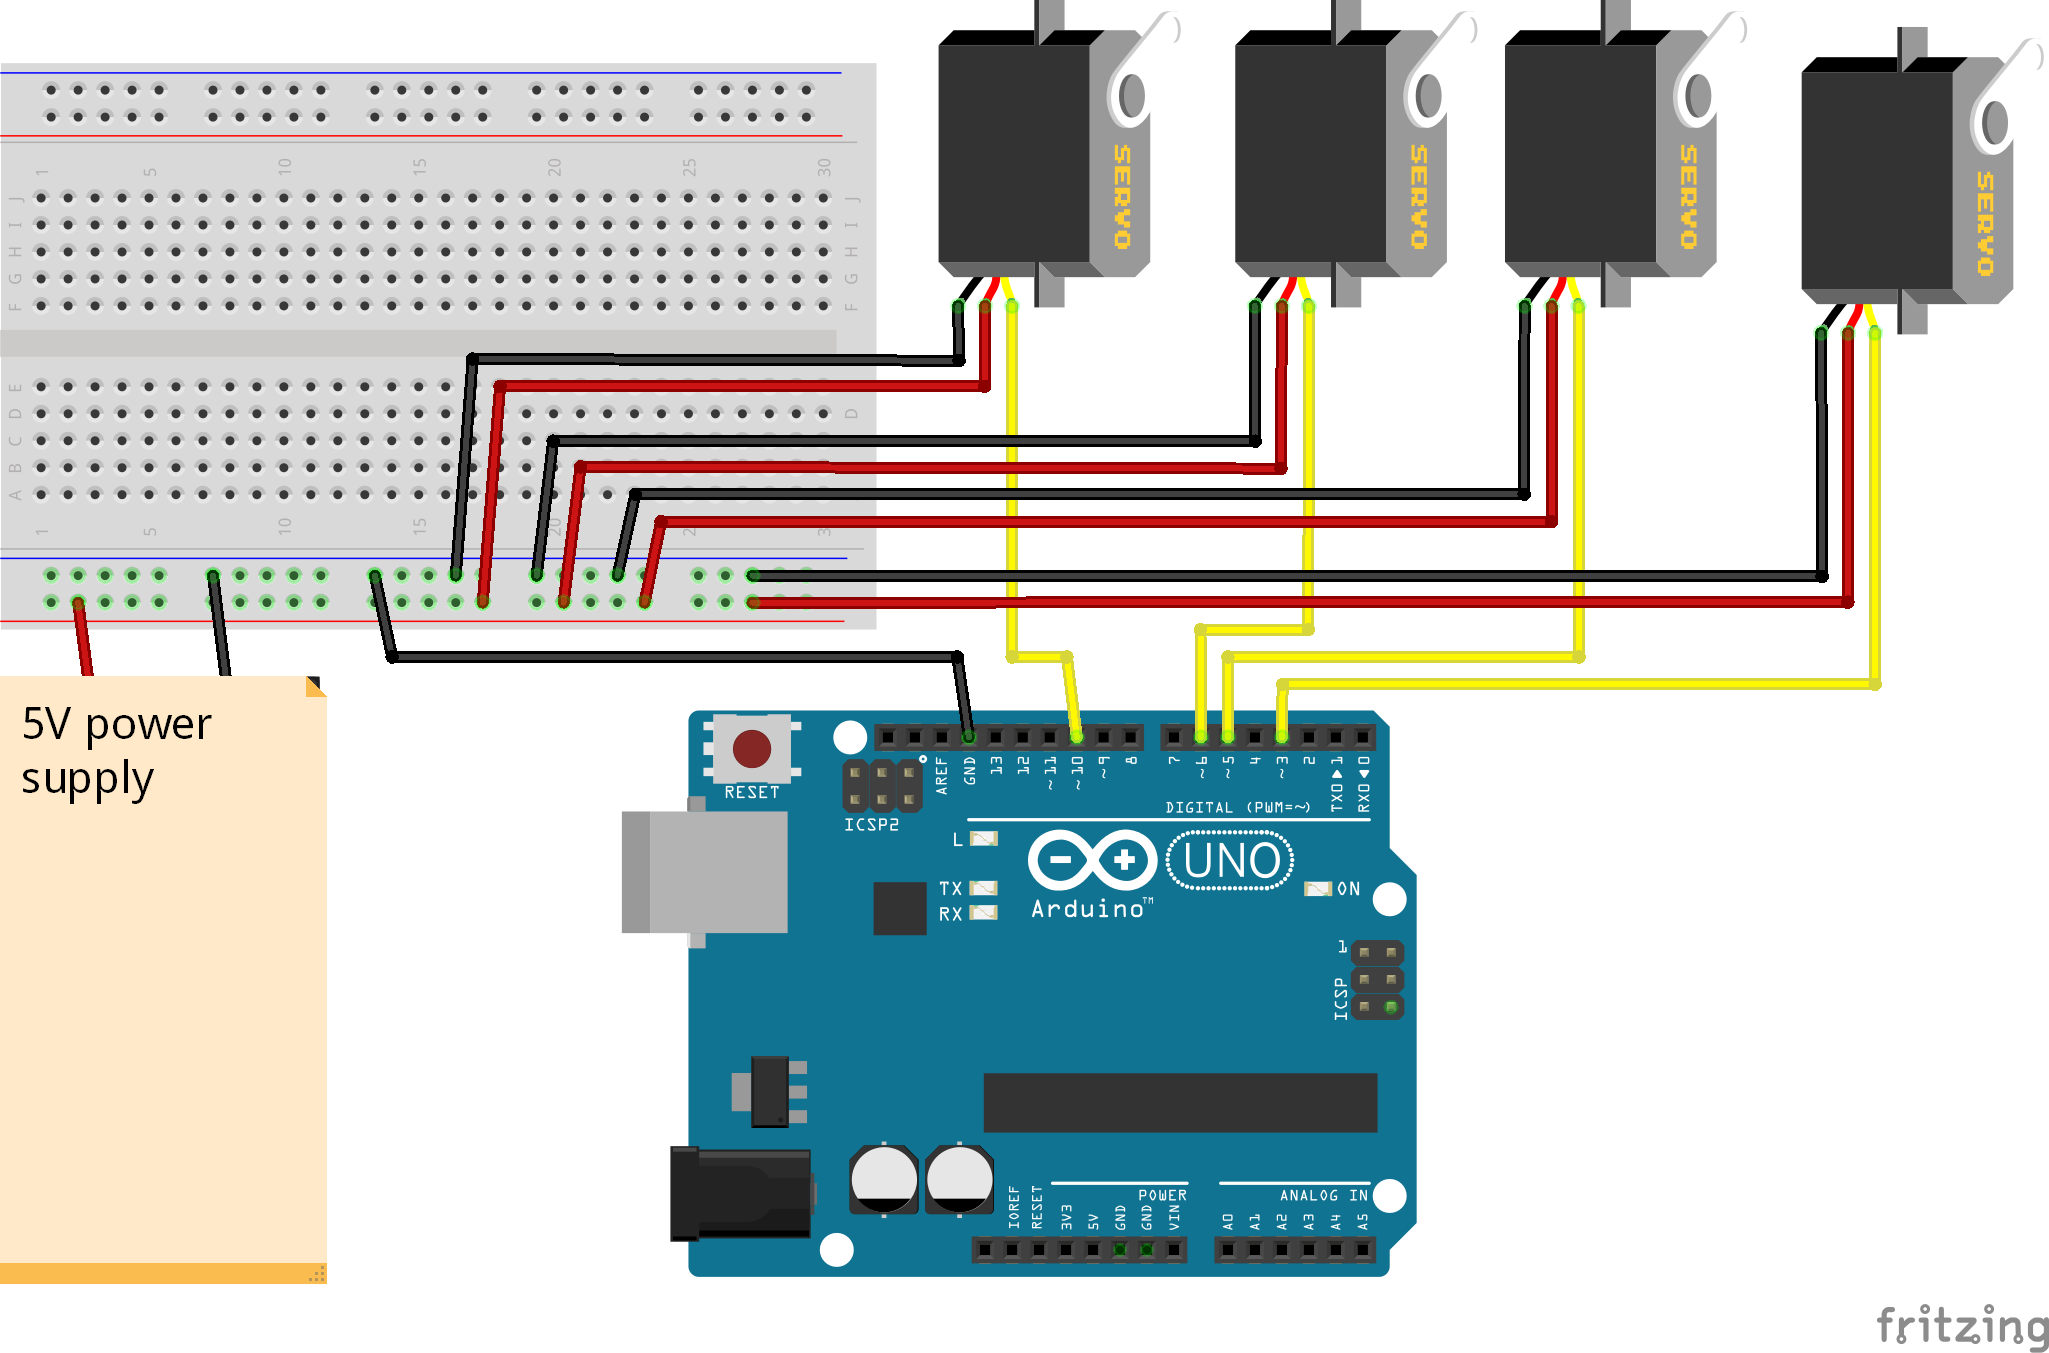
3.)ページ下部の回路図に基づいて回路を構築します。
4.)2番目のタブのコードセクションのページの下部にある「ロボットアームArduinoコード」をダウンロードします。次に、それを腕にアップロードします。
5.)最初のタブのコードセクションのページ下部にある「Pythonユーザーインターフェイス」コードをダウンロードします。次に、それを開きます。実行するにはPythonがインストールされている必要があります。これは、https://www.python.org/
からダウンロードできます。Python用のPySerialライブラリ(https://pypi.org/project/pyserial/)も必要になります。 「pipinstallpyserial」を実行してインストールできます。
6.)アームを接続し、「Pythonユーザーインターフェイス」コードを実行して、ArduinoのCOMポートを入力します(これはWindowsのデバイスマネージャーにあります)。これで、使用する準備が整いました!
それが機能しない場合は、Pythonコードの20行目のtime.sleep(0.15)を0.2や0.3などのより高い値に増やしてみてください
コード
- Pythonユーザーインターフェース
- ロボットアームArduinoコード
Pythonユーザーインターフェース Python
from tkinter import * from tkinter import filedialogimport serialimport timeport_opened =Falsedef set_port():global port_opened、arduino com_port =port_input.get()arduino =serial.Serial(com_port、9600)port_opened =True print( "COM port set to : "+ com_port)def send_positions(position):message =" {0:0 =3d} "。format(position [0])+" {0:0 =3d} "。format(position [1])+" {0:0 =3d} "。format(position [2])+" {0:0 =3d} "。format(position [3])+" {0:0 =3d} "。format(position [4 ])+ "\ n" arduino.write(str.encode(message))print(message、end ='')time.sleep(0.2)saved_positions =[] def save_positions():saved_positions.append([servo1_slider.get ()、servo2_slider.get()、servo3_slider.get()、servo4_slider.get()、servo5_slider.get()]); print( "saved position:" + str(saved_positions))def play_positions():for position in saved_positions:print( "playing:" + str(position))send_positions(position); time.sleep(1)def clear_all_positions():グローバルsaved_positions saved_positions =[] print( "cleared all position")def clear_last_positions():global saved_positions remove =saved_positions.pop()print( "removed:" + str(removed) )print( "saved position:" + str(saved_positions))def open_file():global saved_positions filename =filedialog.askopenfilename(initialdir ="/"、title ="Select a File"、filetypes =(( "Text files"、 "* .txt *")、( "all files"、 "*。*")))file =open(filename、 "r")data =file.read()saved_positions =eval(data)file.close() print( "opened:" + filename)def save_file():save_file =filedialog.asksaveasfile(mode ='w'、defaultextension ="。txt")save_file.write(str(saved_positions))save_file.close()print( "保存されたファイル ")definstructions():print("1。)ArduinoのCOMポートを設定し、Enterをクリックします。これはWindowsのデバイスマネージャーにあります ")print("2。)スライダーを使用してアームのサーボを移動します ") print( "3。)位置を記録するにはn、[位置の記録]をクリックします ")print("4。)記録された位置を再生するには、[位置の再生]をクリックします ")print(" \ n記録したものを保存するには、[ファイル]> [ファイルの保存]に移動します。 ")print("以前に保存したファイルを開くには、[ファイル]> [ファイルを開く]に移動します。 ")window =Tk()window.title(" Robot Arm Controller 2 ")window.minsize(355,300)port_label =Label(window、text =" Set Port: "); port_label.place(x =10、y =10); port_input =Entry(window)port_input.place(x =10、y =35)port_button =Button(window、text =" Enter "、command =set_port) port_button.place(x =135、y =32)servo1_slider =Scale(window、from_ =180、to =0)servo1_slider.place(x =0、y =100)servo1_label =Label(window、text ="Servo 1" )servo1_label.place(x =10、y =80)servo2_slider =Scale(window、from_ =180、to =0)servo2_slider.place(x =70、y =100)servo2_label =Label(window、text ="Servo 2 ")servo2_label.place(x =80、y =80)servo3_slider =Scale(window、from_ =180、to =0)servo3_slider.place(x =140、y =100)servo3_label =Label(window、text =" Servo 3 ")servo3_label.place(x =150、y =80)servo4_slider =Scale(wind ow、from_ =180、to =0)servo4_slider.place(x =210、y =100)servo4_label =Label(window、text ="Servo 4")servo4_label.place(x =220、y =80)servo5_slider =スケール(window、from_ =180、to =0)servo5_slider.place(x =280、y =100)servo5_label =Label(window、text ="Servo 5")servo5_label.place(x =290、y =80)save_button =Button(window、text ="Record Position"、command =save_positions)save_button.place(x =10、y =220)clear_button =Button(window、text ="Clear Last Position"、command =clear_last_positions)clear_button.place(x =120、y =220)clear_button =Button(window、text ="Clear All Positions"、command =clear_all_positions)clear_button.place(x =120、y =255)play_button =Button(window、text ="Replay Positions"、 command =play_positions、height =3)play_button.place(x =250、y =220)menubar =Menu(window)filemenu =Menu(menubar、tearoff =0)filemenu.add_command(label ="Open File"、command =open_file )filemenu.add_command(label ="Save File"、command =save_file)menubar.add_cascade(label ="File"、menu =filemenu)editmenu =Menu(menubar、tearoff =0)editmenu.add_comman d(label ="最後の位置をクリア"、command =clear_last_positions)editmenu.add_command(label ="すべての位置をクリア"、command =clear_all_positions)menubar.add_cascade(label ="編集"、menu =editmenu)helpmenu =Menu(menubar、 tearoff =0)helpmenu.add_command(label ="使用方法(コンソールに出力)"、command =Instructions)menubar.add_cascade(label ="Help"、menu =helpmenu)window.config(menu =menubar)while True: window.update()if(port_opened):send_positions([servo1_slider.get()、servo2_slider.get()、servo3_slider.get()、servo4_slider.get()、servo5_slider.get()]) ロボットアームArduinoコード Arduino
#includeサーボサーボ1;サーボサーボ2;サーボサーボ3;サーボサーボ4;サーボサーボ5; intservoPositions [5]; void setup(){Serial.begin(9600); Servo1.attach(3); Servo2.attach(5); Servo3.attach(6); Servo4.attach(9); Servo5.attach(10);} void loop(){while(Serial.available()){String input =Serial.readStringUntil( '\ n'); ServoPositions [0] =input.substring(0,3).toInt(); ServoPositions [1] =input.substring(3,6).toInt(); ServoPositions [2] =input.substring(6,9).toInt(); ServoPositions [3] =input.substring(9,12).toInt(); ServoPositions [4] =input.substring(12,15).toInt(); } servo1.write(servoPositions [0]); Servo2.write(servoPositions [1]); Servo3.write(servoPositions [2]); Servo4.write(servoPositions [3]); servo5.write(servoPositions [4]); delay(500);}
カスタムパーツとエンクロージャー
回路図
製造プロセス