



ジャンクDVDドライブで作るミニCNC 2Dプロッター - L293Dシールド使用
必要な部品と材料
- Arduino UNO × 1 (制御用)
- L293D モーターシールド × 1 (ステッパー2軸制御)
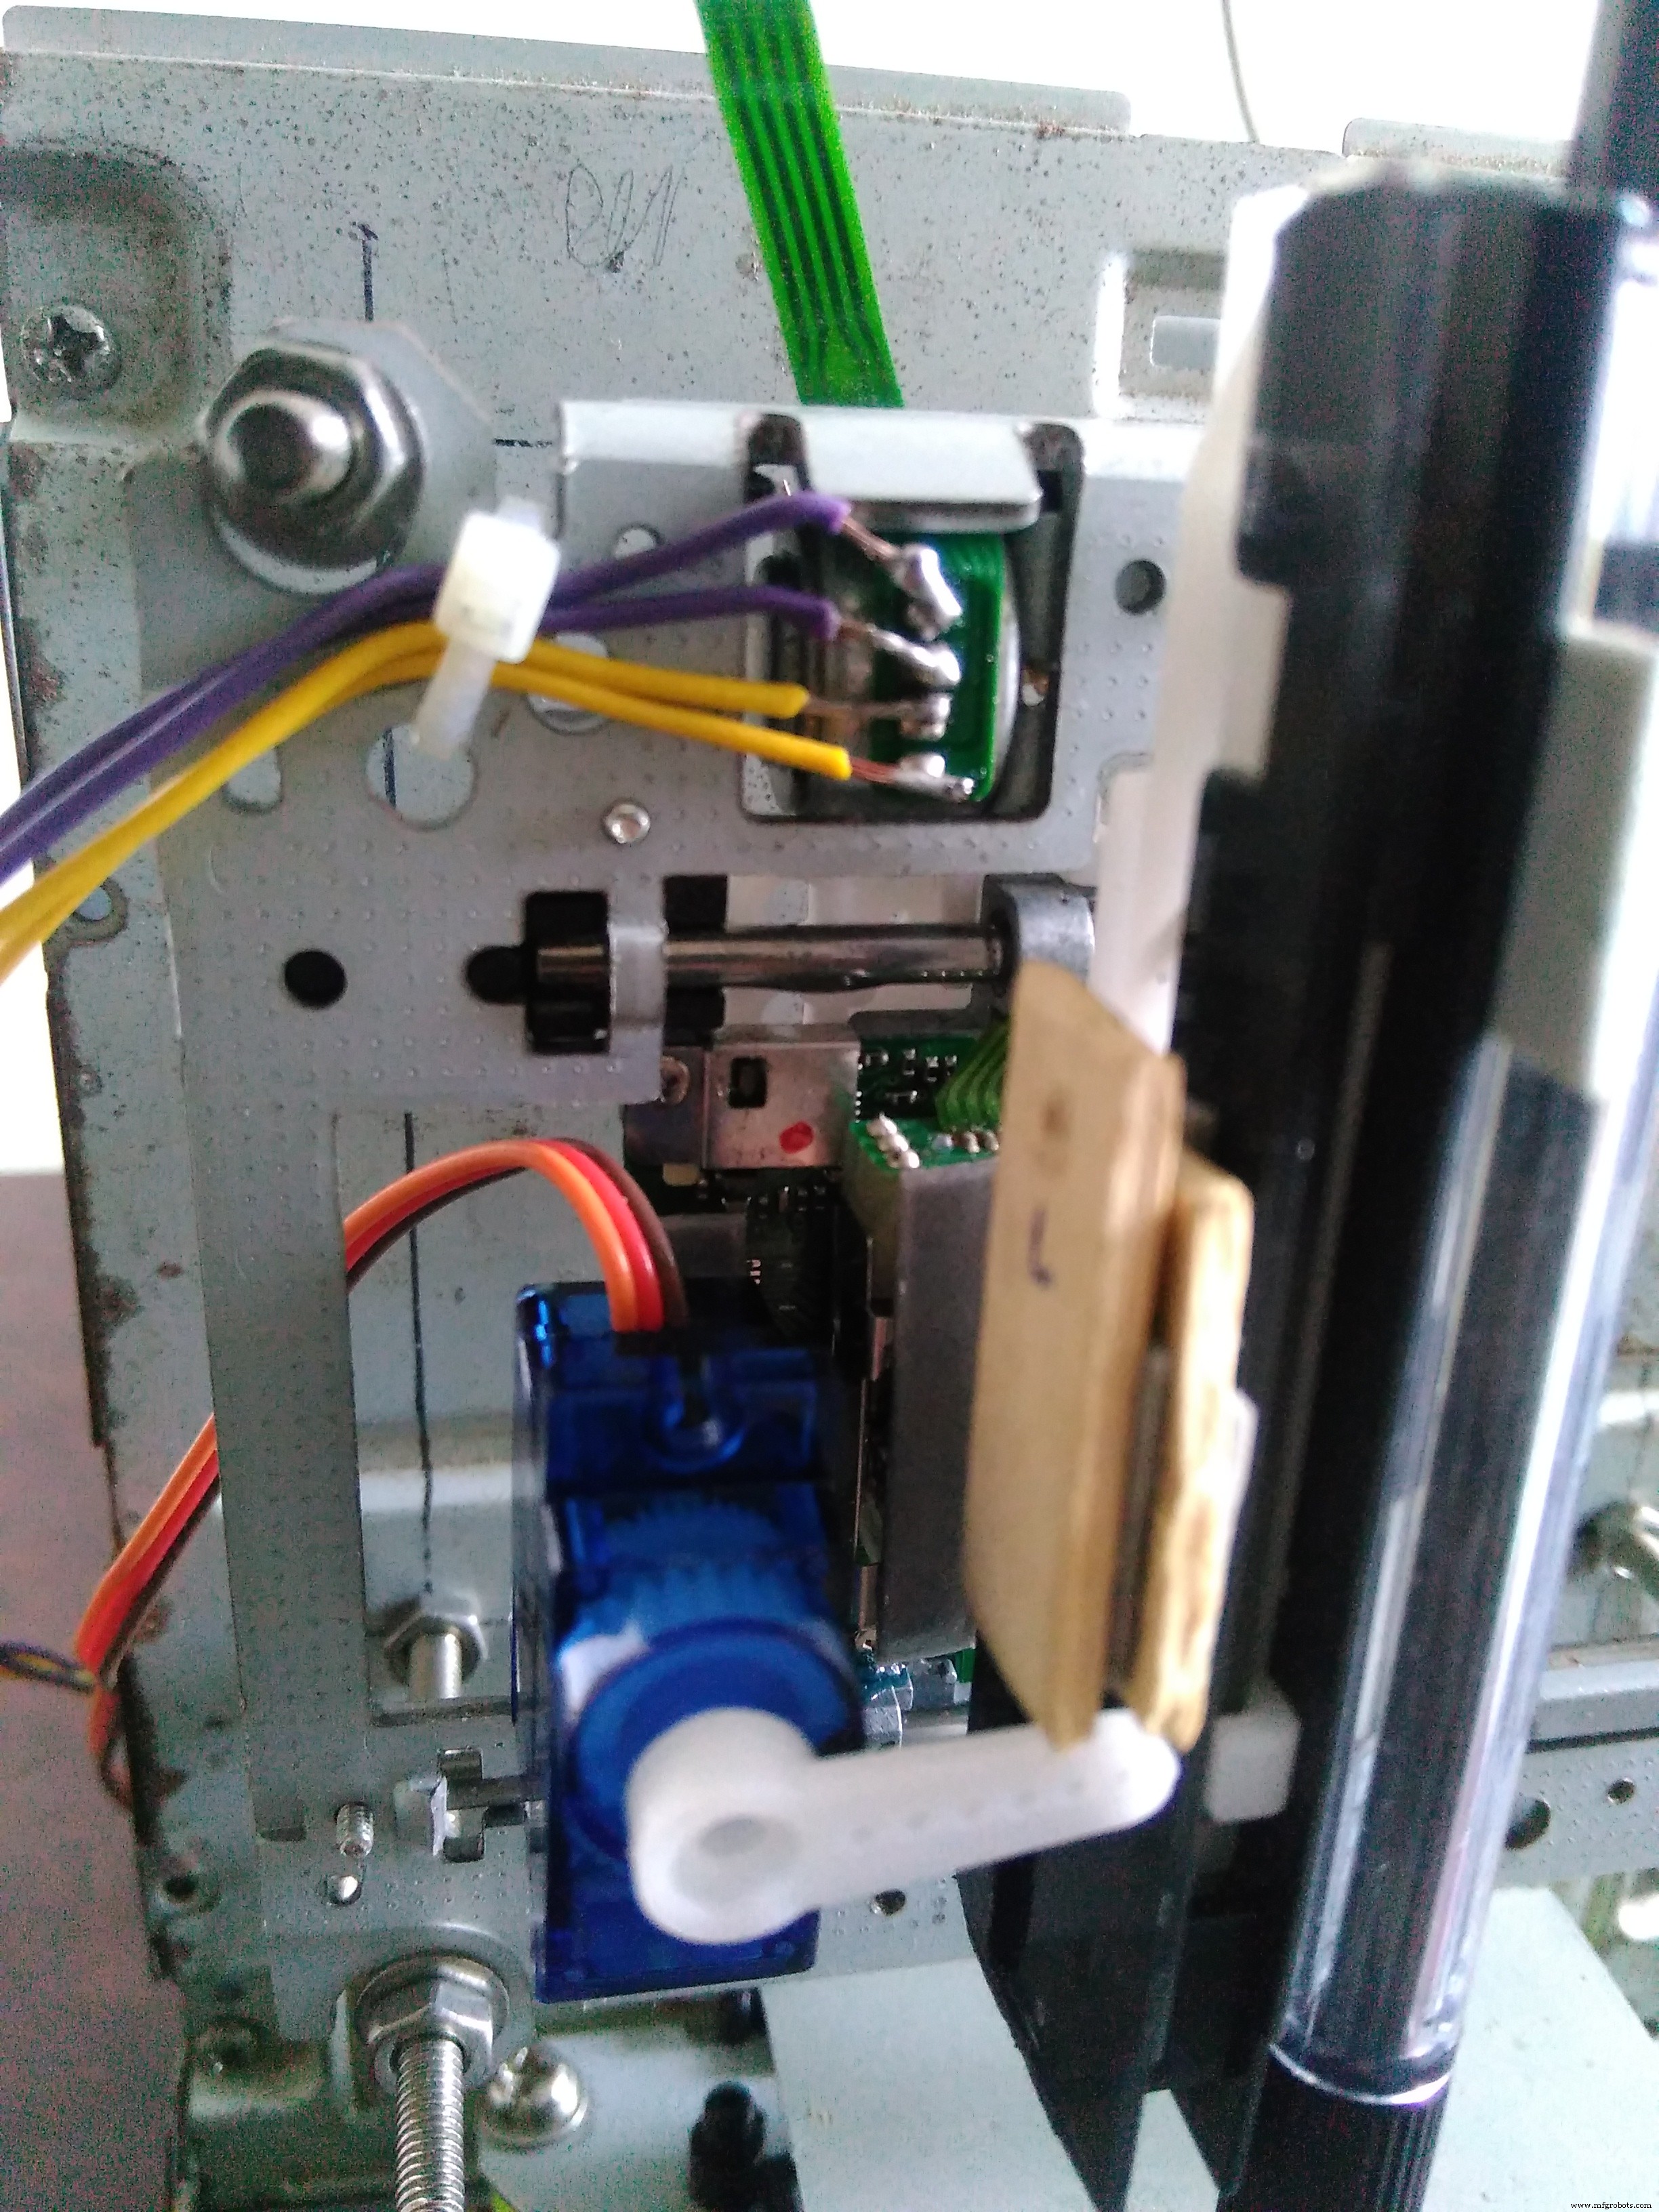
- Tower Pro 9g サーボモーター × 1 (ペン昇降/Z軸)
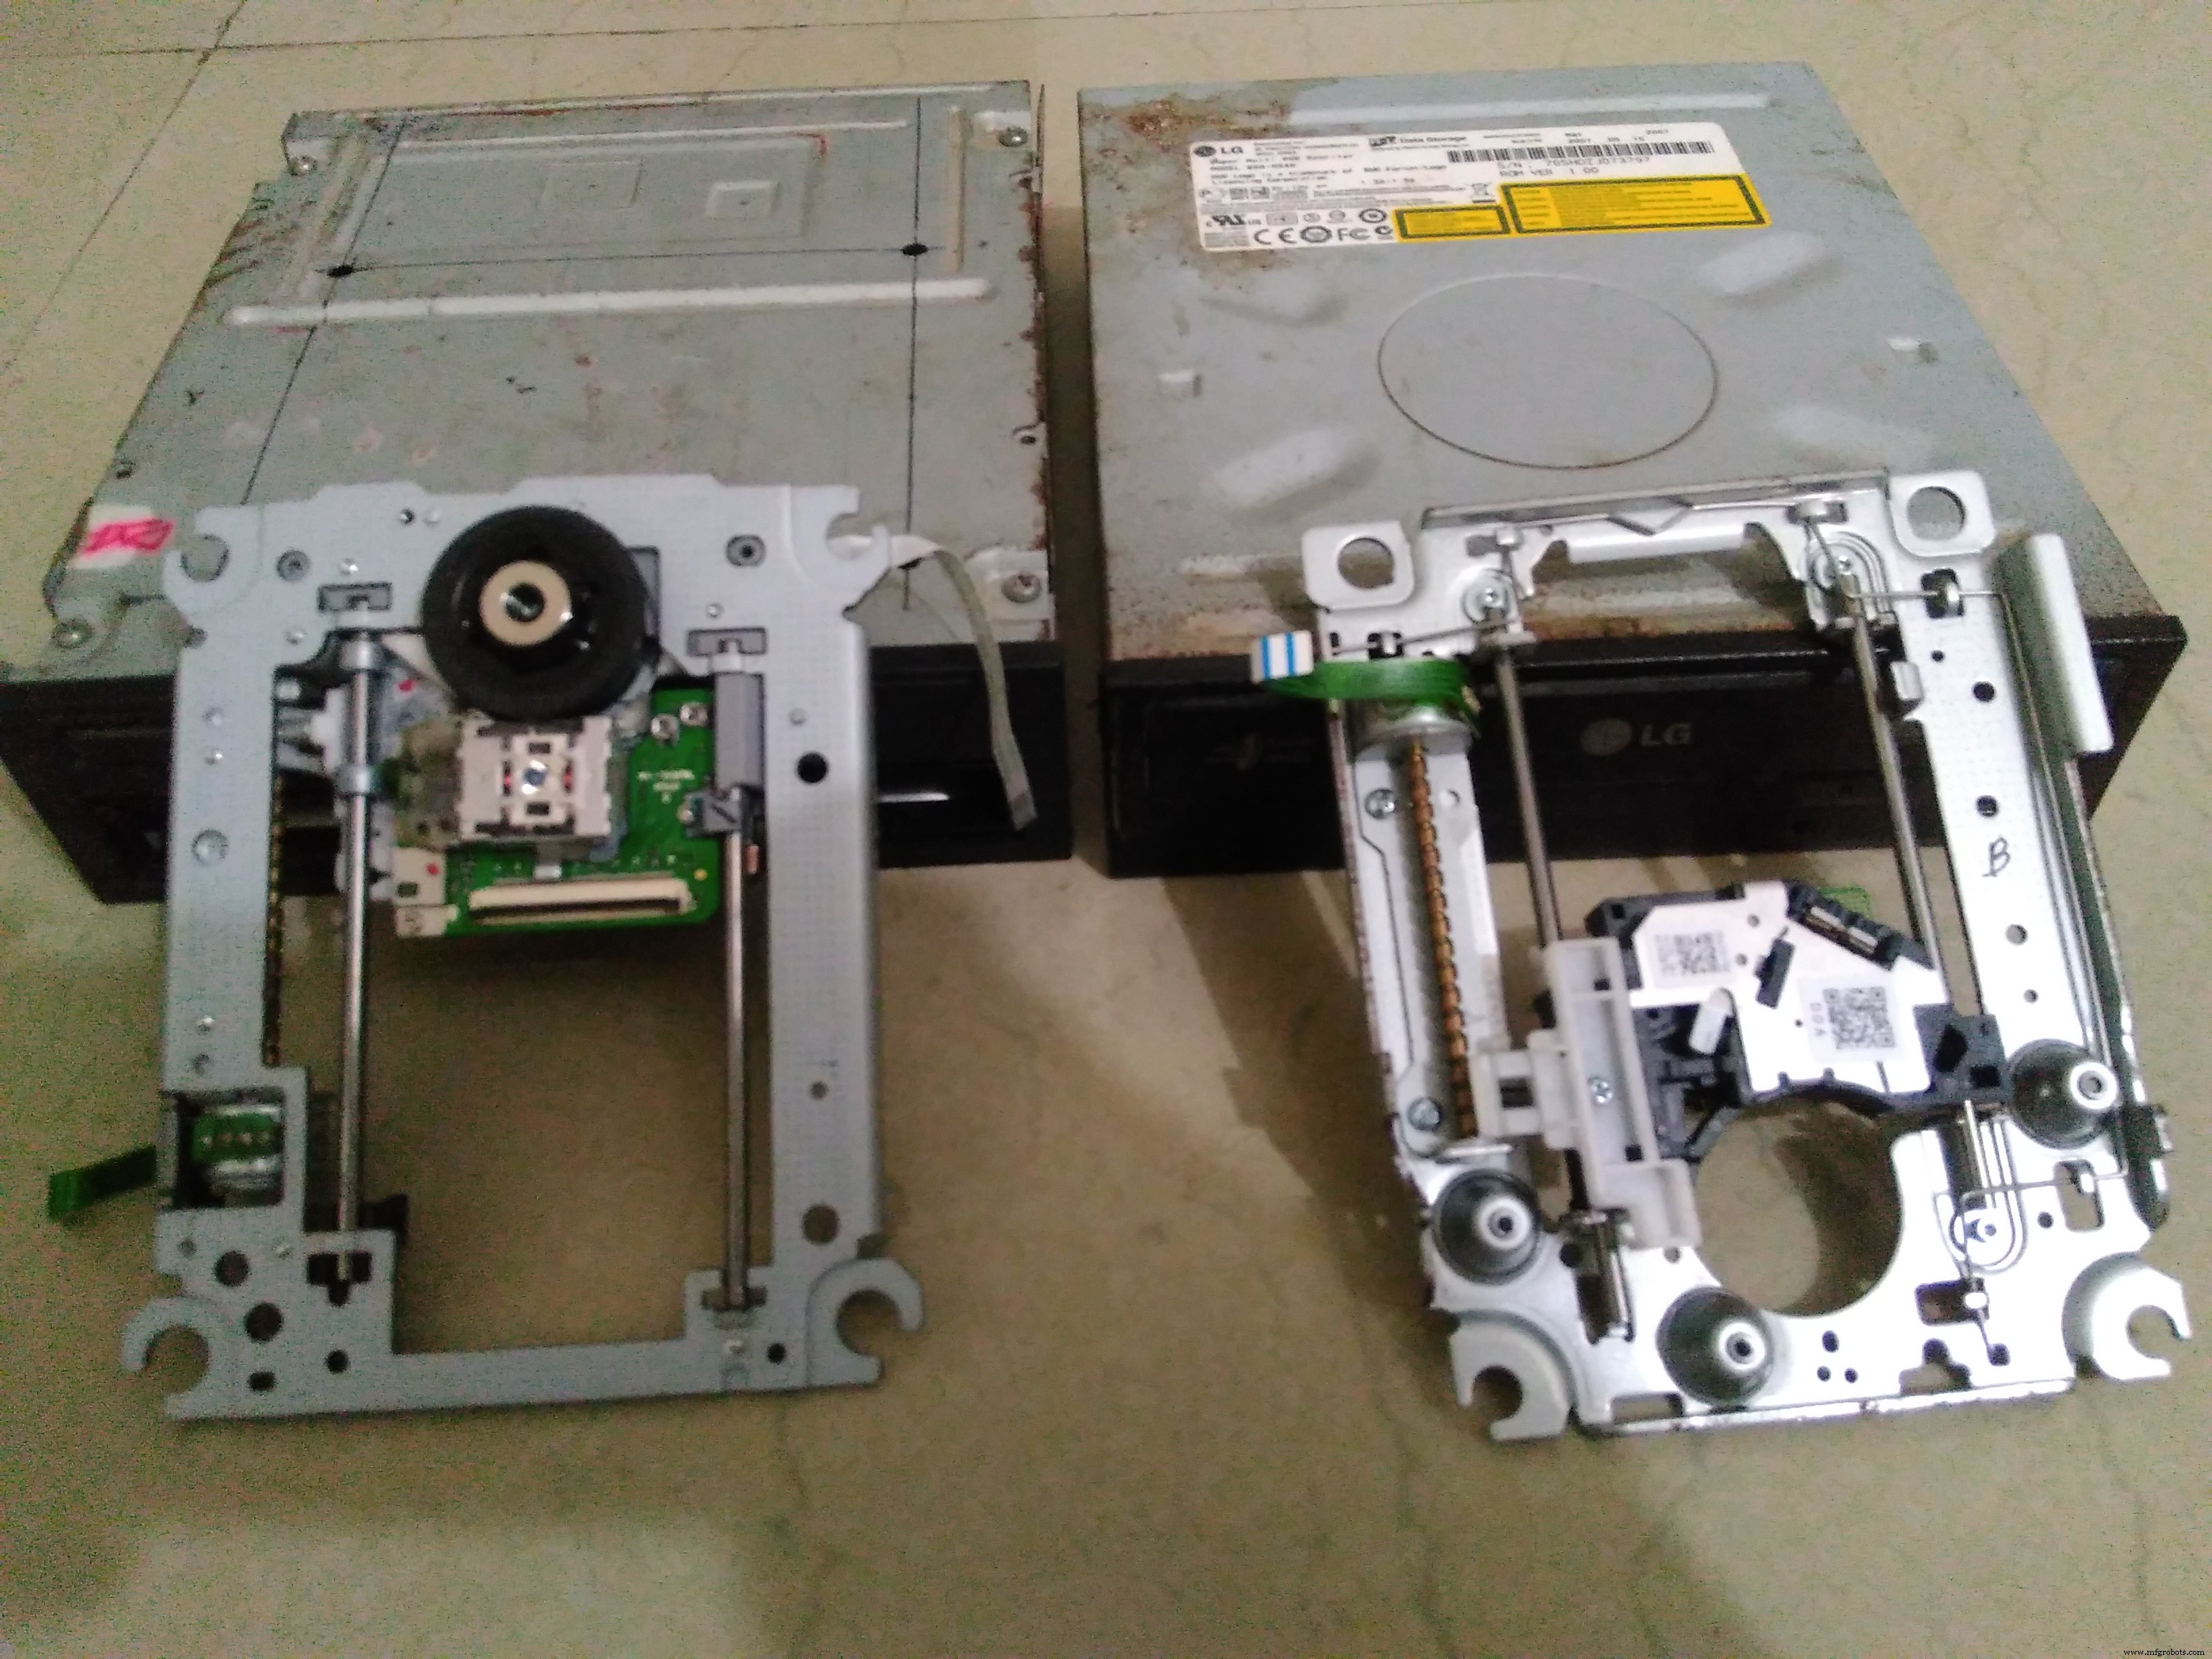
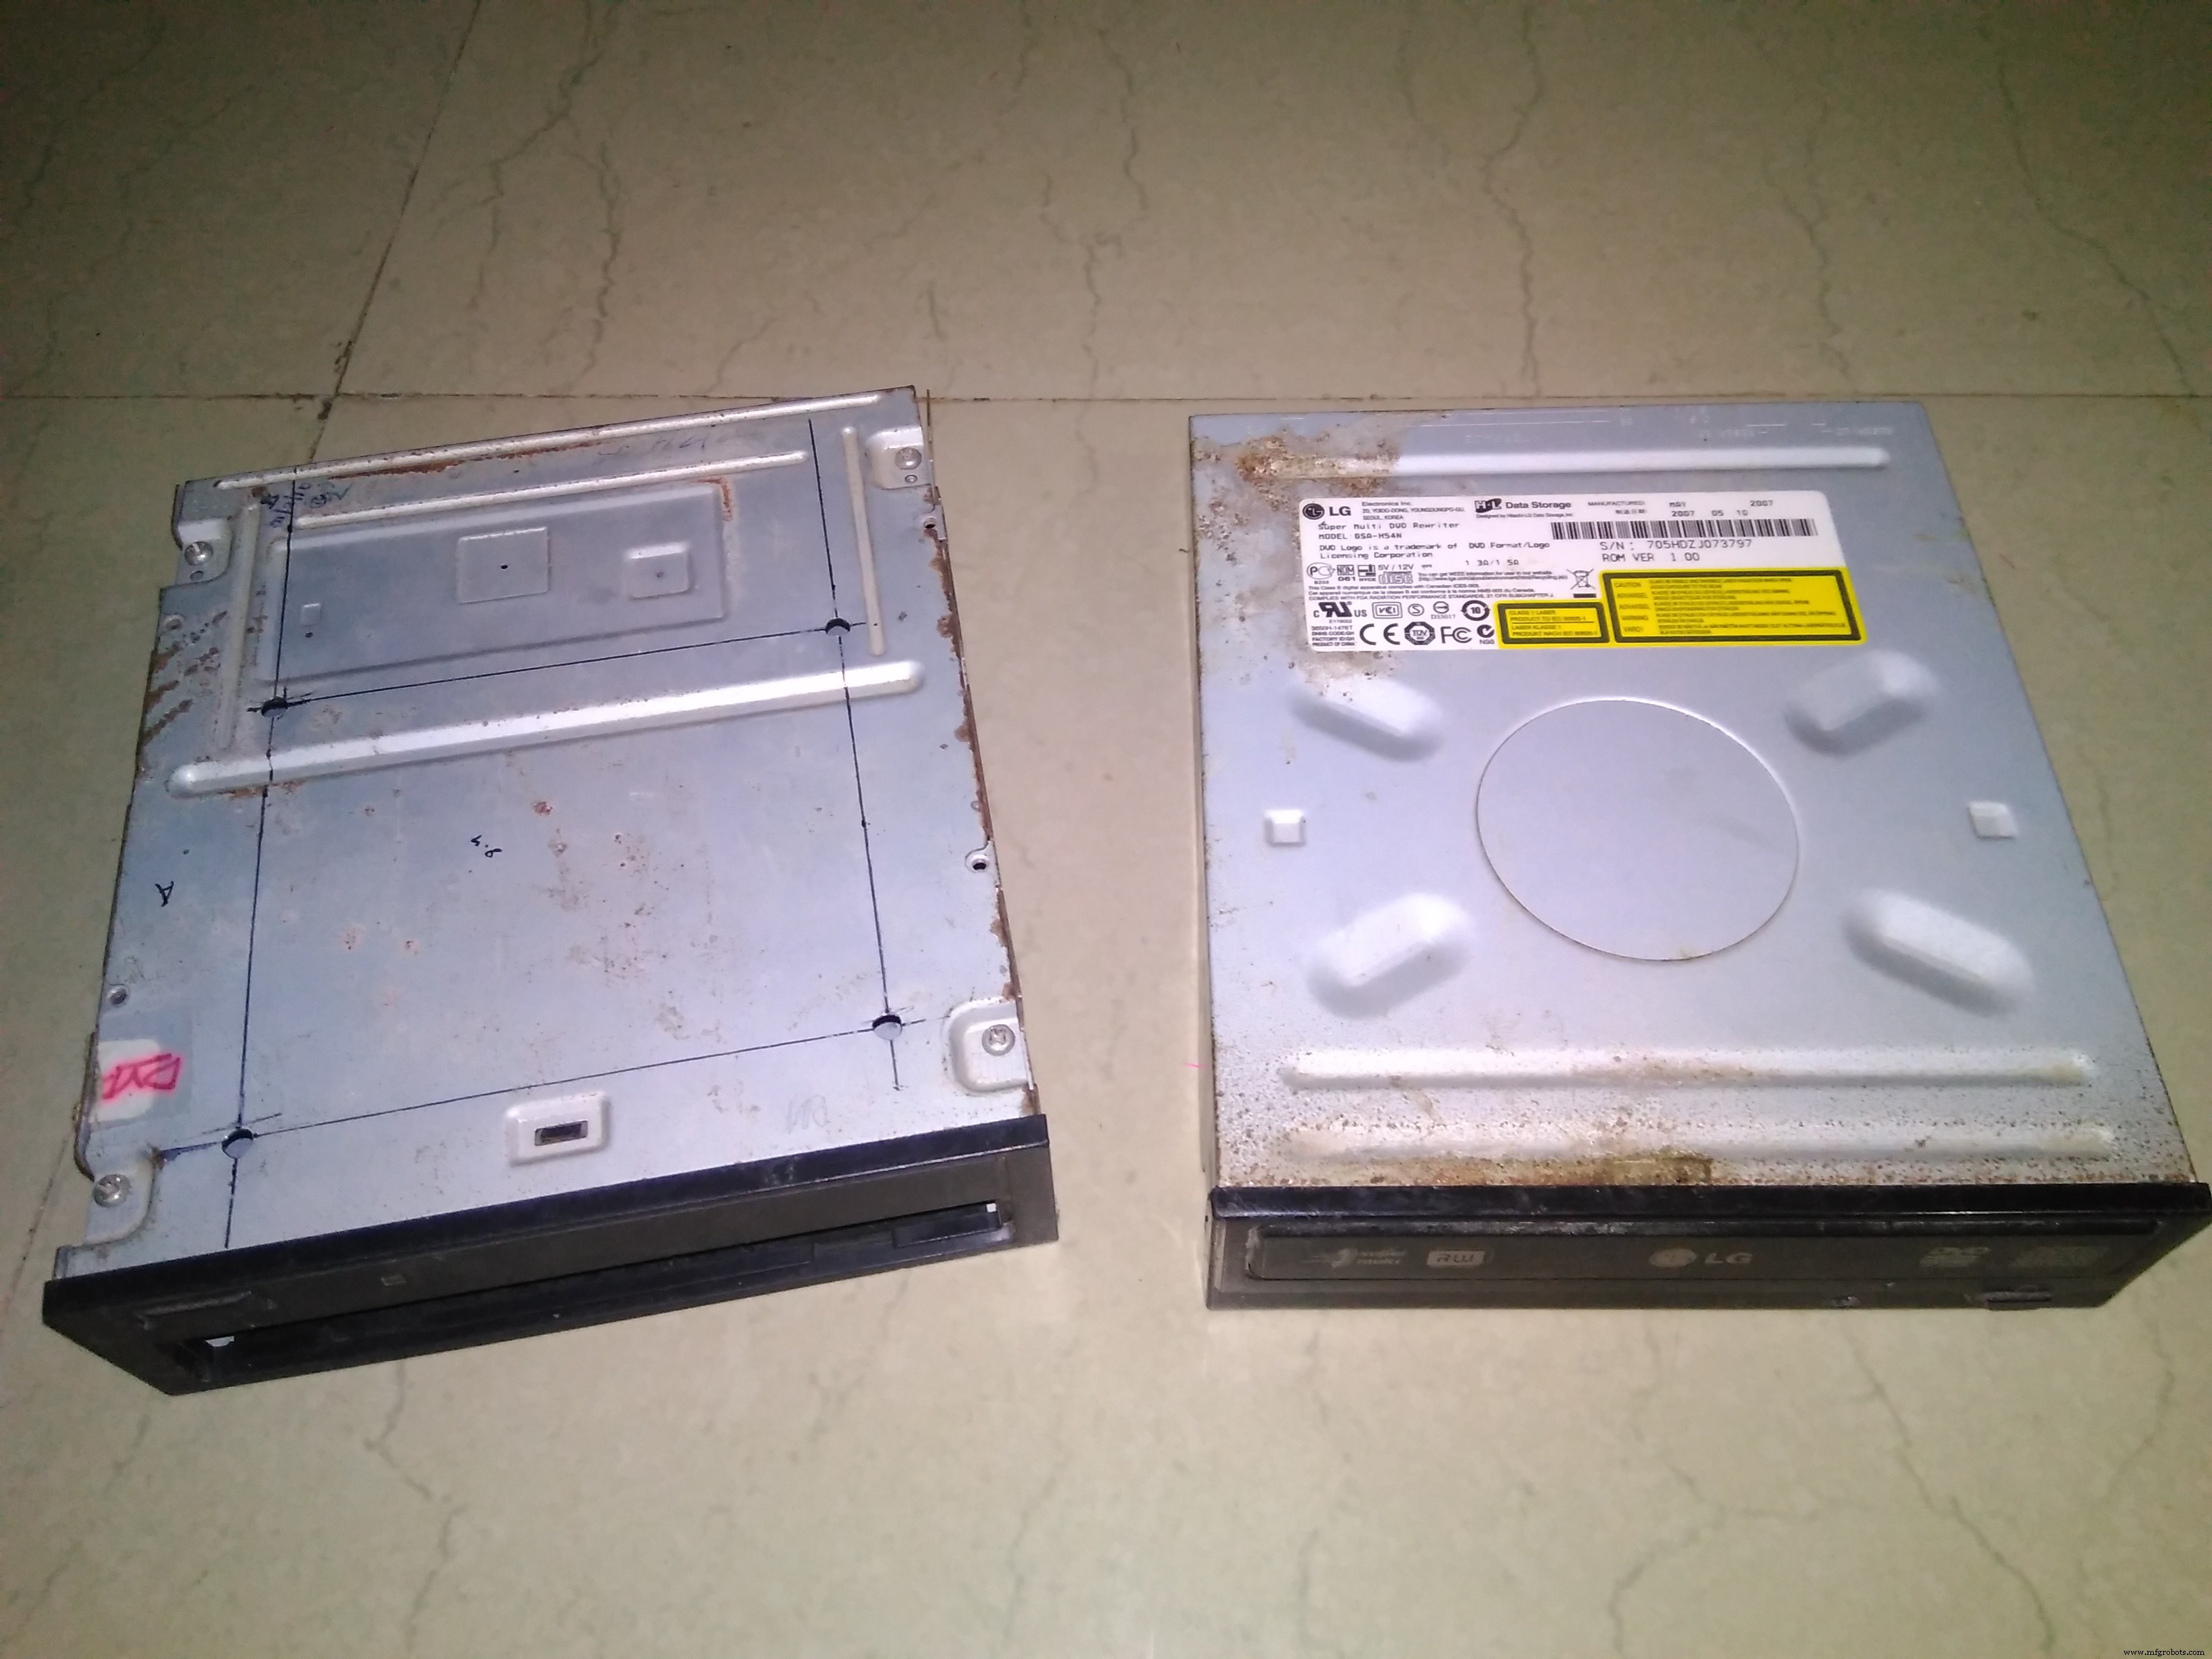
- ジャンクDVDドライブ × 2 (内部のスライド機構をX/Y軸に流用)
- ジャンパワイヤ × 1式
使用するソフトウェア
- Arduino IDE
- Processing IDE (G-code送信用)
- Inkscape 0.48.5 (ベクター画像→G-code変換用、必ずこのバージョン)
製作手順
1. DVDドライブの分解と軸の取り出し
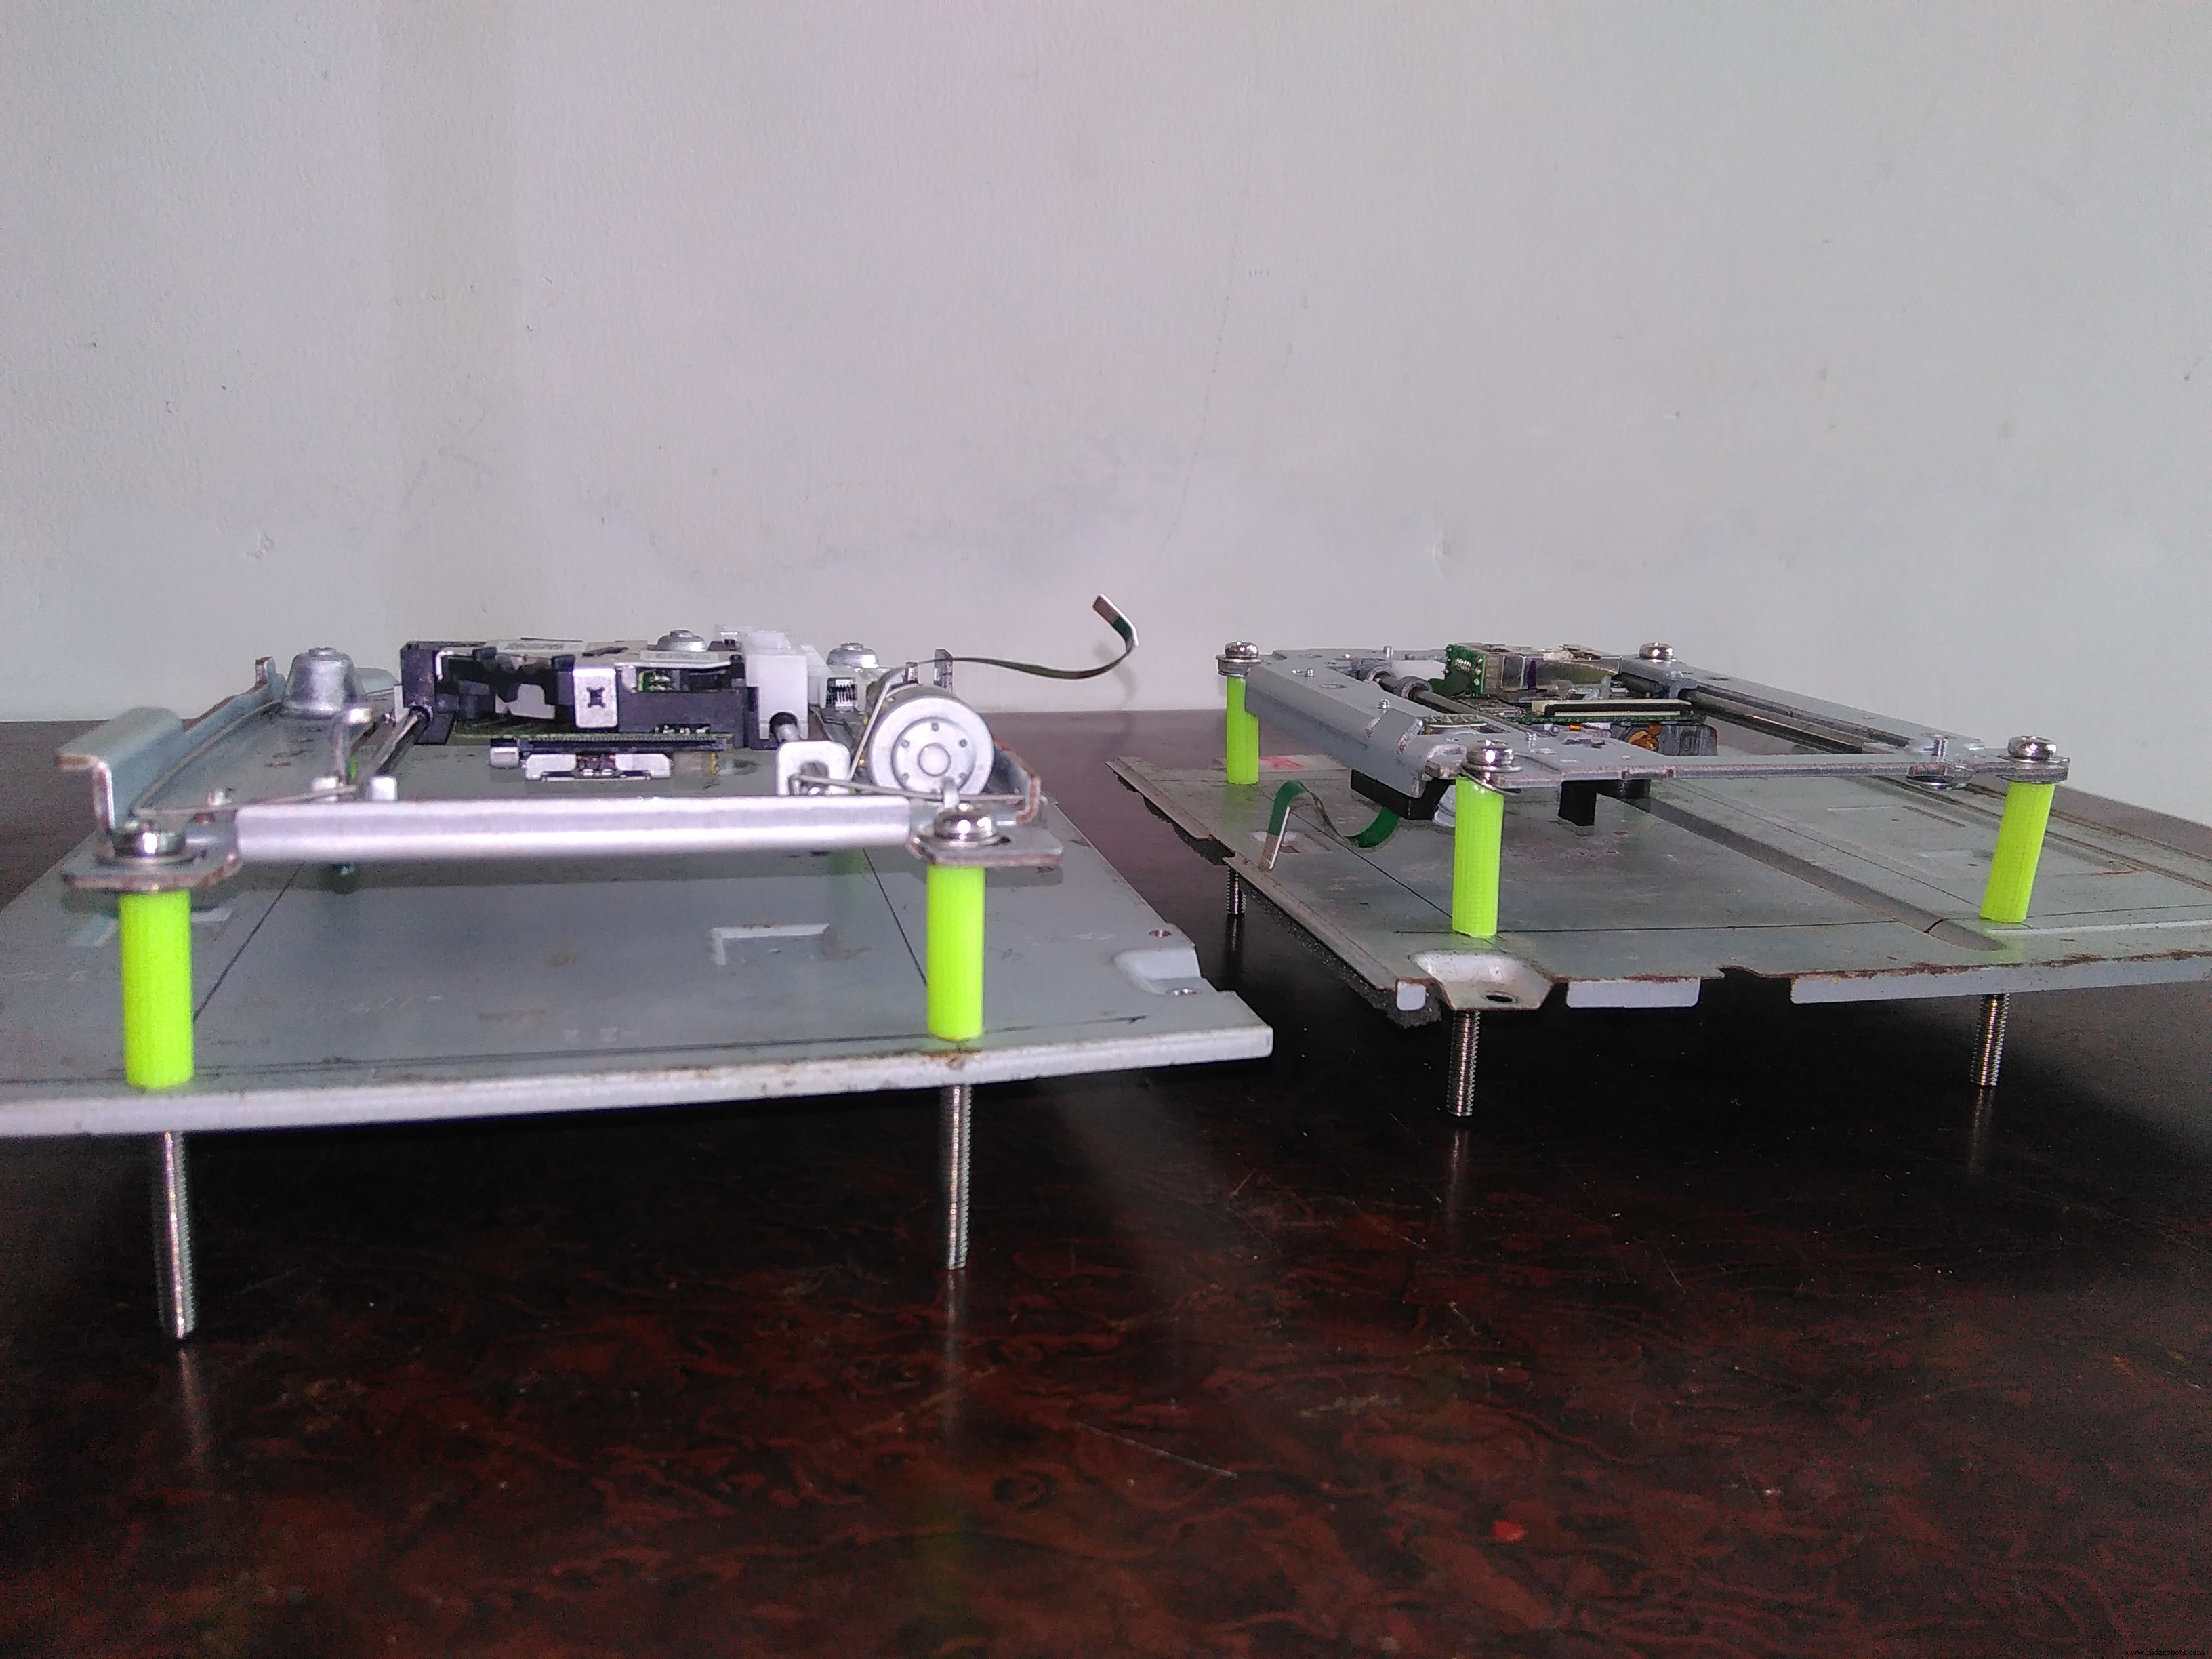
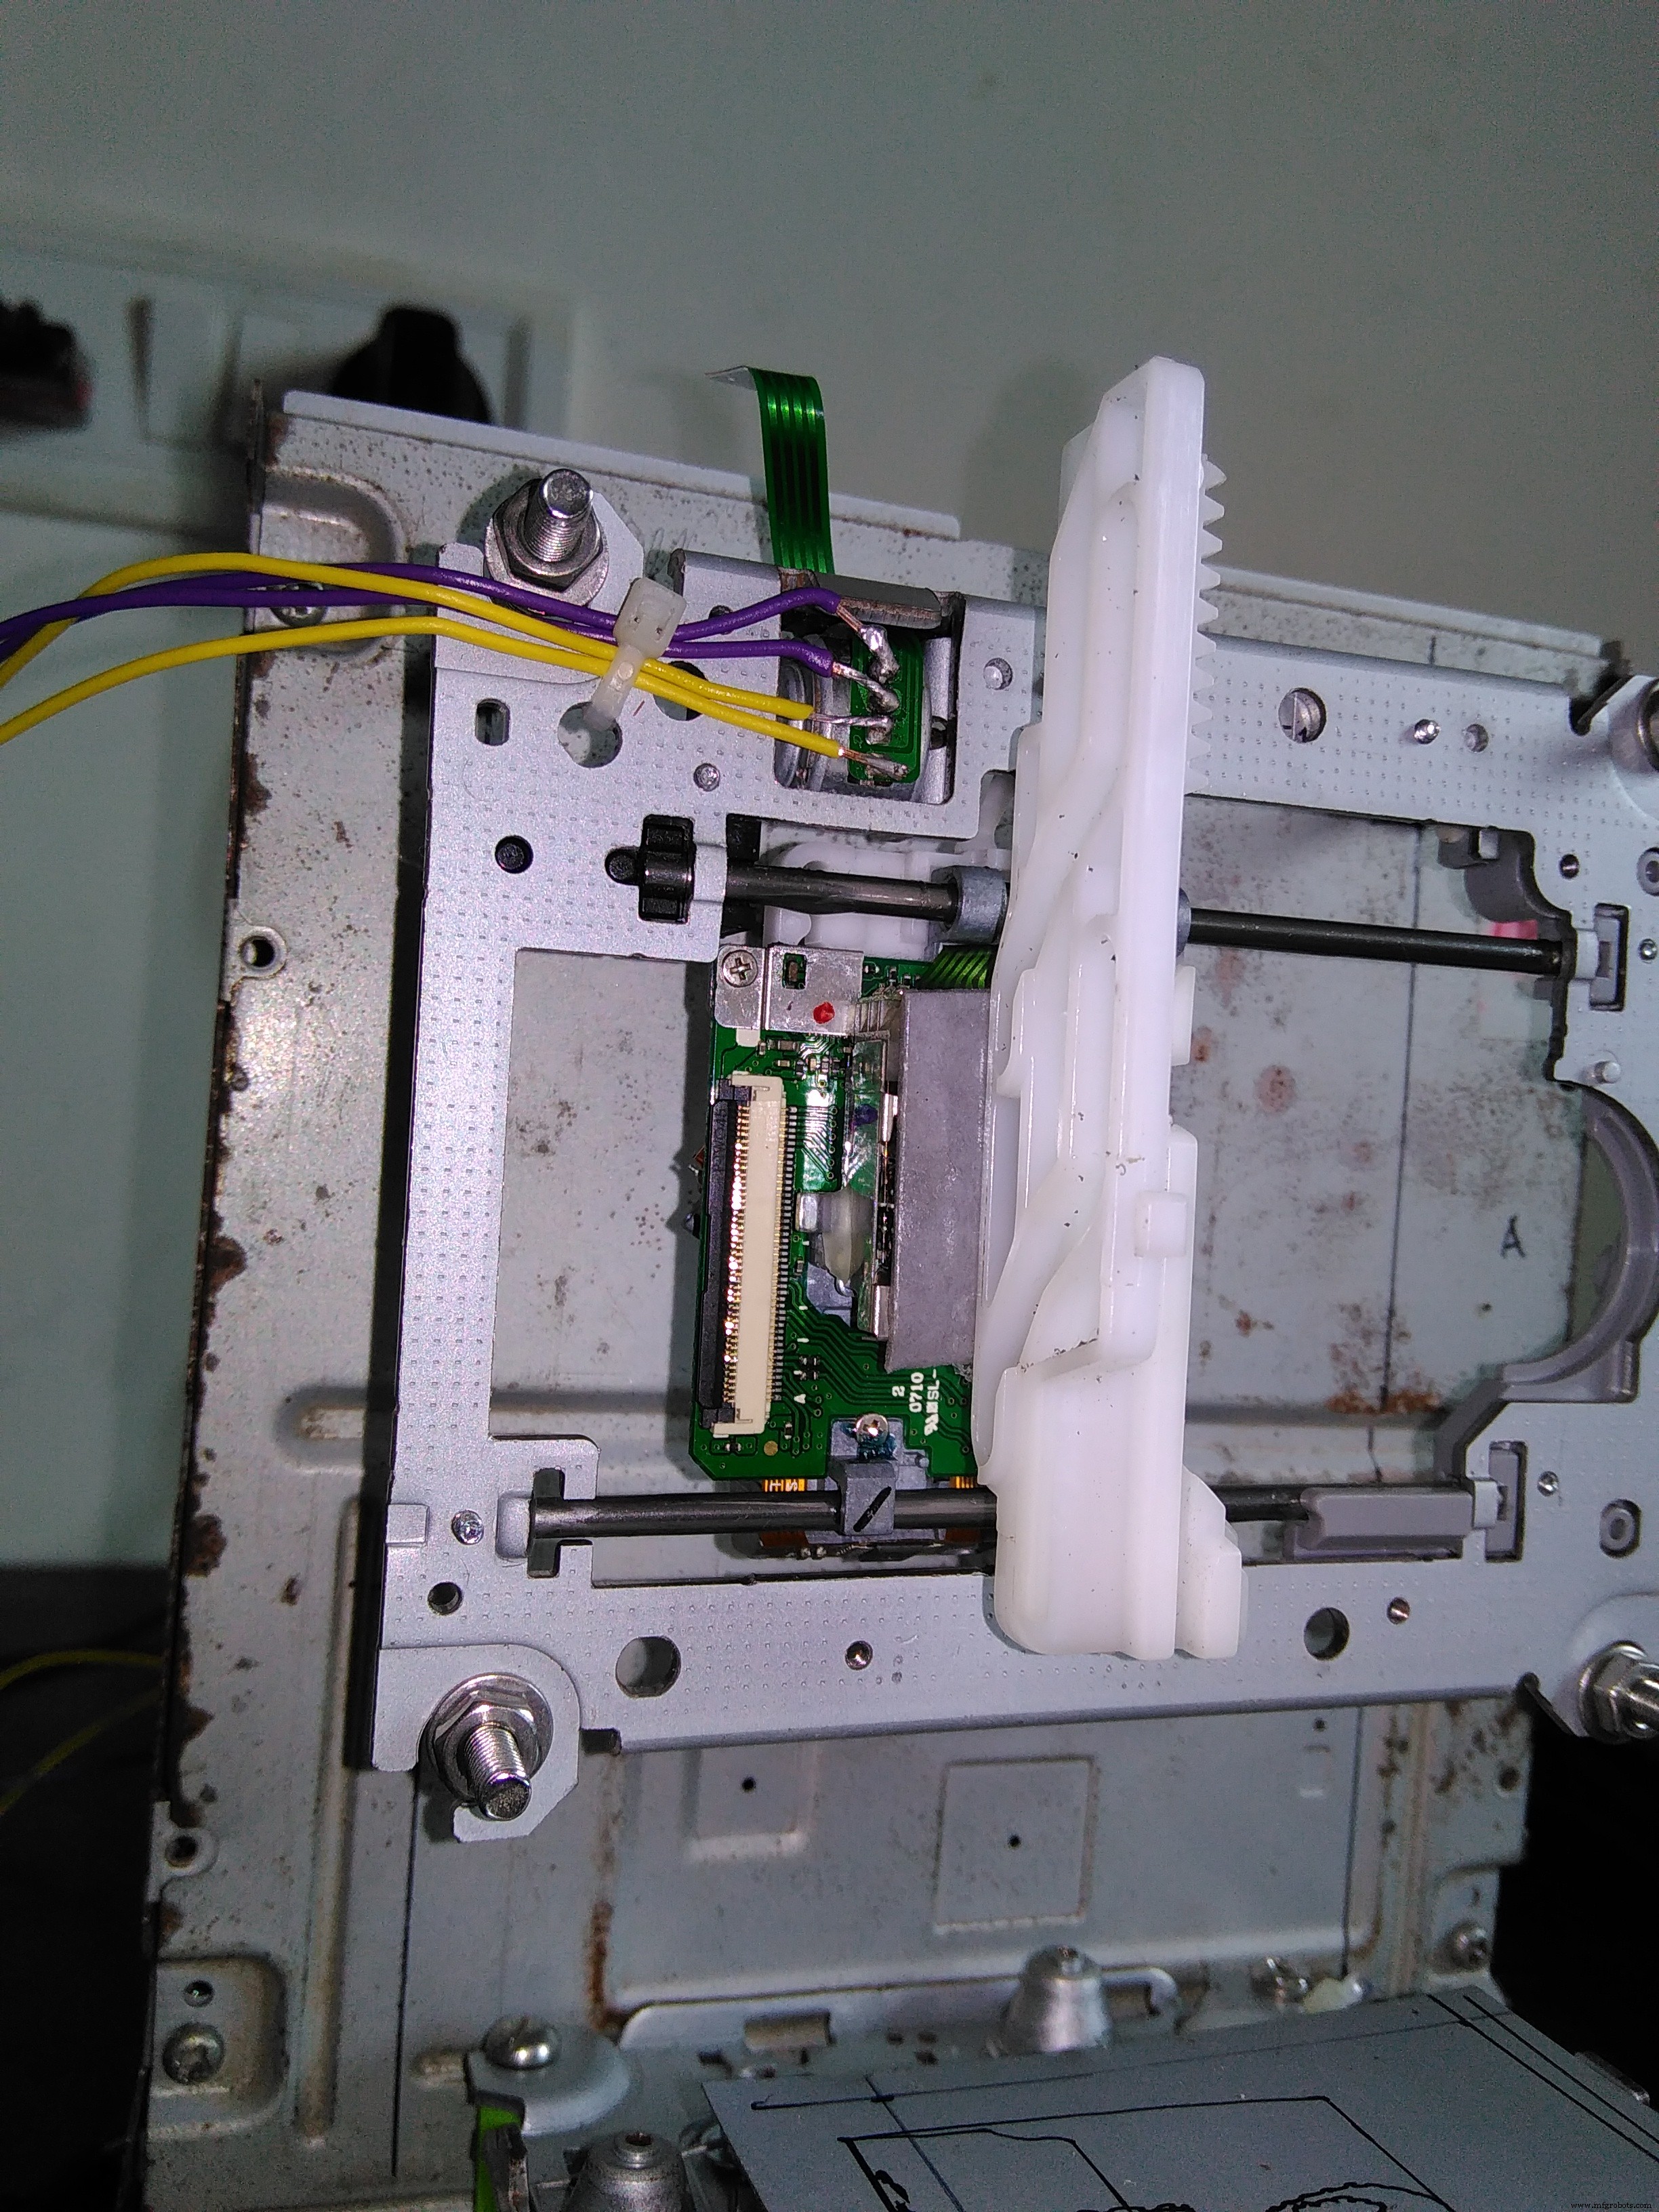
DVDドライブから可動トレイ (ステッピングモーター付きレール) を2セット取り出し、それぞれX軸・Y軸として使用します。空きケースにネジ止めし、直角に配置。
2. ソフトウェア準備
- Arduino IDE、Processing IDEをインストール。
- Arduinoスケッチ (後述) を書き込み。
- Processingスケッチ (後述) を開く。
- Inkscape 0.48.5をインストールし、G-code出力アドオンを導入 (インストール手順は同梱README参照)。
3. G-code作成と送信
- Inkscapeで図形を描き、拡張機能 → G-code出力で
.gcodeファイル生成。 - Processingを実行 (再生ボタン)。
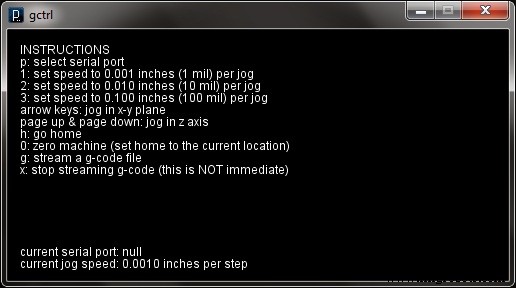
- キー操作:
- p: シリアルポート選択
- 1/2/3: ジョグ速度切替
- g: G-codeファイル選択
- Enter: 描画開始
サンプルG-codeファイル
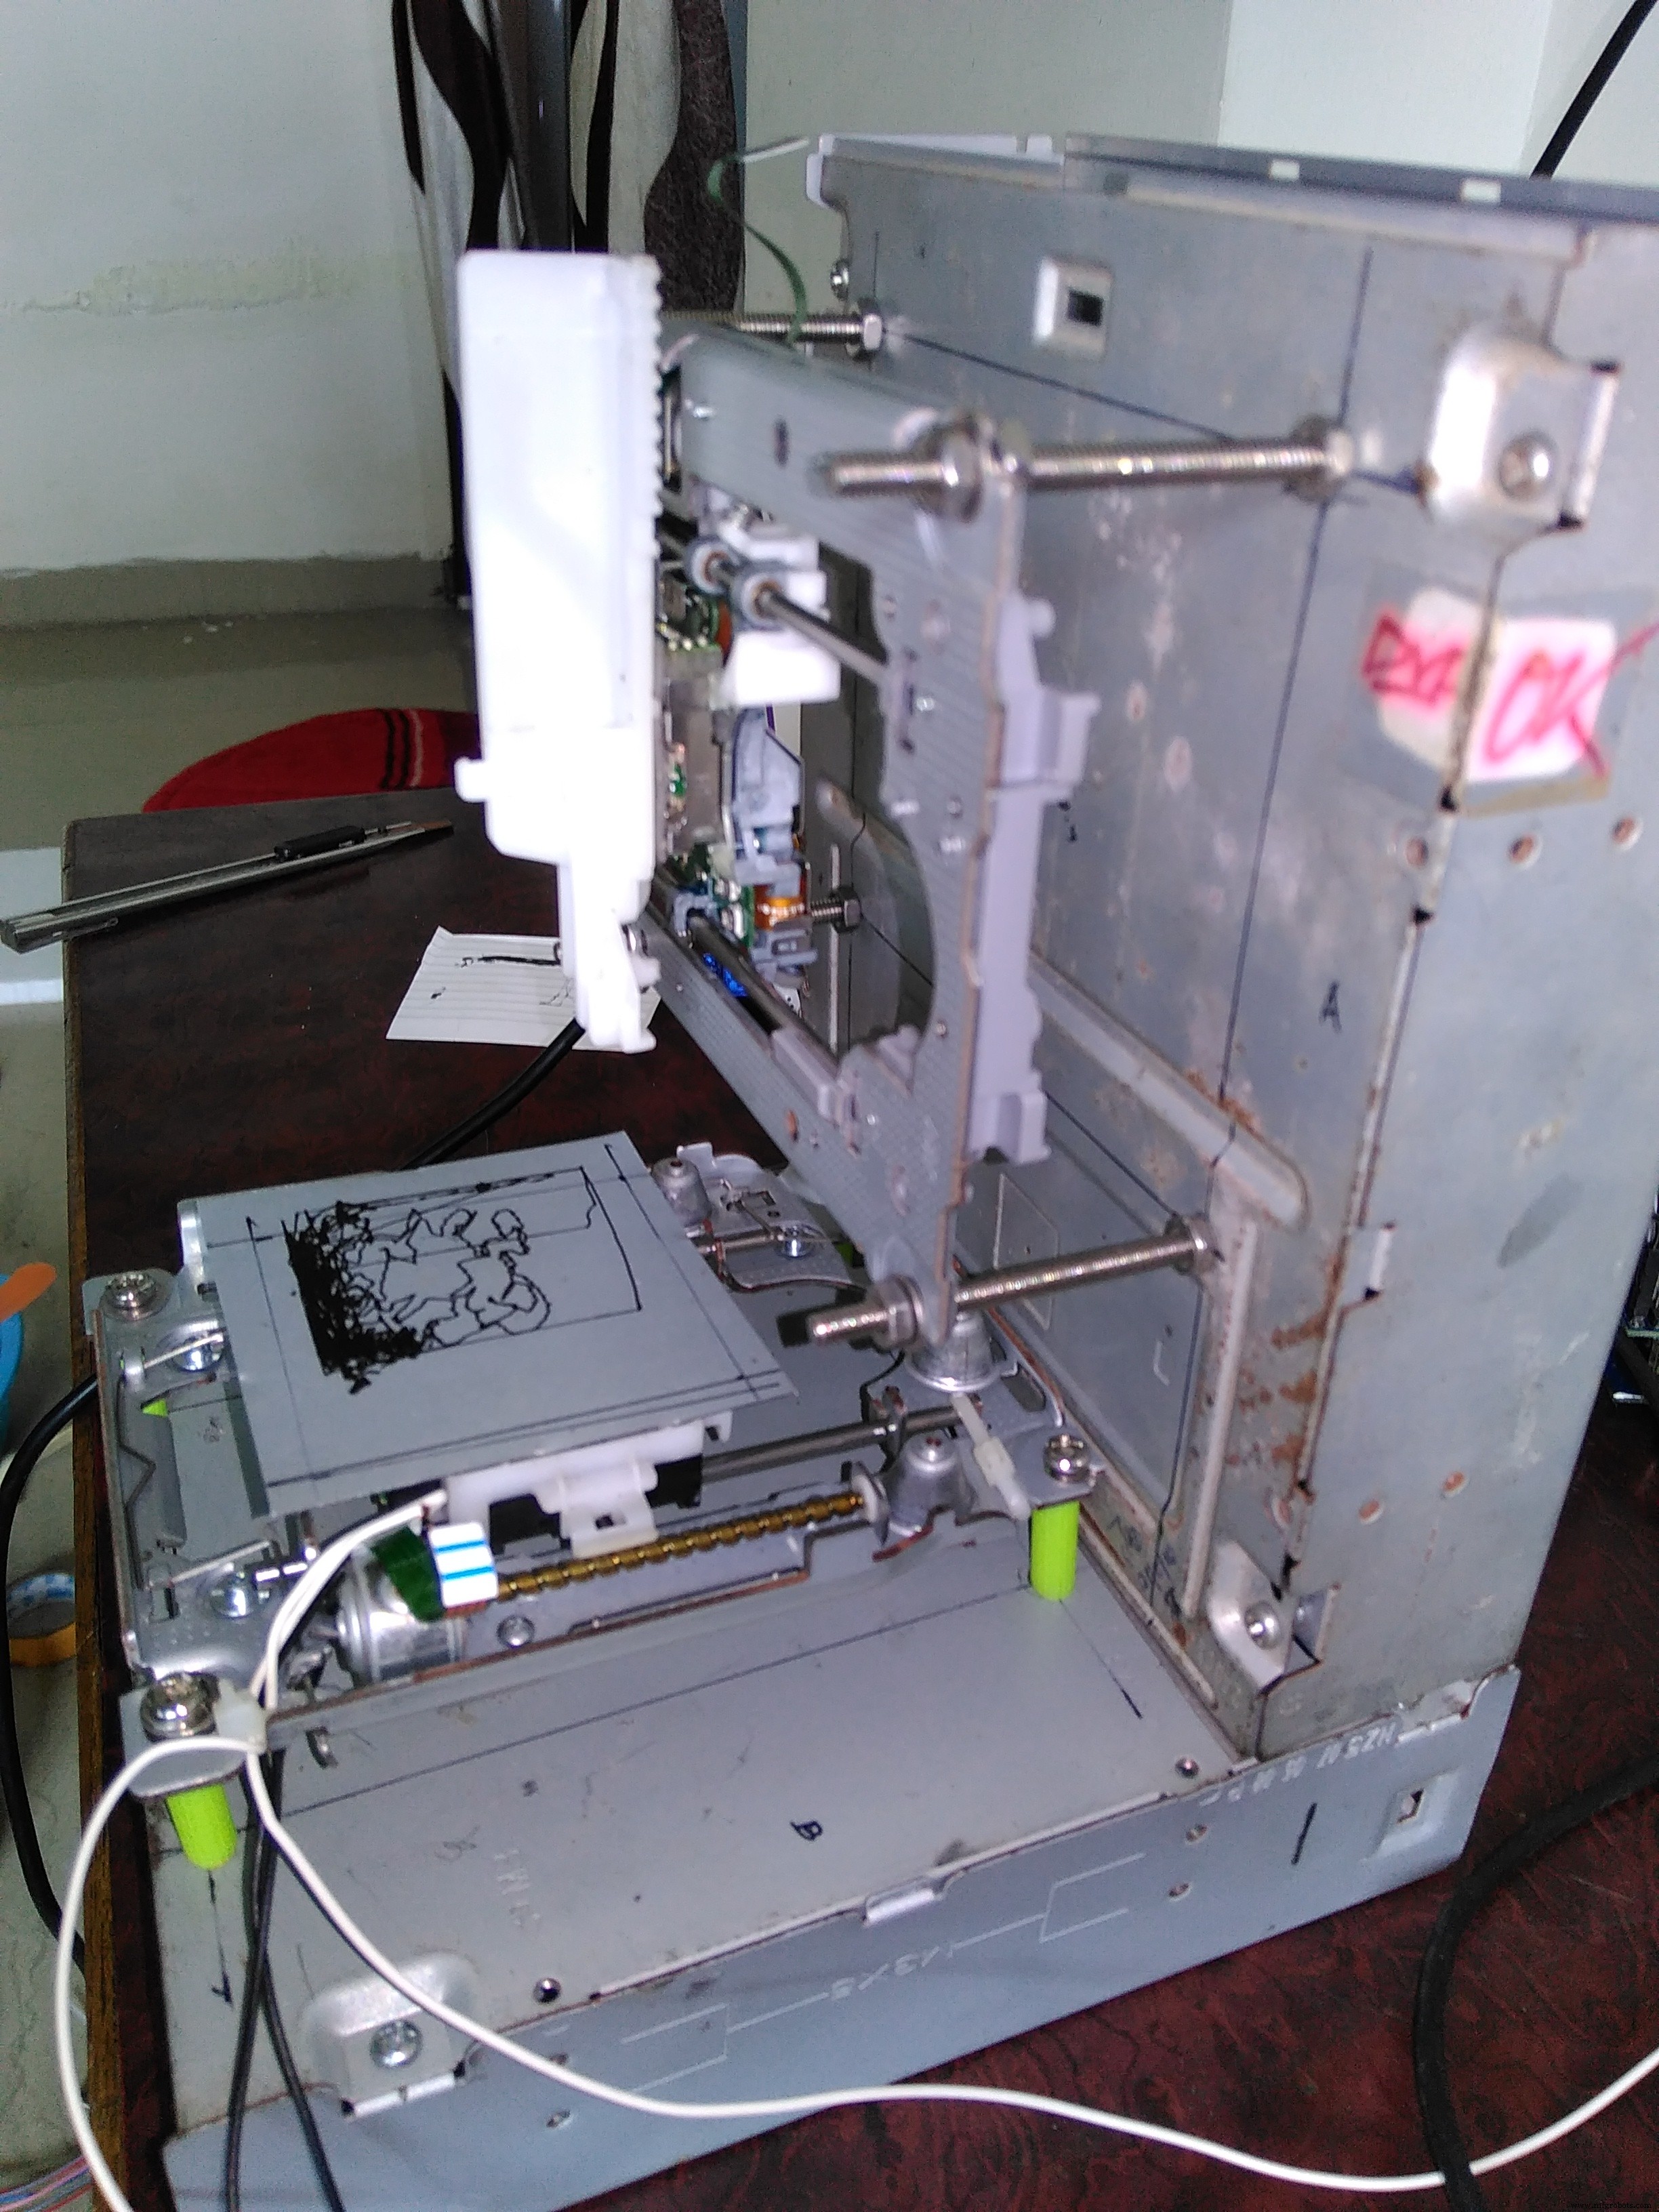
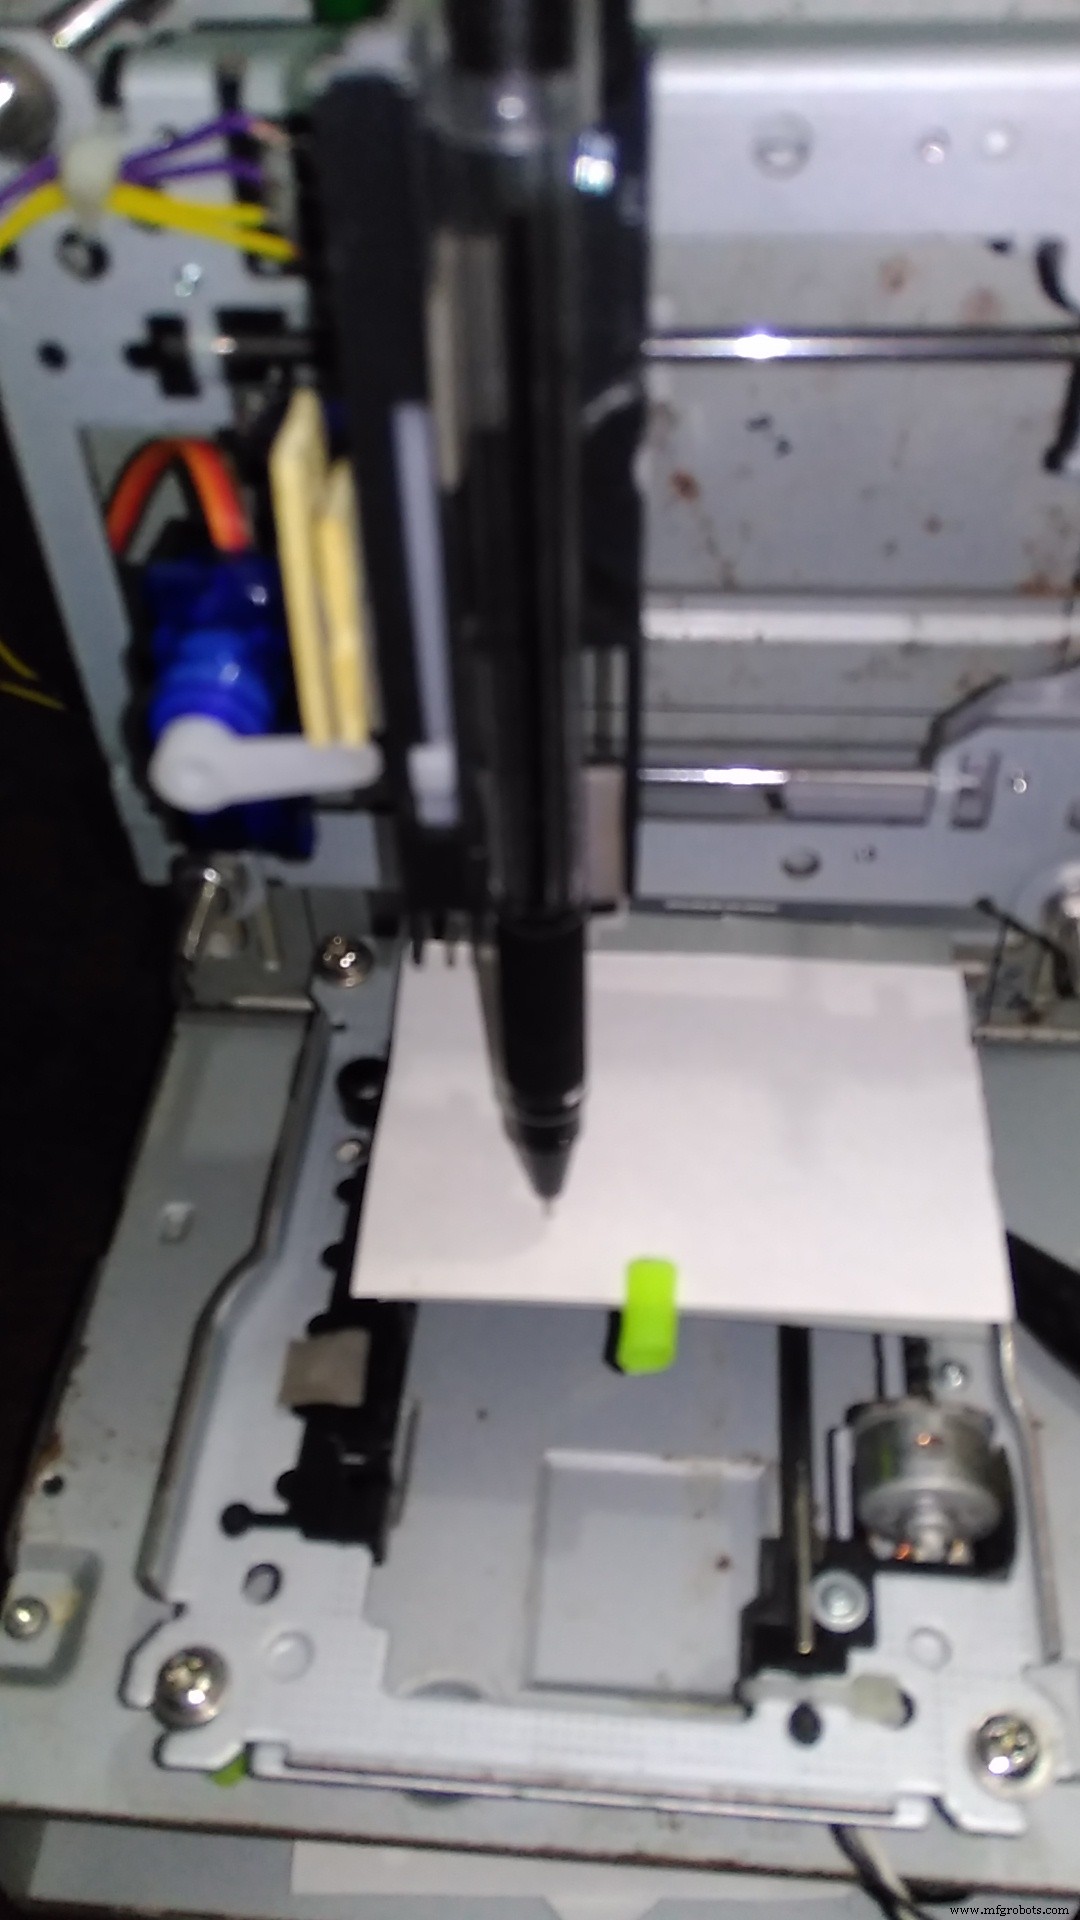
Arduinoスケッチ (G-codeインタープリター)
#include <Servo.h>
#include <AFMotor.h>
#define LINE_BUFFER_LENGTH 512
char STEP = MICROSTEP;

const int penZUp = 95, penZDown = 83;
const int penServoPin = 10;
const int stepsPerRevolution = 48;

Servo penServo;
AF_Stepper myStepperY(stepsPerRevolution, 1);
AF_Stepper myStepperX(stepsPerRevolution, 2);

struct point { float x, y, z; };
point actuatorPos;

float StepInc = 1;
int StepDelay = 0, LineDelay = 0, penDelay = 50;
float StepsPerMillimeterX = 100.0, StepsPerMillimeterY = 100.0;
float Xmin = 0, Xmax = 40, Ymin = 0, Ymax = 40, Zmin = 0, Zmax = 1;
float Xpos = Xmin, Ypos = Ymin, Zpos = Zmax;
boolean verbose = false;

void setup() {
  Serial.begin(9600);
  penServo.attach(penServoPin);
  penServo.write(penZUp); delay(100);
  myStepperX.setSpeed(600); myStepperY.setSpeed(600);
  Serial.println("Mini CNC Plotter alive and kicking!");
  Serial.print("X range: "); Serial.print(Xmin); Serial.print(" to "); Serial.print(Xmax); Serial.println(" mm.");
  Serial.print("Y range: "); Serial.print(Ymin); Serial.print(" to "); Serial.print(Ymax); Serial.println(" mm.");
}

void loop() {
  // シリアルから1行読み取り、processIncomingLine()で解析実行
  // G0/G1: 移動 (Bresenhamアルゴリズム)
  // M300 S30: ペン下ろし, S50: ペン上げ
  // M114: 現在位置報告
  // その他コマンドは無視
}

void drawLine(float x1, float y1) {
  // 範囲クリップ → ステップ変換 → Bresenhamで2軸同時駆動
}

void penUp() { penServo.write(penZUp); delay(penDelay); Zpos=Zmax; }
void penDown() { penServo.write(penZDown); delay(penDelay); Zpos=Zmin; }
Processingスケッチ (G-codeストリーマー)
import processing.serial.*;
Serial port = null;
String portname = null;
boolean streaming = false;
float speed = 0.001;
String[] gcode; int i = 0;

void setup() { size(500,250); openSerialPort(); }
void draw() { /* 操作ヘルプ表示 */ }

void keyPressed() {
  // ジョグ移動 (矢印キー, PgUp/PgDn)
  // h: ホーム, 0: ゼロ点設定, $: 設定表示
  // g: ファイル選択→ストリーミング開始, x: 停止
}

void stream() {
  while (streaming) {
    if (i == gcode.length) { streaming = false; return; }
    if (gcode[i].trim().length() == 0) { i++; continue; }
    println(gcode[i]);
    port.write(gcode[i] + '\n');
    i++;
  }
}

void serialEvent(Serial p) {
  String s = p.readStringUntil('\n');
  println(s.trim());
  if (s.trim().startsWith("ok") || s.trim().startsWith("error")) stream();
}
回路図
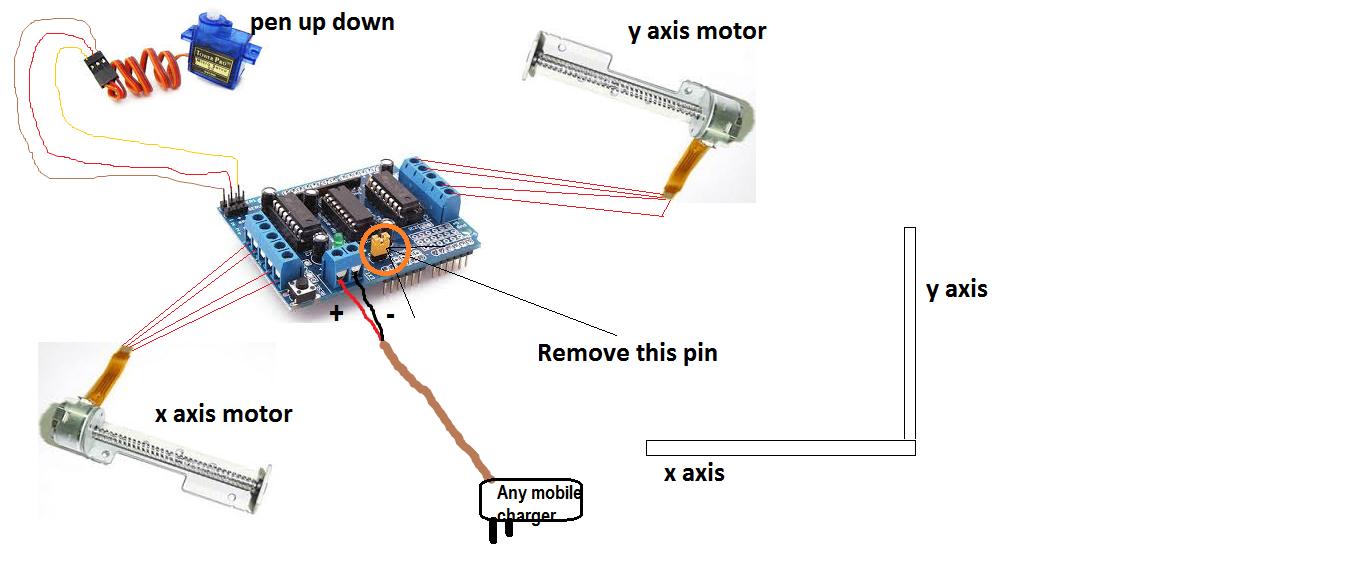
L293DシールドをArduinoにスタックし、X/YステッパーをM1/M2ポート、サーボをピン10に接続。電源はUSBまたは外部5V。
製造プロセス
- 自宅で作るDIY宿題自動筆記マシン:AxiDraw風ペンプロッターの自作ガイド
- Arduinoで作るモニター用Ambilightシステム:没入感アップの自作ガイド
- Arduino Unoベースの人間検知レスキューロボット:センサー統合ステップバイステップ
- Android加速度センサーで操作するラジコン車両:Raspberry Pi・Arduino・モーターシールド連携
- Arduinoで作るパンチングキーボードボタン:ストレス解消カスタムキー
- Arduinoで地球の質量を測定:ステップバイステップDIYガイド
- PHPベースのWebインターフェースでArduino Unoを制御する構築ガイド
- Arduinoで楽器演奏:音階生成のステップバイステップガイド
- Arduinoと超音波センサーで自動ドアを制御:LCD・ブザー付き完全ガイド
- Bluetooth制御Arduinoカー完全自作ガイド – 3Dプリント&Arduino Nanoで作る2輪ロボット
- ArduinoとProcessingで作るリアルタイムデジタルコンパス