



Arduino三目並べ:MAX7219 LEDマトリクスと段ボールケースで自作
必要な部品と用品
| 部品 | 数量 | 備考 |
|---|---|---|
| Arduino UNO | 1 | Arduino |
| MAX7219 LEDドットマトリクス | 1 | |
| メンブレンスイッチキーパッド | 1 |
必要な工具と機械
- ホットグルーガン(汎用)
使用アプリとオンラインサービス
- Arduino IDE
このプロジェクトについて
ハッカスターコミュニティの皆さん、こんにちは。
私はシモーネ・アドブスです。これはHacksterで公開した3つ目のプロジェクトです。段ボール、紙、ホットグルーガンを使ってArduinoと他のコンポーネントを収納する構造を作ったのはこれが初めてです。
三目並べ(Tris)の動作を示す短い動画はこちら:
プロジェクトの全ビューはこちら:
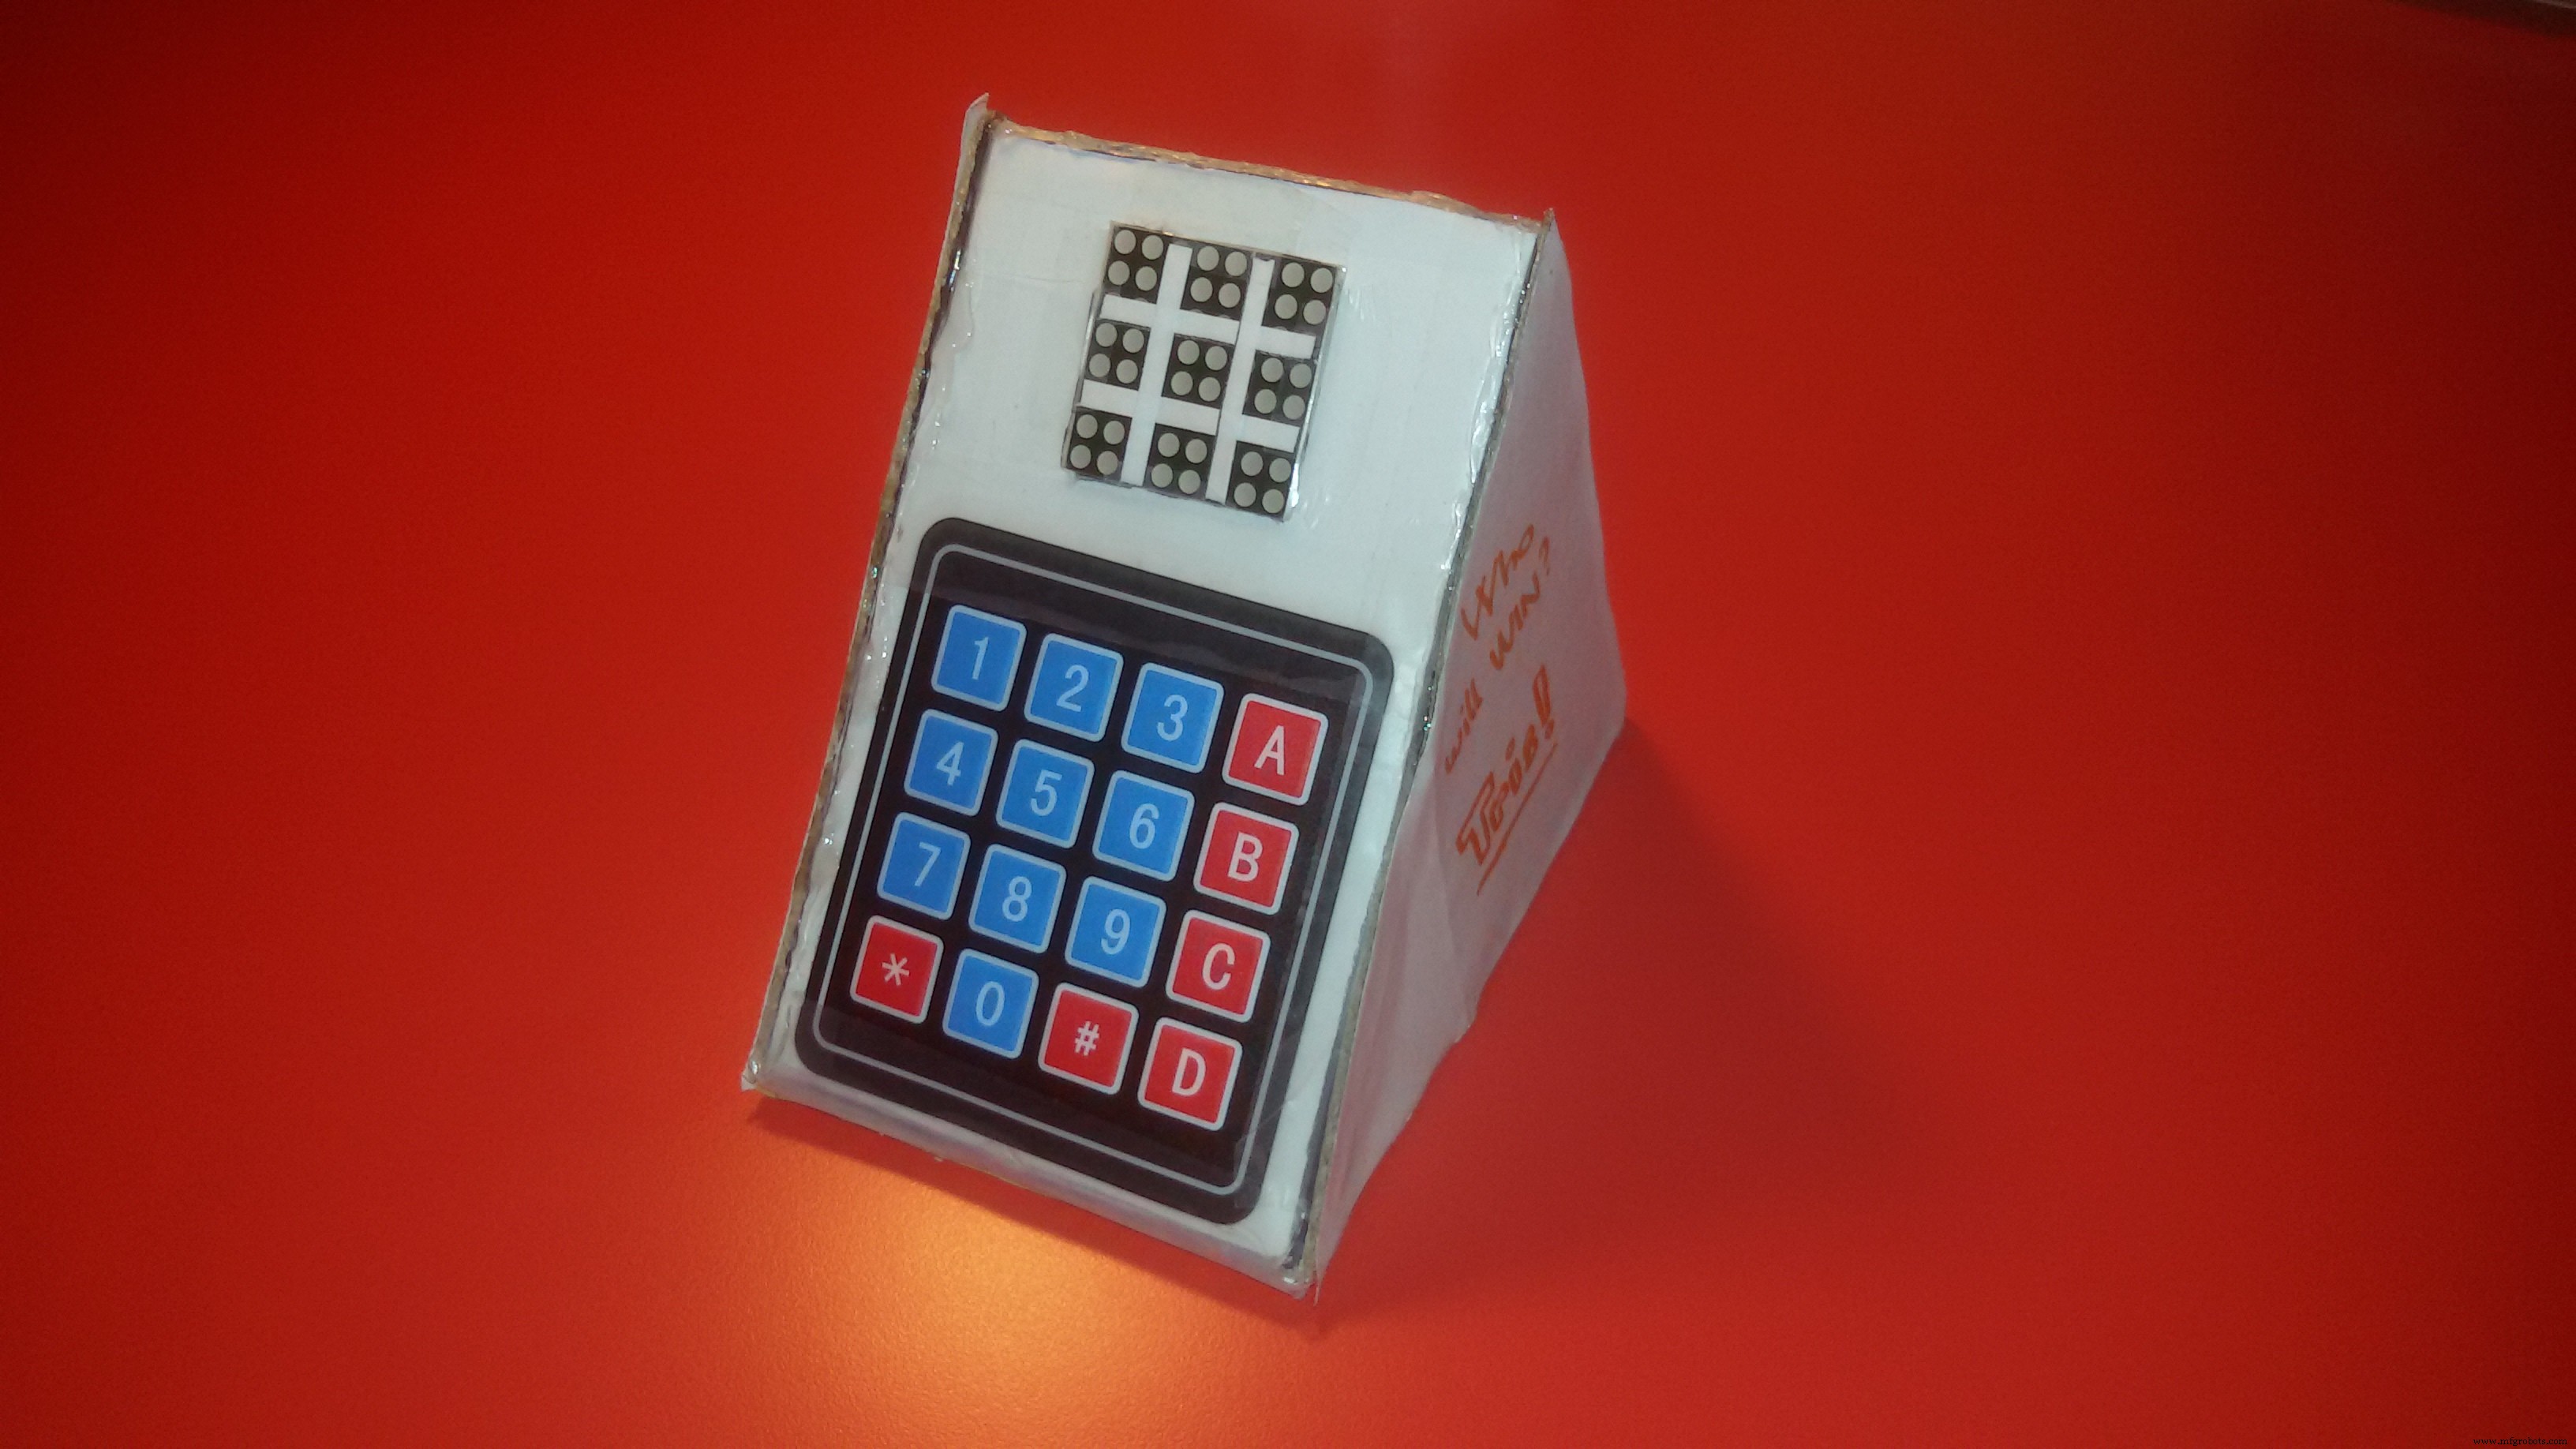
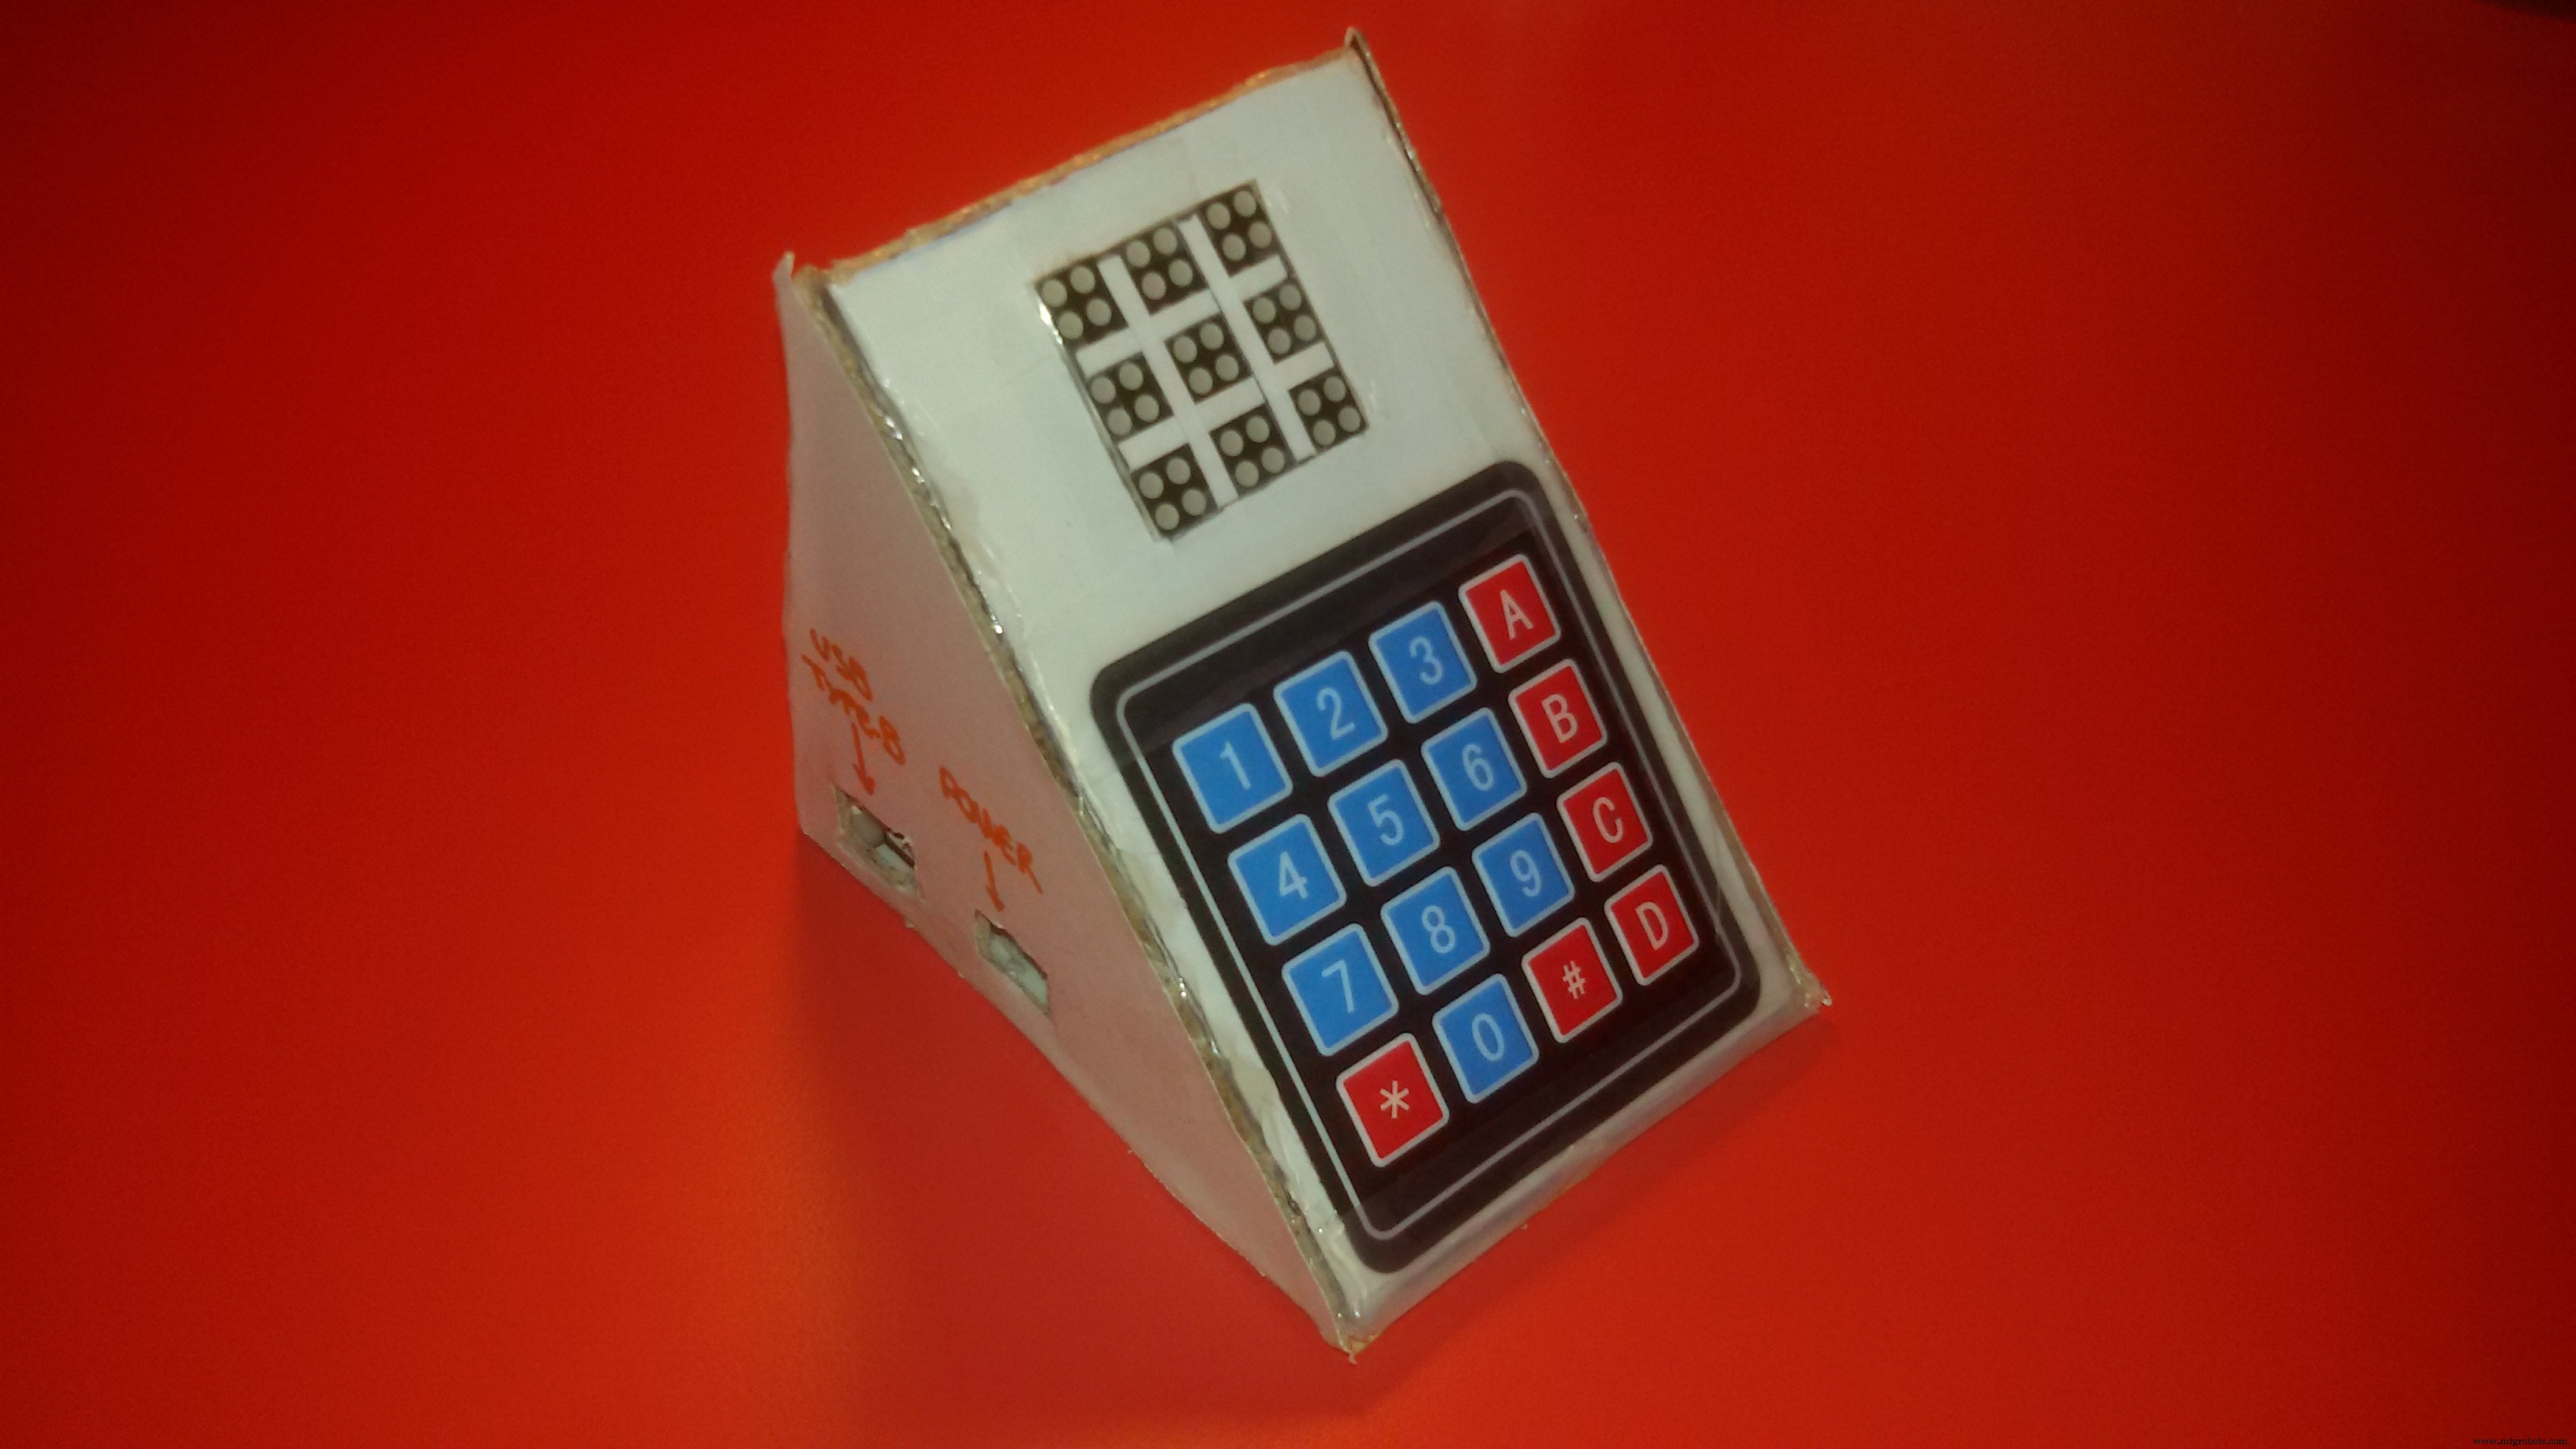
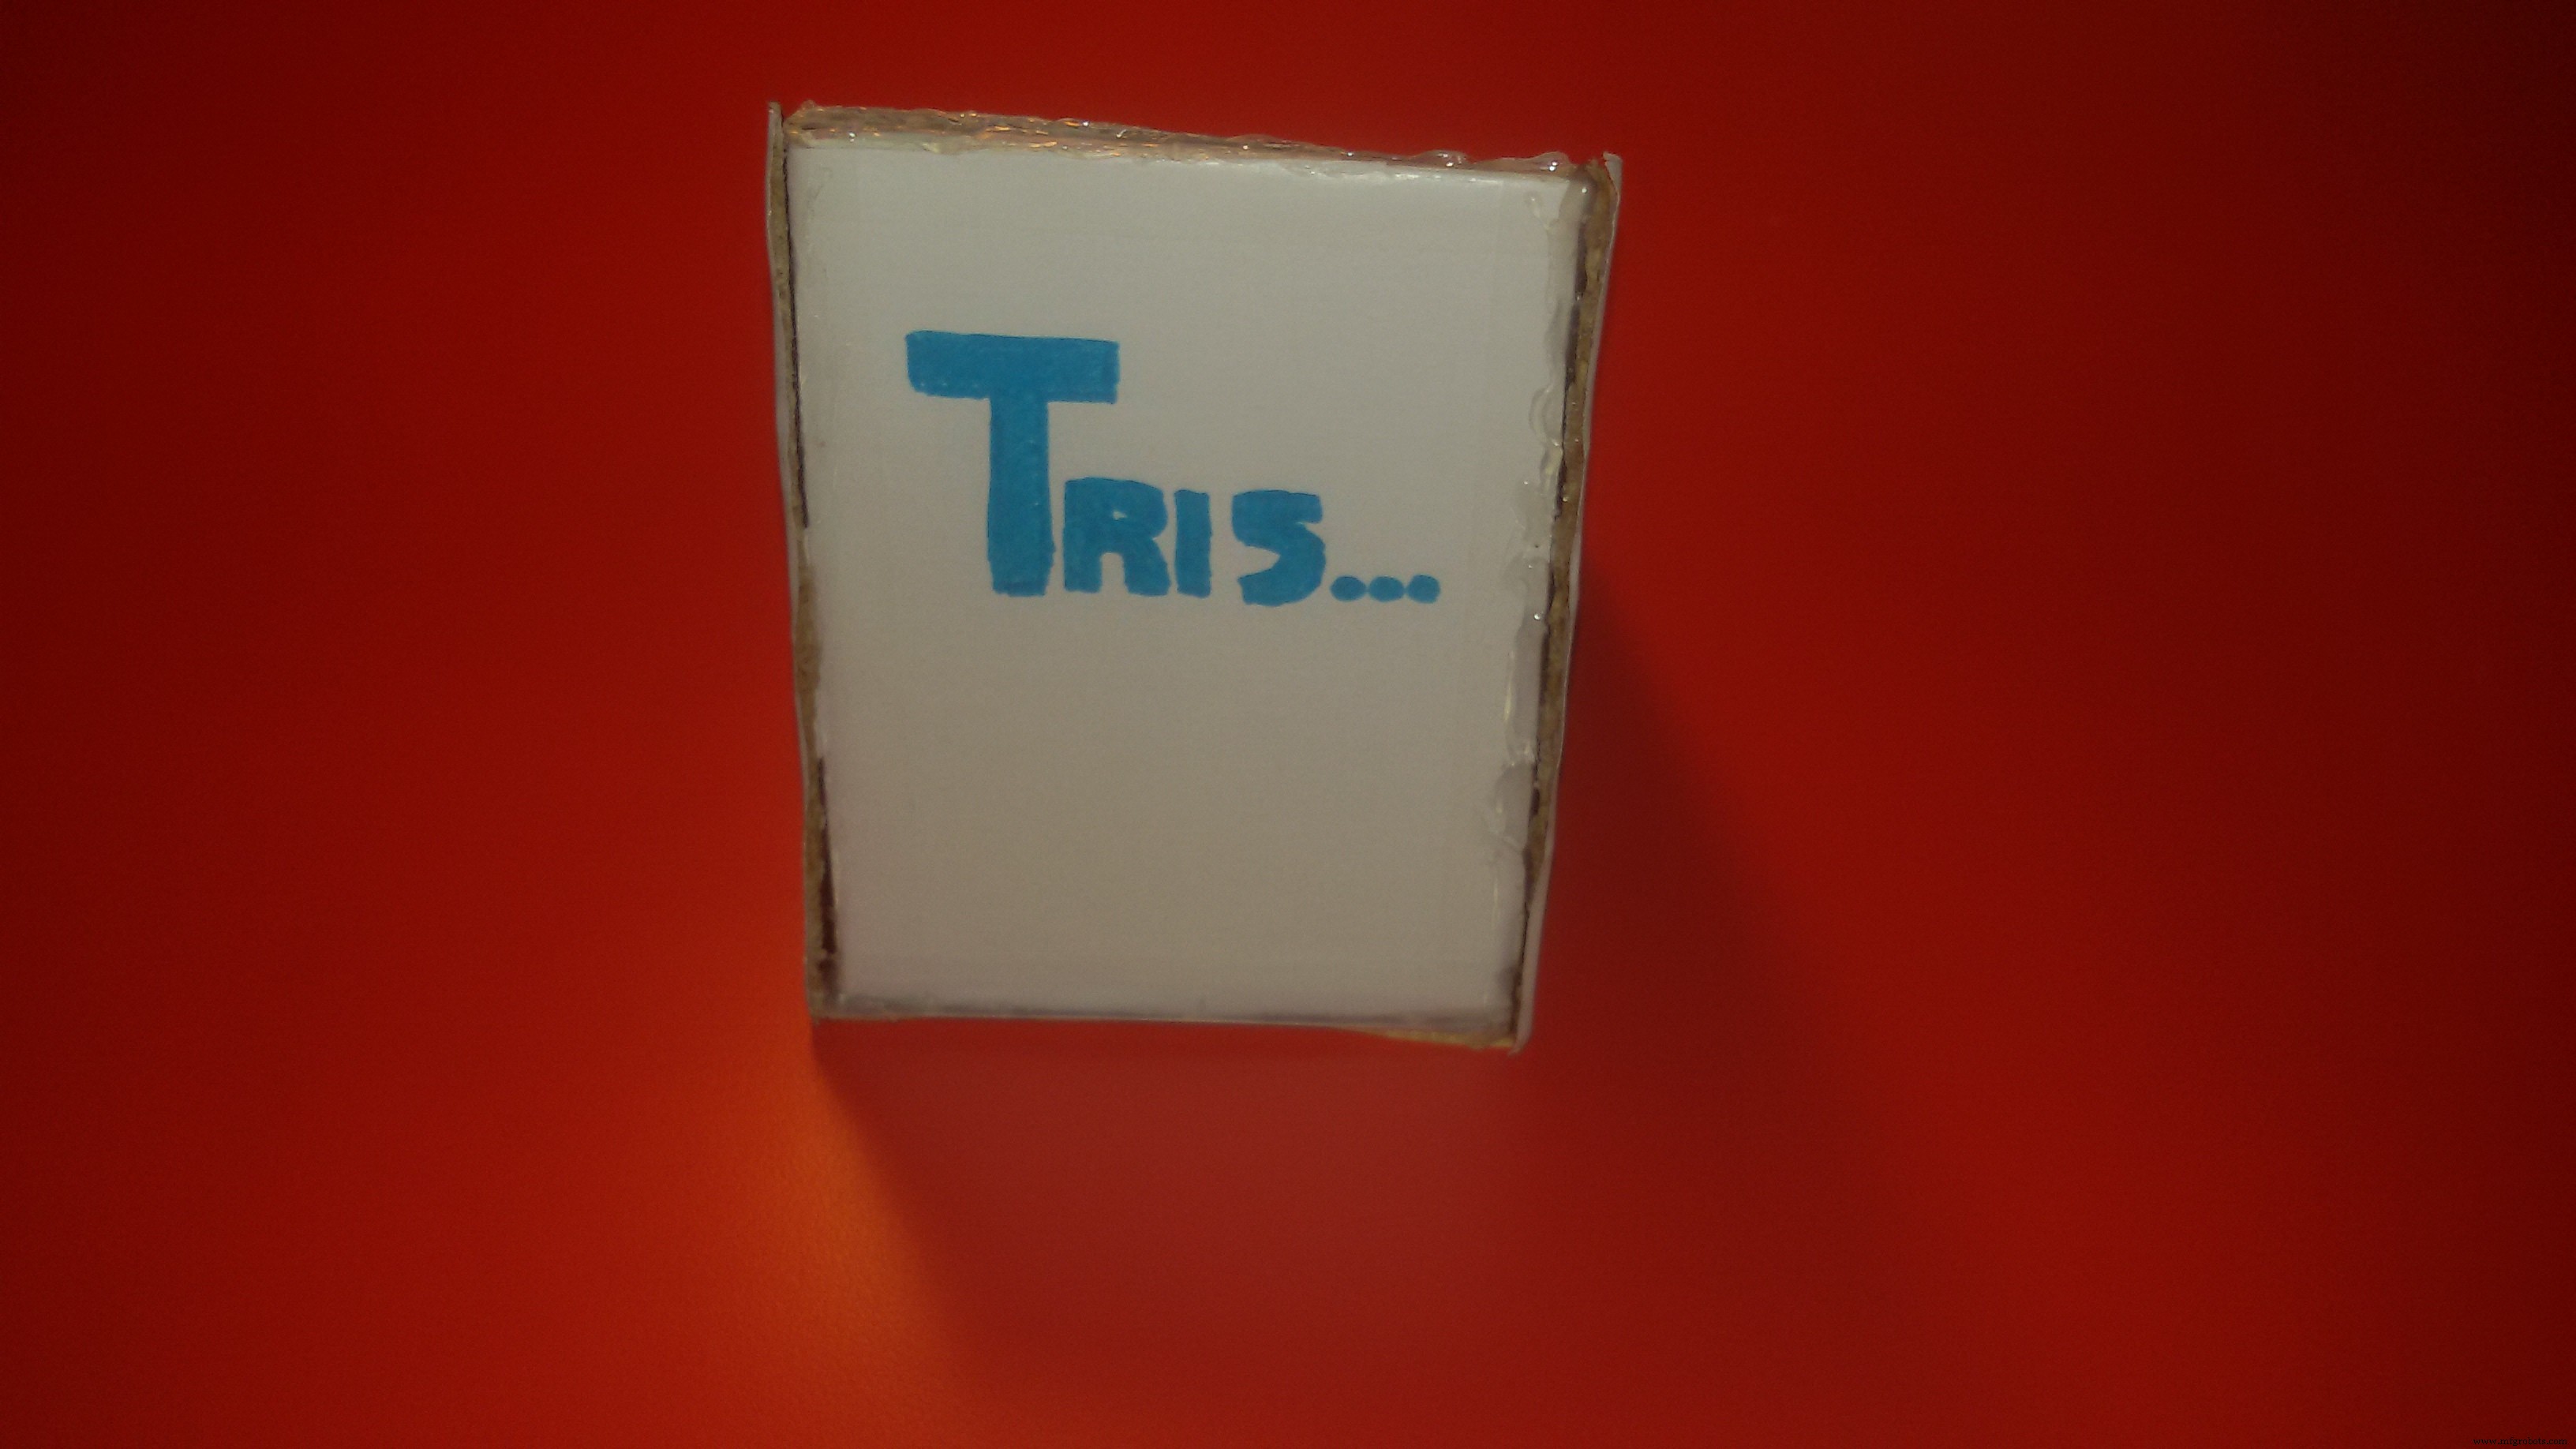
気に入ってもらえると嬉しいです。数時間かけて作りました!それではプロジェクトを始めましょう。
三目並べの仕組み
答えはとてもシンプルです:キーパッドで数字を押すと、Arduinoが対応するマスを点灯させます。
- プレイヤーを切り替えられますか?
マスを点灯させると、即座にArduinoが次のプレイヤーのターンに切り替えます。
- Arduinoは勝利を判定できますか?
プレイヤーが勝つと、ArduinoはLEDドットマトリクスに以下を表示します:
- 「1」:プレイヤー1の勝利
- 「2」:プレイヤー2の勝利
ゲーム終了後、ボタンで再起動できますか?
キーパッドの「0」ボタンを押すとゲームをリスタートできます。Arduinoが自身をリセットします。
プレイヤーの識別方法
LEDドットマトリクスは赤色のみですが、各プレイヤーは2×2 LEDで形成される固有のパターンで識別できます:
- プレイヤー1のパターン:「\」
- プレイヤー2のパターン:「/」
質問、提案、批判、コードの説明などありましたら、下記コメント欄へお気軽にどうぞ。気に入ったら「いいね」を押して、私の他のプロジェクトもチェックしてください!
別の構造を作ったり、私の構造をカスタマイズして写真を送ってくださいね。
良い一日を!
イタリアのシモーネより <3
コード
Tech-Tris (C/C++)
#include#include #include #include #define Reset_AVR() wdt_enable(WDTO_30MS); while(1) {} LedControl lc = LedControl(12, 10, 11, 1); bool player1 = true; bool q1=false, q2=false, q3=false, q4=false, q5=false, q6=false, q7=false, q8=false, q9=false; int row, col, rowPlays, colPlays, result, player, winner; char hexaKeys[4][3] = { {'1','2','3'}, {'4','5','6'}, {'7','8','9'}, {'*','0','#'} }; int plays[3][3] = { {0,0,0}, {0,0,0}, {0,0,0} }; byte rowPins[4] = {8, 7, 6, 5}; byte colPins[3] = {4, 3, 2}; Keypad customKeypad = Keypad(makeKeymap(hexaKeys), rowPins, colPins, 4, 3); void setup() { lc.shutdown(0, false); lc.setIntensity(0, 0); lc.clearDisplay(0); } void loop() { int customKey = customKeypad.getKey(); painting(customKey); win(result); if (winner == 1) { lc.clearDisplay(0); while (winner == 1) { char customKey = customKeypad.getKey(); if (customKey == '0') { Reset_AVR(); } // プレイヤー1勝利表示パターン lc.setLed(0,1,4,true); lc.setLed(0,2,5,true); lc.setLed(0,3,6,true); lc.setLed(0,4,7,true); lc.setLed(0,4,6,true); lc.setLed(0,4,5,true); lc.setLed(0,4,4,true); lc.setLed(0,4,3,true); lc.setLed(0,4,2,true); lc.setLed(0,4,1,true); lc.setLed(0,4,0,true); lc.setLed(0,5,0,true); lc.setLed(0,6,0,true); lc.setLed(0,3,0,true); lc.setLed(0,2,0,true); } } else if (winner == 2) { lc.clearDisplay(0); while (winner == 2) { char customKey = customKeypad.getKey(); if (customKey == '0') { Reset_AVR(); } // プレイヤー2勝利表示パターン lc.setLed(0,2,0,true); lc.setLed(0,3,0,true); lc.setLed(0,4,0,true); lc.setLed(0,5,0,true); lc.setLed(0,2,1,true); lc.setLed(0,2,2,true); lc.setLed(0,2,3,true); lc.setLed(0,2,4,true); lc.setLed(0,3,4,true); lc.setLed(0,4,4,true); lc.setLed(0,5,4,true); lc.setLed(0,5,5,true); lc.setLed(0,5,6,true); lc.setLed(0,5,7,true); lc.setLed(0,4,7,true); lc.setLed(0,3,7,true); lc.setLed(0,2,7,true); } } } int round_player() { if (player1) { player1 = false; result = 1; } else { player1 = true; result = 2; } return result; } void win(int player) { // 横列の判定 if (plays[0][0]==player && plays[0][1]==player && plays[0][2]==player) { winner=player; } else if (plays[1][0]==player && plays[1][1]==player && plays[1][2]==player) { winner=player; } else if (plays[2][0]==player && plays[2][1]==player && plays[2][2]==player) { winner=player; } // 縦列の判定 else if (plays[0][0]==player && plays[1][0]==player && plays[2][0]==player) { winner=player; } else if (plays[0][1]==player && plays[1][1]==player && plays[2][1]==player) { winner=player; } else if (plays[0][2]==player && plays[1][2]==player && plays[2][2]==player) { winner=player; } // 斜めの判定 else if (plays[0][0]==player && plays[1][1]==player && plays[2][2]==player) { winner=player; } else if (plays[0][2]==player && plays[1][1]==player && plays[2][0]==player) { winner=player; } } void switch_on_led(int col, int row, int colPlays, int rowPlays) { if (player1) { lc.setLed(0, col, row, true); lc.setLed(0, col+1, row-1, true); // 「\」パターン } else { lc.setLed(0, col, row-1, true); lc.setLed(0, col+1, row, true); // 「/」パターン } plays[rowPlays][colPlays] = round_player(); } void painting(int bottone) { switch (bottone) { case 49: // '1' if (!q1) { switch_on_led(0, 7, 0, 0); q1 = true; } break; case 50: // '2' if (!q2) { switch_on_led(3, 7, 0, 1); q2 = true; } break; case 51: // '3' if (!q3) { switch_on_led(6, 7, 0, 2); q3 = true; } break; case 52: // '4' if (!q4) { switch_on_led(0, 4, 1, 0); q4 = true; } break; case 53: // '5' if (!q5) { switch_on_led(3, 4, 1, 1); q5 = true; } break; case 54: // '6' if (!q6) { switch_on_led(6, 4, 1, 2); q6 = true; } break; case 55: // '7' if (!q7) { switch_on_led(0, 1, 2, 0); q7 = true; } break; case 56: // '8' if (!q8) { switch_on_led(3, 1, 2, 1); q8 = true; } break; case 57: // '9' if (!q9) { switch_on_led(6, 1, 2, 2); q9 = true; } break; case 48: // '0' Reset_AVR(); break; } }
回路図
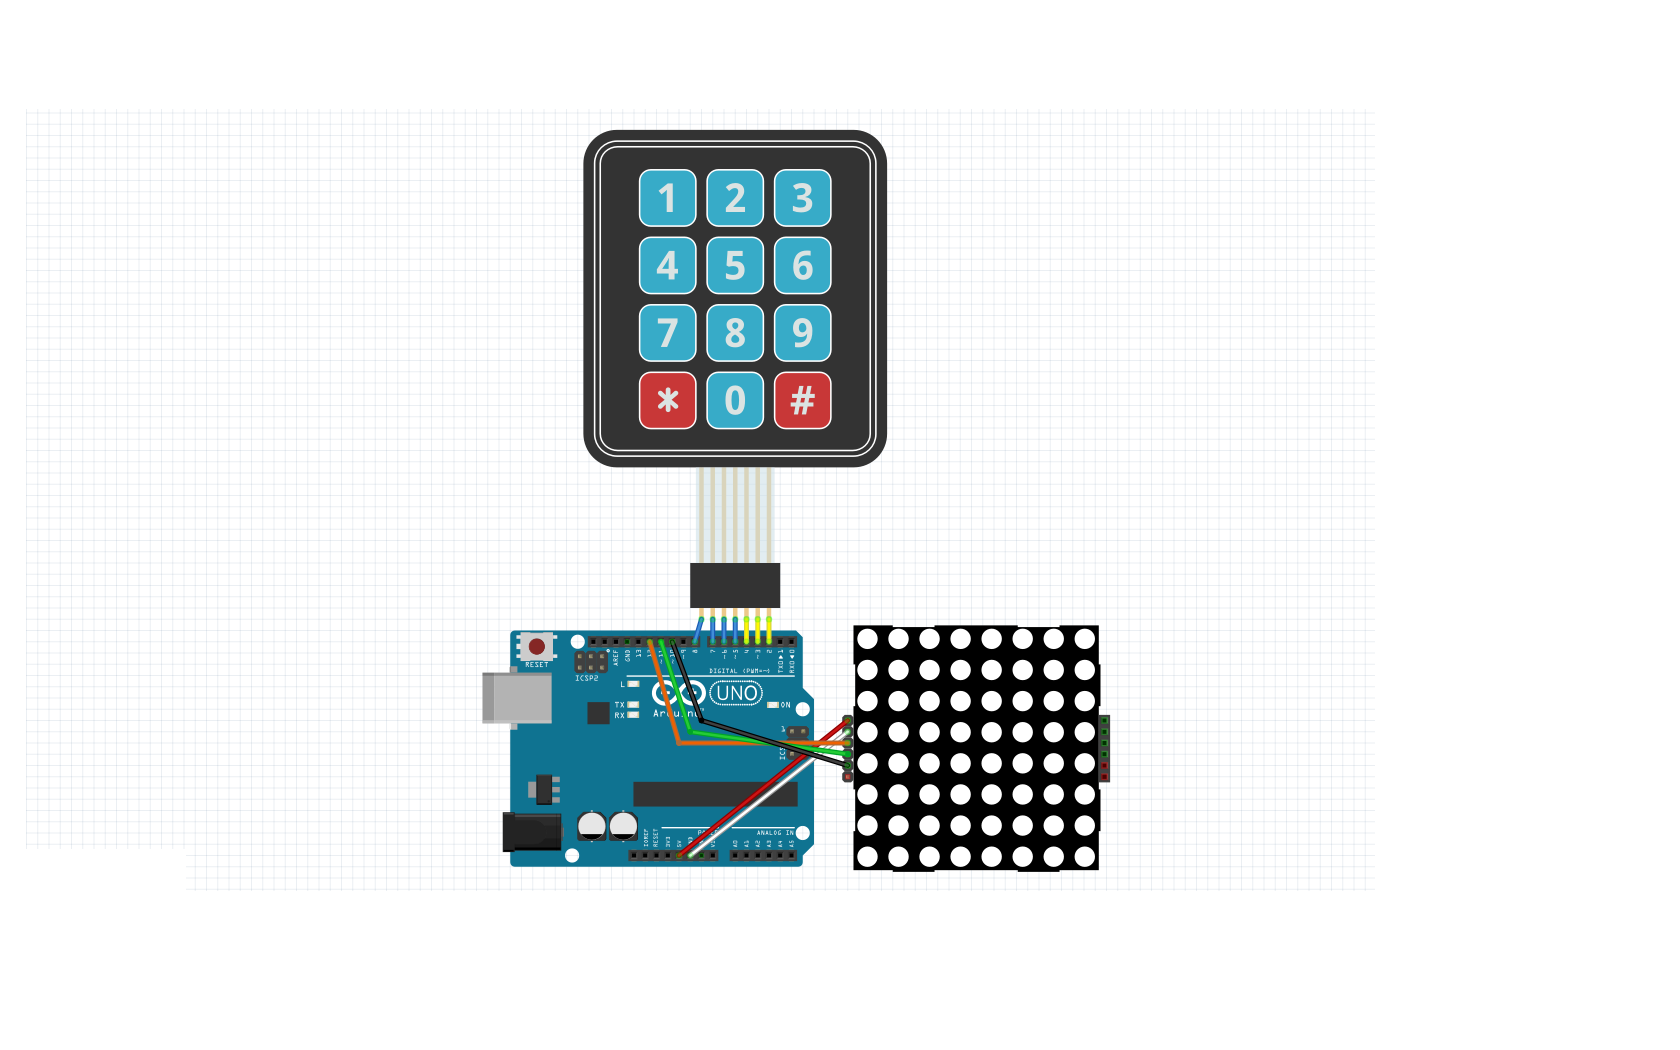
製造プロセス
- Arduinoで作るモニター用Ambilightシステム:没入感アップの自作ガイド
- Arduino UNOとOLEDディスプレイでクラシックPongゲームを自作:ステップバイステップチュートリアル
- 巨大レゴミニフィグ・アニマトロニクス「オペレーション」ゲームをArduinoで自作
- Arduinoオーディオ周波数検出器 – 高感度サウンドモジュールで最大音量ピークの周波数を測定
- Arduinoで作る自作デジタルペット「Tamaguino」─ 3Dプリンター製ケース付き完全ガイド
- スマートワイヤレス照明スイッチコントローラー:Arduinoで物理スイッチを遠隔操作
- Arduino Nanoで作るスマートな動体検知水鉄砲
- SparkFun 7セグメントディスプレイで作る信頼性の高いArduinoカウントダウンタイマー
- 音声で家電を操作:GoogleアシスタントとBluetoothでArduino家電制御
- Arduino向日葵:太陽を追尾する電子ヒマワリの製作
- Arduinoで自作RCポルシェカー:ステップバイステップガイド