



全方向移動ロボットで人物を安全追跡:オムニホイール搭載「ハンターフラッタラーボット」
必要な部品と材料
| 部品 | 数量 | 備考 |
|---|---|---|
| L298N デュアルステッピングモータードライバー | 2 | 3モーター駆動用(2A対応) |
| LM2596 DC-DCステップダウンレギュレーター | 1 | 12V→5V変換用 |
| リポバッテリーアラーム(低電圧検知器) | 1 | バッテリー保護用 |
| 24RPM DC 12V ギアードモーター(4mmシャフト) | 3 | オムニホイール用 |
| Arduino Nano R3 | 1 | モーター制御用 |
| Microsoft LifeCam HD-3000 Webカメラ | 1 | 顔検出用(安価な代替も可) |
| ジャンパーワイヤー | 10本以上 | 電源・信号配線用 |
| Creator Ci20 | 1 | メイン処理(OpenCV実行用) |
| 11.1V 3セル リポバッテリー | 1 | メイン電源 |
必要な工具
- 3Dプリンター
- はんだごて
使用アプリ・オンラインサービス
- OpenCV(画像処理ライブラリ)
プロジェクト概要
「Hackster Terminate the competition」コンテストへの応募作品です。ターミネーターのような人間を追跡するロボットですが、攻撃する代わりに「褒め言葉」をかけてくれるフレンドリーなロボット「Hunter Flatterer Robot」を製作しました。
設計コンセプト
- すべての電子部品はeBay等で購入可能、はんだ付け不要で組み立て可能
- ケースは3Dプリント可能(自宅印刷または3D Hubs等で外注)
- オムニホイール(全方向ホイール)により、その場で回転・斜め移動が可能
システム構成
システムは4つの主要ブロックで構成:
- 電源系:リポバッテリー→LM2596で5V生成、アラームで低電圧検知
- Ci20(頭脳):OpenCVで顔検出、Arduinoへシリアル指令送信
- Arduino Nano:Ci20からの指令を受け、3つのモーターを制御
- メカニカル:3Dプリントシャーシ、オムニホイール、ギアードモーター
電源回路の配線

ArduinoとL298Nの接続
詳細な接続チュートリアル:Instructables を参照。
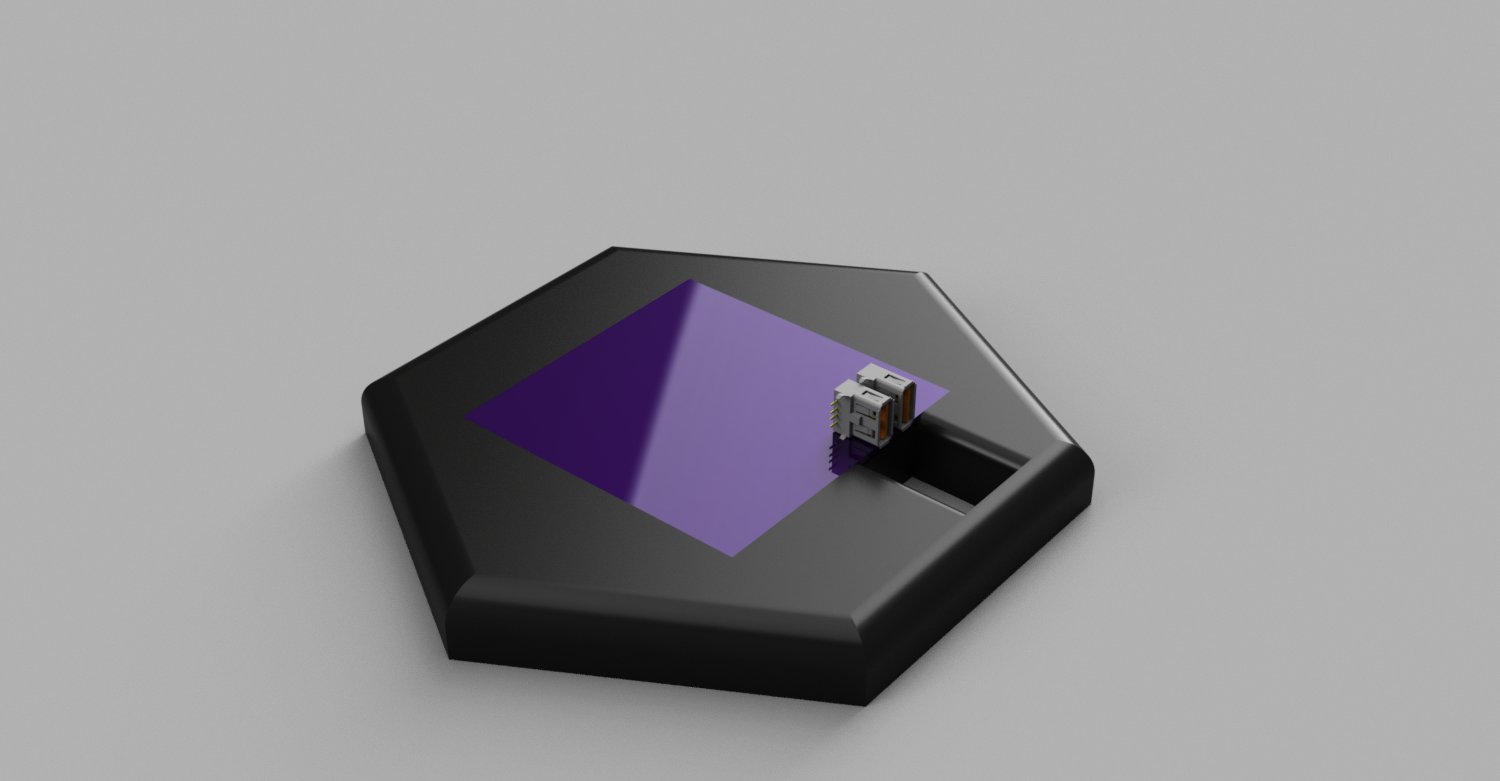
3Dプリントケース
Ci20を目立たせるデザインで、トップ・ボトム・ホイールの3パーツ構成。M4ボルトでモーター固定。STLファイルは「カスタムパーツ」セクションで公開。
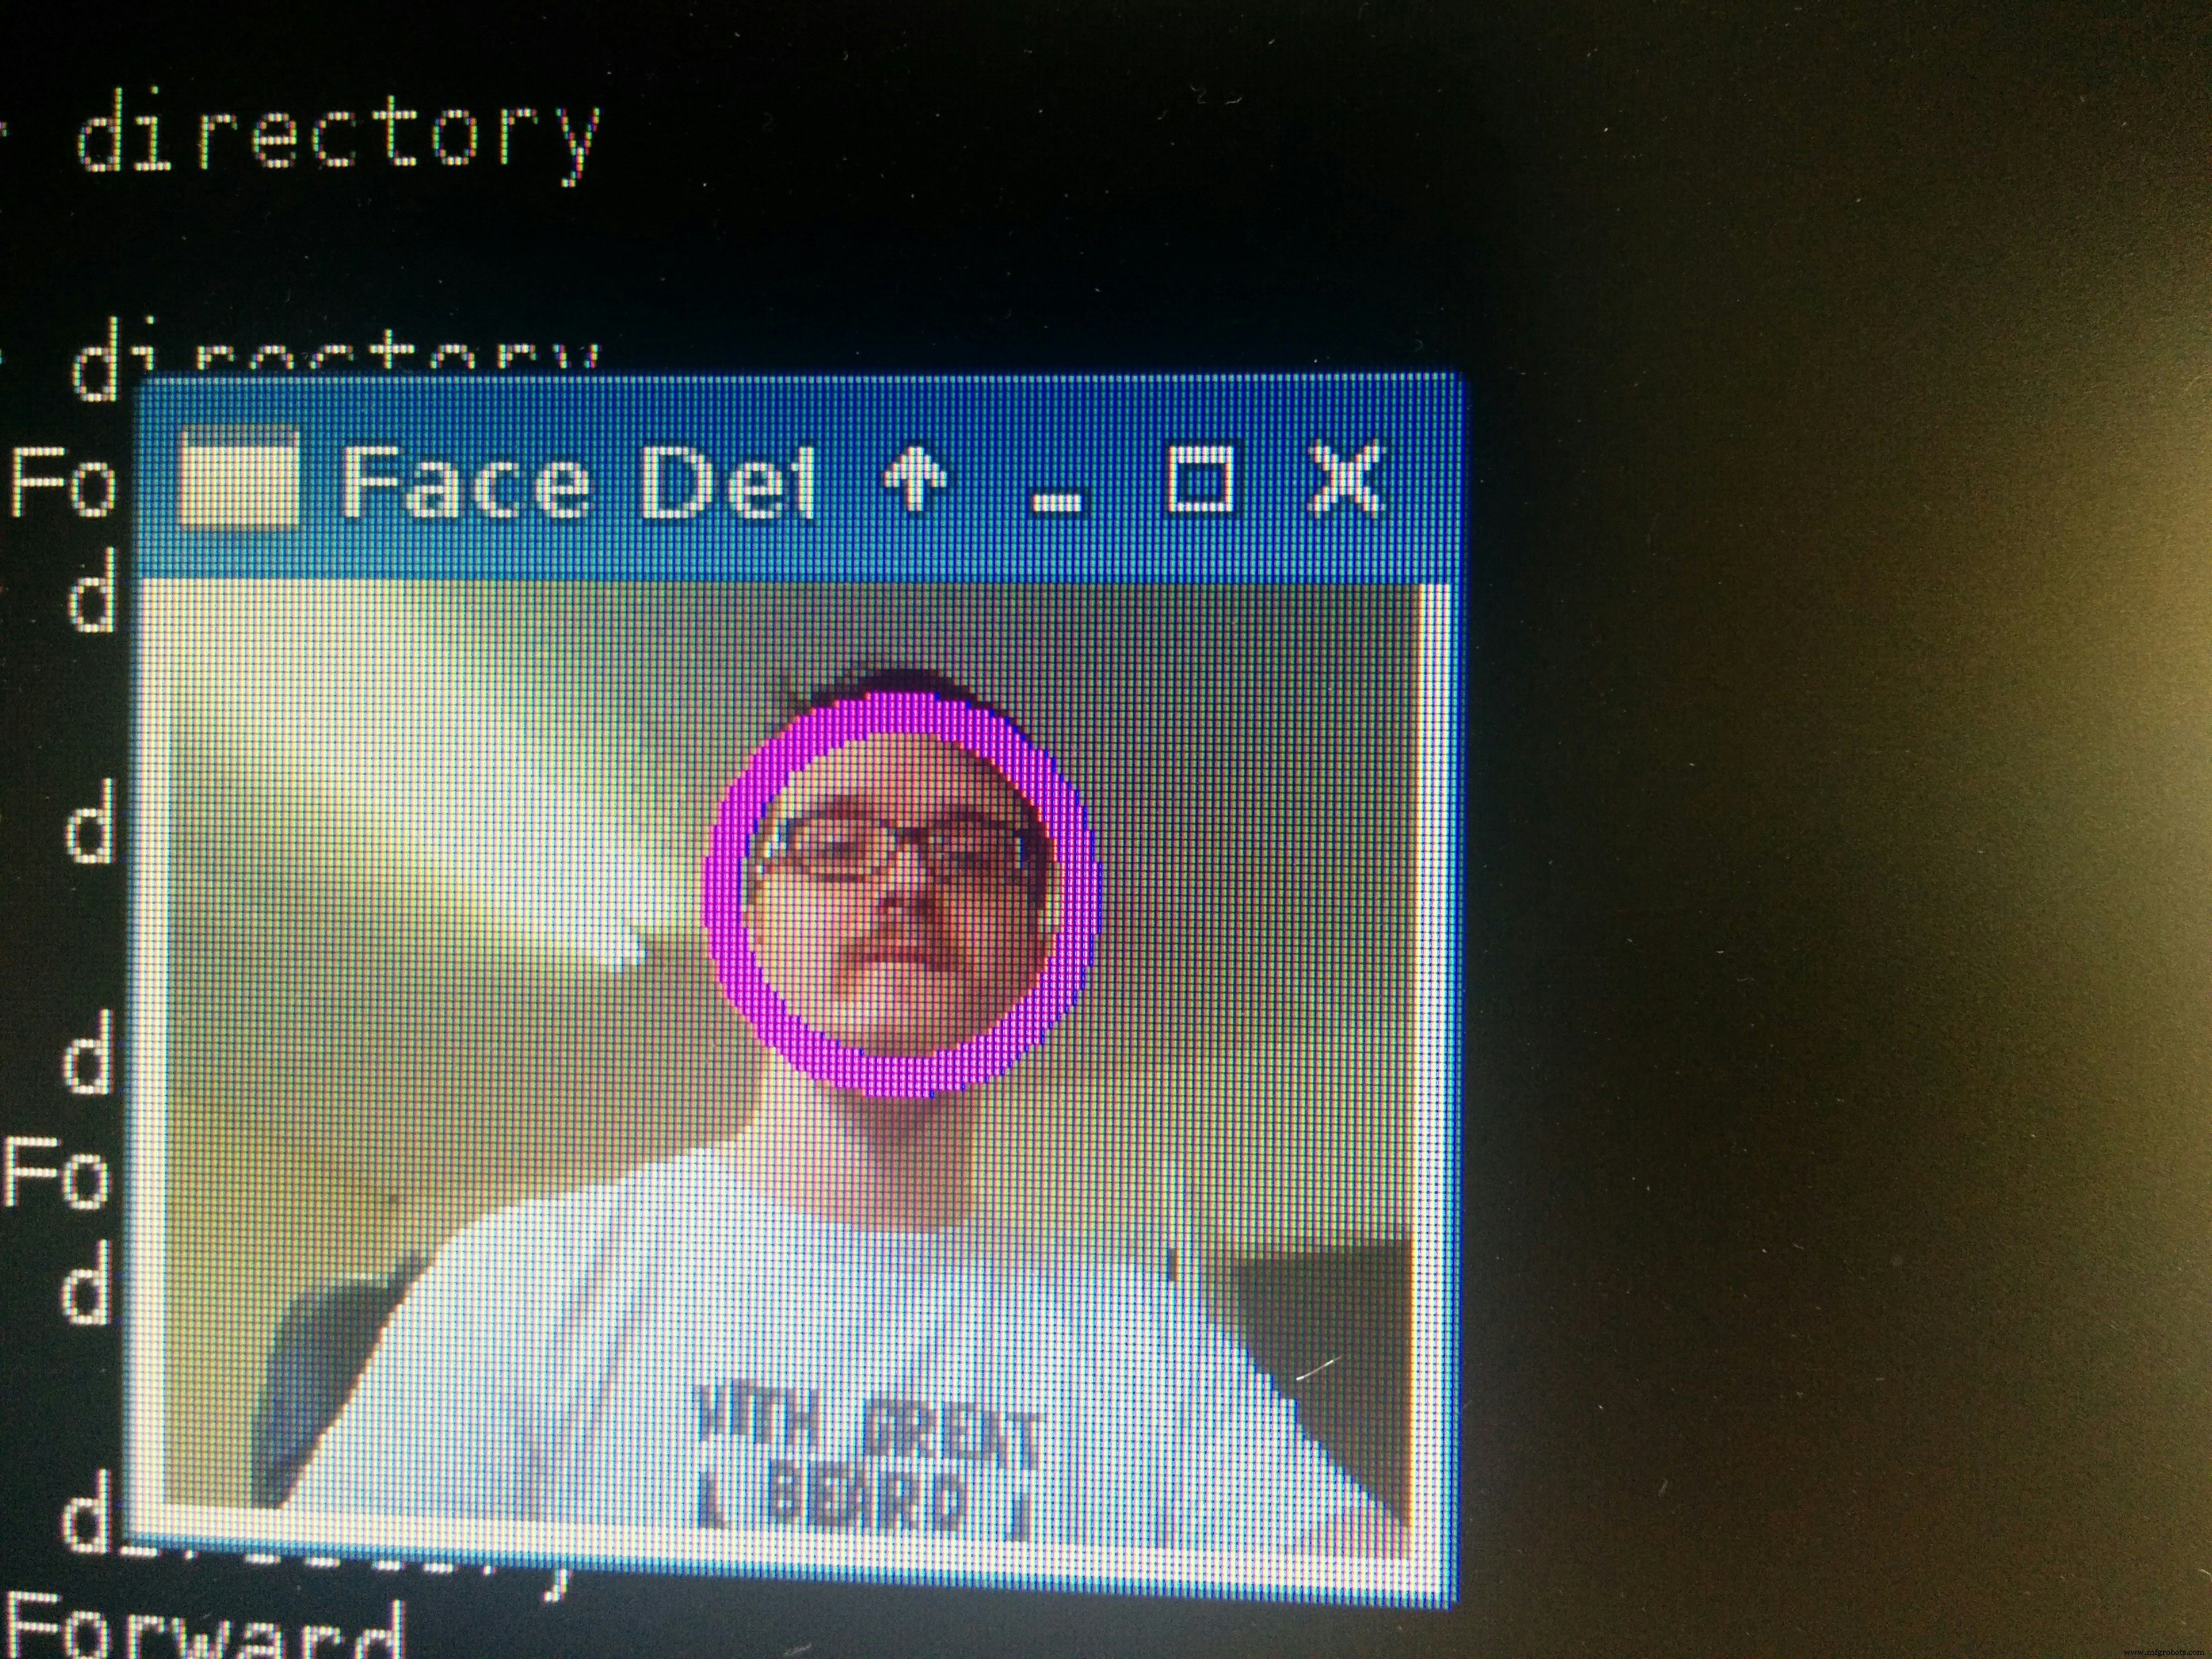
Ci20でのOpenCV顔検出
Step 1: OpenCVインストール
標準的なインストール手順に従ってセットアップ。
Step 2: 顔追跡プログラムのビルド・実行
g++ -I/usr/local/include/opencv -I/usr/local/include/opencv2 \
    -L/usr/local/lib/ -g -o binary main.cpp \
    -lopencv_core -lopencv_imgproc -lopencv_highgui -lopencv_ml \
    -lopencv_video -lopencv_features2d -lopencv_calib3d \
    -lopencv_objdetect -lopencv_contrib -lopencv_legacy -lopencv_stitching
Ci20とArduinoの連携
Arduinoにスケッチを書き込み、USBでCi20に接続。顔追跡プログラムを実行するとカメラ映像が表示され、顔が画面中央にあればロボットが前進します。
未実装のチャレンジ課題
時間の制約で実装できなかった機能。挑戦したい方へ:
- スピーカーと音声ファイルを追加し、顔が十分大きく検出されたら褒め言葉を再生
- 1〜2分間顔が検出されない場合、その場で旋回して探索する機能(Arduinoに「R XX」コマンド送信、XXは旋回時間ms)
ソースコード
Arduinoスケッチ - メイン
Ci20からシリアルで駆動指令を受信し、3モーターを適切に制御して全方向移動を実現。元々Raspberry Pi用に書いたコードですがCi20でも動作します。
// Motor 1
int dir1PinA = 3; int dir2PinA = 2; int speedPinA = 9;
// Motor 2
int dir1PinB = 4; int dir2PinB = 5; int speedPinB = 8;
// Motor 3
int dir1PinC = 6; int dir2PinC = 7; int speedPinC = 10;

int x = 0, y = 0, dominantUltrasonic = 0;
bool moveMotor = false;
int startTime = 0;

void setup() {
  Serial.begin(9600);
  pinMode(dir1PinA, OUTPUT); pinMode(dir2PinA, OUTPUT); pinMode(speedPinA, OUTPUT);
  pinMode(dir1PinB, OUTPUT); pinMode(dir2PinB, OUTPUT); pinMode(speedPinB, OUTPUT);
  pinMode(dir1PinC, OUTPUT); pinMode(dir2PinC, OUTPUT); pinMode(speedPinC, OUTPUT);
  startTime = millis();
}

String rpiString;
void loop() {
  readDataFromRPi();
  delay(30);
}

void readDataFromRPi() {
  while (Serial.available()) {
    delay(3);
    if (Serial.available() > 0) {
      char c = Serial.read();
      rpiString += c;
      if (c == 'n') break;
    }
  }
  if (rpiString.length() > 0) {
    Serial.println(rpiString);
    String isRotate = getValue(rpiString, ' ', 0);
    String xval = getValue(rpiString, ' ', 1);
    String yval = getValue(rpiString, ' ', 2);
    x = xval.toInt(); y = yval.toInt();
    startTime = millis();
    if (isRotate == "r") rotate(x);
    else driveInDirection(x, y);
    rpiString = "";
  }
}

String getValue(String data, char separator, int index) {
  int found = 0;
  int strIndex[] = {0, -1};
  int maxIndex = data.length() - 1;
  for (int i = 0; i <= maxIndex && found <= index; i++) {
    if (data.charAt(i) == separator || i == maxIndex) {
      found++;
      strIndex[0] = strIndex[1] + 1;
      strIndex[1] = (i == maxIndex) ? i + 1 : i;
    }
  }
  return found > index ? data.substring(strIndex[0], strIndex[1]) : "";
}
Arduinoスケッチ - モーター制御
メインスケッチと同一プロジェクトにインクルードして使用。
void driveInDirection(float newX, float newY) {
  delay(20);
  float x = newX, y = newY;
  float theta = atan2(y, x);
  float mag = sqrt(x*x + y*y);
  float vx = mag * cos(theta);
  float vy = mag * sin(theta);

  // オムニホイール運動学(3輪120度配置)
  float w1 = -vx;
  float w2 = 0.5 * vx - sqrt(3)/2 * vy;
  float w3 = 0.5 * vx + sqrt(3)/2 * vy;

  // 最大値で正規化
  float wSet[] = {w1, w2, w3};
  float largestValue = 0.0;
  for (int i = 0; i < 3; i++)
    if (abs(wSet[i]) > largestValue) largestValue = abs(wSet[i]);

  float speedCoef = 147.0 / largestValue;
  w1 *= speedCoef; w2 *= speedCoef; w3 *= speedCoef;

  if (x == 0 && y == 0) { w1 = 0; w2 = 0; w3 = 0; }

  w1 = constrain(w1, -150, 150);
  w2 = constrain(w2, -150, 150);
  w3 = constrain(w3, -150, 150);

  boolean w1_ccw = w1 < 0;
  boolean w2_ccw = w2 < 0;
  boolean w3_ccw = w3 < 0;

  byte w1_speed = map(abs(w1), 0, 150, 0, 255);
  byte w2_speed = map(abs(w2), 0, 150, 0, 255);
  byte w3_speed = map(abs(w3), 0, 150, 0, 255);

  analogWrite(speedPinA, w1_speed);
  analogWrite(speedPinB, w2_speed);
  analogWrite(speedPinC, w3_speed);

  digitalWrite(dir1PinA, !w1_ccw); digitalWrite(dir2PinA, w1_ccw);
  digitalWrite(dir1PinB, !w2_ccw); digitalWrite(dir2PinB, w2_ccw);
  digitalWrite(dir1PinC, w3_ccw);  digitalWrite(dir2PinC, !w3_ccw);
}

void rotate(float milliseconds) {
  // その場旋回用
  float w1 = 255, w2 = 255, w3 = 255;
  // ... 同様にモーター駆動 ...
  delay(milliseconds);
  analogWrite(speedPinA, 0);
  analogWrite(speedPinB, 0);
  analogWrite(speedPinC, 0);
}
Ci20用 顔追跡C++プログラム
OpenCVのHaarカスケード分類器で顔検出し、顔の中心座標に基づいてArduinoへ移動指令を送信。
#include "opencv2/objdetect/objdetect.hpp"
#include "opencv2/highgui/highgui.hpp"
#include "opencv2/imgproc/imgproc.hpp"
#include
#include
#include
#include
#include

using namespace std;
using namespace cv;

CascadeClassifier face_cascade;
String window_name = "Face Detection";

int sendSerial(char* message) {
  int fd = open("/dev/ttyUSB0", O_RDWR);
  if (fd == -1) { perror("dev/ttyUSB0"); return 1; }
  struct termios tios;
  tcgetattr(fd, &tios);
  tios.c_iflag = IGNBRK | IGNPAR;
  tios.c_oflag = 0; tios.c_lflag = 0;
  cfsetspeed(&tios, B9600);
  tcsetattr(fd, TCSAFLUSH, &tios);
  usleep(1000);
  write(fd, message, strlen(message));
  return 0;
}

void detectFaces(Mat frame) {
  vector faces;
  Mat frame_gray;
  cvtColor(frame, frame_gray, COLOR_BGR2GRAY);
  equalizeHist(frame_gray, frame_gray);
  face_cascade.detectMultiScale(frame_gray, faces, 1.1, 3, 0|CASCADE_SCALE_IMAGE, Size(30,30));

  for (size_t i = 0; i < faces.size(); i++) {
    Point center(faces[i].x + faces[i].width/2, faces[i].y + faces[i].height/2);
    ellipse(frame, center, Size(faces[i].width/2, faces[i].height/2), 0, 0, 360, Scalar(255,0,255), 4, 8, 0);

    // 顔が画面中央付近なら前進指令
    if (center.x > frame.cols/3 && center.x < frame.cols/3*2) {
      sendSerial("F 50 50");
    } else {
      sendSerial("0 0 ");
    }
  }
  imshow(window_name, frame);
}

int main() {
  sendSerial("0 0 ");
  VideoCapture cap(0);
  cap.set(CV_CAP_PROP_FRAME_WIDTH, 480);
  cap.set(CV_CAP_PROP_FRAME_HEIGHT, 240);
  Mat frame;

  if (!face_cascade.load("haarcascade_frontalface_default.xml")) {
    cout << "classifier load failed"; return -1;
  }

  while (cap.read(frame)) {
    detectFaces(frame);
    if (waitKey(30) >= 0) break;
  }
  return 0;
}
カスタムパーツ(3Dプリント)
- オムニディレクショナルロボットベース(蓋付き、全パーツ収納設計)
- 蓋(Ci20を見せるデザイン)
- オムニホイール(Thingiverseリミックス版、モーターシャフト対応)
回路図
詳細な配線説明は本文の「電源回路の配線」を参照してください。
製造プロセス
- OpenCVでRaspberry Pi上級卓球球追跡
- Raspoulette:太陽光発電自律コープドアシステムのプロトタイプ
- DIY Wall-E 風 Raspberry Pi CD ボックスロボット
- ローリングアラームロボット:Raspberry Pi と Google カレンダーで動くスマートモバイル目覚ましシステム
- Windows 10 IoT Coreで音声制御コンピュータビジョンロボットを構築
- ROSロボット:Raspberry Piでターミナル操作ナビゲーション
- シンプルPiロボット - Raspberry Piで2WD自律ローバーを構築
- Arduino向けスマート屋内ナビゲーションロボットキット
- リニアモーター理解:電気エネルギーから精密直線運動へ
- 飲料ロボットの技術・自動化・業界役割:バブルティー・コーヒー自動化の最前線
- サーボモーターの仕組みと重要性